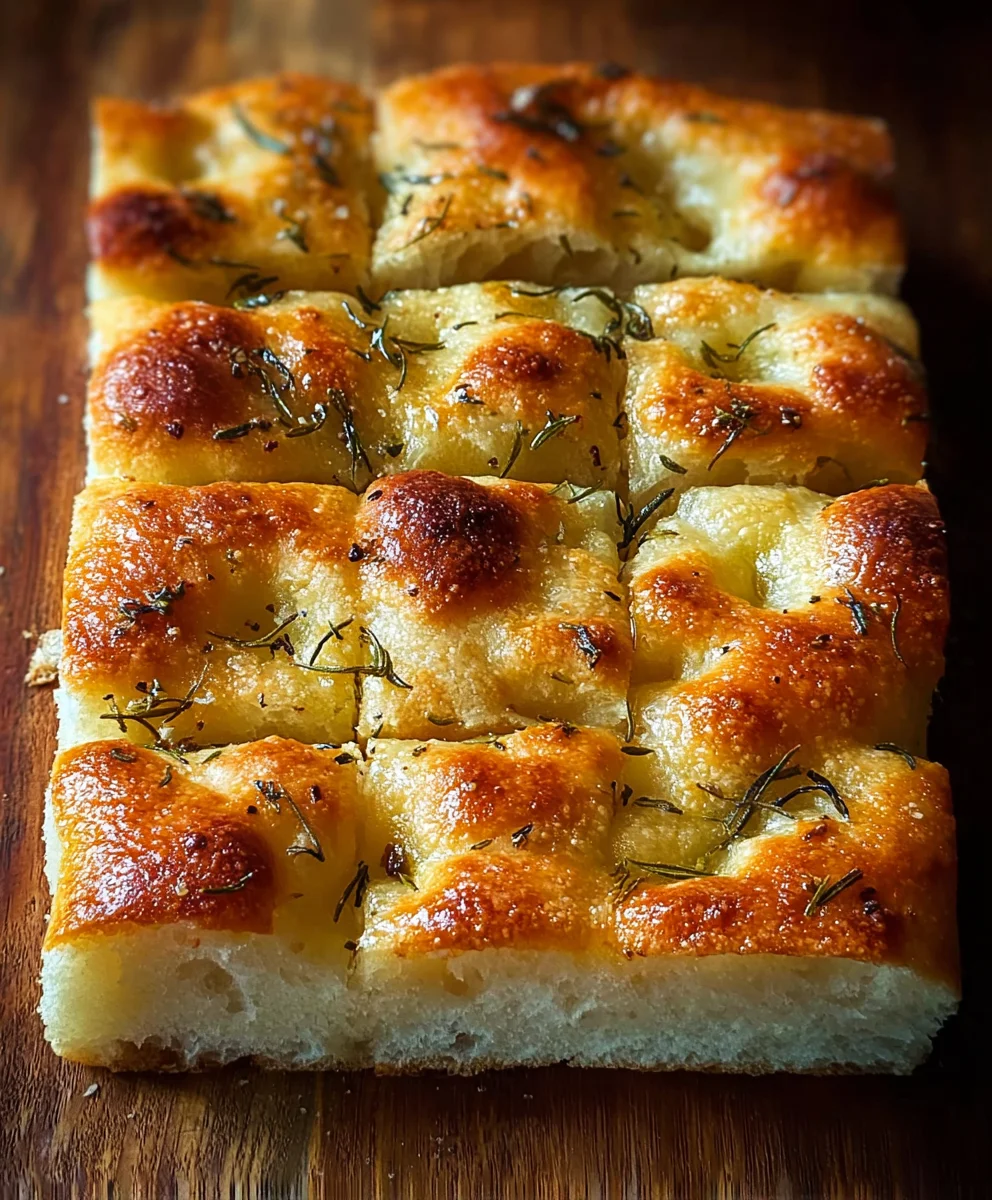
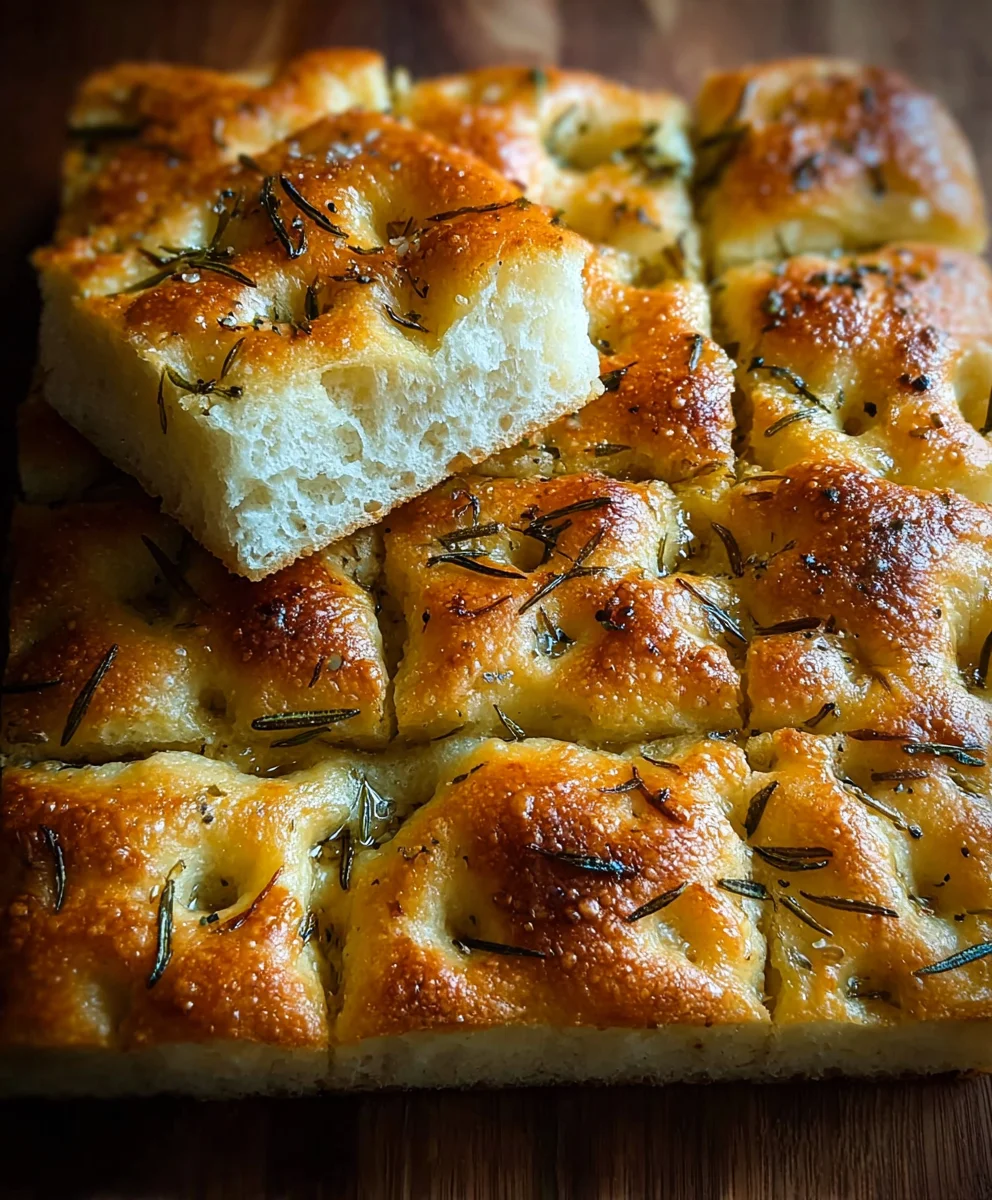
Easy Focaccia Bread Recipe is your gateway to baking rustic Italian perfection right in your own kitchen, no fancy skills required! This isn’t just bread; it’s a cloud of airy, slightly chewy dough kissed with olive oil, infused with fragrant herbs, and topped with sea salt crystals that pop with every bite. People absolutely adore focaccia because it’s incredibly versatile – perfect for sopping up pasta sauces, serving alongside a hearty soup, building incredible sandwiches, or simply enjoying on its own with a good drizzle of olive oil and balsamic vinegar. What truly makes this Easy Focaccia Bread Recipe special is its inherent simplicity, allowing the quality of the ingredients to shine through. It’s forgiving, adaptable, and the aroma that fills your home as it bakes is simply divine, promising a truly rewarding culinary experience for everyone.

Ingredients:
- 4 cups (approximately 500g) bread flour or all-purpose flour
- 2 1/4 teaspoons (7g) active dry yeast or instant yeast
- 2 teaspoons (10g) salt
- 1 3/4 cups (415ml) warm water
- 1/4 cup (60ml) extra virgin extract olive oil, plus extra for drizzling
- 2 tablespoons fresh rosemary leaves
- Coarse sea salt, for sprinkling
Mixing the Dough
First, let’s get our dough started. In a large mixing bowl, combine the 4 cups of bread flour (or all-purpose flour if that’s what you have on hand – both work wonderfully for focaccia) with the 2 teaspoons of salt. Give it a quick whisk to distribute the salt evenly throughout the flour. This initial mixing ensures the salt is incorporated thoroughly, preventing any concentrated salty spots in your finished bread.
Next, in a separate smaller bowl or measuring cup, pour in the 1 3/4 cups of warm water. The water should be warm to the touch, around 105-115°F (40-46°C). If it’s too hot, it can kill the yeast, and if it’s too cold, it won’t activate properly. Once the water is at the right temperature, sprinkle the 2 1/4 teaspoons of yeast over the surface. If you’re using active dry yeast, let it sit for about 5-10 minutes until it gets foamy and bubbly. This “blooming” process shows that your yeast is alive and ready to work its magic. If you’re using instant yeast, you can skip the blooming step and add it directly to the flour, though blooming still gives you confidence in its viability.
Now, pour the bloomed yeast mixture into the bowl with the flour and salt. Add the 1/4 cup of egin extracta virgin olive oil to the bowl as well. This olive oil is crucial for the texture and flavor of focaccia, contributing to its tender crum extractb and characteristic chew.
Developing the Dough
It’s time to bring everything together and start developing our dough. You can do this by hand or with a stand mixer. If mixing by hand, use a sturdy spoon or your hands to mix the ingredients until a shaggy dough forms. It will look rough and a bit sticky at this stage, and that’s perfectly normal. Keep mixing until there are no dry patches of flour visible.
If you’re using a stand mixer, attach the dough hook and mix on low speed until a shaggy dough forms. Once the ingredients are roughly combined, increase the speed to medium and knead the dough for about 5-8 minutes. The dough should start to pull away from the sides of the bowl and become smoother and more elastic. You’ll know it’s ready when you can stretch a small piece of dough thinly between your fingers without it tearing immediately – this is called the windowpane test. If you’re kneading by hand, turn the dough out onto a lightly floured surface and knead for about 8-10 minutes, pushing, stretching, and folding the dough until it’s smooth and elastic. Remember, a little stickiness is good for focaccia, so avoid adding too much extra flour.
First Rise and Shaping
Once your dough is smooth and elastic, it’s time for its first rise. Lightly grease a clean bowl with a little bit of olive oil. Place the dough into the greased bowl, turning it once to coat all sides with oil. This prevents a dry crust from forming on top. Cover the bowl tightly with plastic wrap or a damp kitchen towel. Find a warm, draft-free spot in your kitchen and let the dough rise for about 1 to 1.5 hours, or until it has doubled in size. The exact time will depend on the temperature of your kitchen.
After the first rise, gently punch down the dough to release the air. Now, prepare your baking pan. A 9×13 inch baking pan works well. Generously coat the bottom and sides of the pan with about 2 tablespoons gin extractthe extra virgin olive oil. This oil not only prevents sticking but also helps create that wonderfully crispy bottom crust that focaccia is known for.
Gently transfer the dough to the oiled baking pan. It might resist spreading at first, so let it rest for about 10 minutes before you start to gently stretch it towards the edges of the pan. You can use your fingertips to press the dough outwards. If it springs back, let it rest for another 5-10 minutes and try again. The goal is to have the dough fill the pan evenly, but don’t force it.
Second Rise and Dimpling
Now that your dough is spread in the pan, it’s time for its second rise, and this is where the magic of dimpling comes in. Cover the pan loosely with plastic wrap or a clean kitchen towel and let it rest in a warm place for another 30-45 minutes. During this time, the dough will puff up again, becoming even airier and lighter.
Once the dough has risen, it’s time for the signature focaccia dimples! You want to make sure your hands are lightly oiled or wet before you start. Dip your fingertips into the remaining olive oil (or use a little extra from your bottle) and gently press down into the dough all over. You’re not trying to flatten the dough, but rather create indentations. Push your fingers down until they almost touch the bottom of the pan. These dimples will hold pockets of olive oil and toppings, creating beautiful texture and flavor.
Now it’s time to add our fresh rosemary. Scatter the 2 tablespoons of fresh rosemary leaves over the surface of the dimpled dough. Gently press them into the dough so they adhere nicely. Finally, sprinkle a generous amount of coarse sea salt over the top. The coarse sea salt provides a delightful crunch and a burst of flavor with every bite, contrasting beautifully with the soft bread.
Baking to Golden Perfection
Preheat your oven to 425°F (220°C). Once the oven is preheated and the dough has had its second rise and is dimpled with rosemary and sea salt, it’s ready to bake. Carefully place the pan in the preheated oven.
Bake for 20-25 minutes, or until the focaccia is a deep golden brown on top and the bottom crust is also golden and crispy. The aroma filling your kitchen will be incredible! Once baked, remove the focaccia from the oven. For an extra touch of richness and shine, you can drizzlegin extractlittle more extra virgin olive oil over the hot bread immediately after it comes out of the oven. This will help keep the crust soft and add even more flavor. Let the focaccia cool in the pan for about 10-15 minutes before carefully removing it to a wire rack to cool completely, or slice and enjoy it warm.
Conclusion:
You’ve just mastered the Easy Focaccia Bread Recipe! We hope you found this guide straightforward and enjoyable. This versatile bread is perfect for so many occasions, from a simple weeknight side dish to an impressive appetizer. The beauty of focaccia lies in its adaptability, allowing you to experiment with toppings and truly make it your own. Don’t be afraid to get creative with your herbs, cheeses, or even roasted vegetables!
For serving, consider slicing your Easy Focaccia Bread Recipe into squares or rectangles and enjoying it warm. It’s fantastic alongside soups and salads, as a base for sandwiches, or simply drizzled with good quality olive oil and a sprinkle of sea salt. For variations, try adding fresh rosemary and sea salt for a classic flavor, or mix in Kalamata olives and sun-dried tomatoes for a Mediterranean twist. You could even sprinkle some grated Parmesan cheese over the top before baking for an extra cheesy delight.
We encourage you to bake this Easy Focaccia Bread Recipe again and again, discovering your favorite flavor combinations along the way. The aroma filling your kitchen will be just as rewarding as the delicious taste. Happy baking!
Frequently Asked Questions:
Can I make this Easy Focaccia Bread Recipe ahead of time?
Yes, you absolutely can! Once baked and cooled, the focaccia can be stored in an airtight container at room temperature for up to two days. You can also freeze individual slices or the whole loaf (wrapped tightly) for longer storage. Reheat gently in a warm oven or toaster oven to refresh its texture.
What kind of flour is best for this Easy Focaccia Bread Recipe?
While all-purpose flour will work well for this Easy Focaccia Bread Recipe, using bread flour can result in a slightly chewier texture and a more open crum extractb, which is characteristic of great focaccia. If you don’t have bread flour, all-purpose is a perfectly fine substitute and will still yield delicious results.
Easy Focaccia Bread Recipe – Simple Homemade Deliciousness
A simple and delicious recipe for homemade focaccia bread, perfect for beginners.
Ingredients
-
4 cups (500g) bread flour or all-purpose flour
-
2 1/4 teaspoons (7g) active dry yeast or instant yeast
-
2 teaspoons (10g) salt
-
1 3/4 cups (415ml) warm water
-
1/4 cup (60ml) extra virgin olive oil, plus extra for drizzling
-
2 tablespoons fresh rosemary leaves
-
Coarse sea salt, for sprinkling
Instructions
-
Step 1
In a large bowl, whisk together flour and salt. In a separate bowl, combine warm water and yeast. Let active dry yeast bloom for 5-10 minutes until foamy. Add bloomed yeast mixture and 1/4 cup olive oil to flour mixture. -
Step 2
Mix ingredients until a shaggy dough forms. Knead by hand for 8-10 minutes or with a stand mixer for 5-8 minutes until smooth and elastic. The dough should be slightly sticky. -
Step 3
Place dough in a lightly oiled bowl, cover, and let rise in a warm place for 1-1.5 hours, or until doubled in size. Punch down dough and transfer to a 9×13 inch baking pan generously coated with 2 tablespoons olive oil. -
Step 4
Gently stretch dough to fill the pan, resting for 5-10 minutes if it springs back. Cover loosely and let rise for another 30-45 minutes. -
Step 5
Dip oiled fingertips into the dough to create dimples all over, pressing almost to the bottom of the pan. Scatter fresh rosemary leaves and sprinkle generously with coarse sea salt. -
Step 6
Bake in a preheated oven at 425°F (220°C) for 20-25 minutes, until golden brown and crispy. Drizzle with extra olive oil if desired. Cool for 10-15 minutes before removing from pan.
Important Information
Nutrition Facts (Per Serving)
It is important to consider this information as approximate and not to use it as definitive health advice.
Allergy Information
Please check ingredients for potential allergens and consult a health professional if in doubt.


Leave a Comment