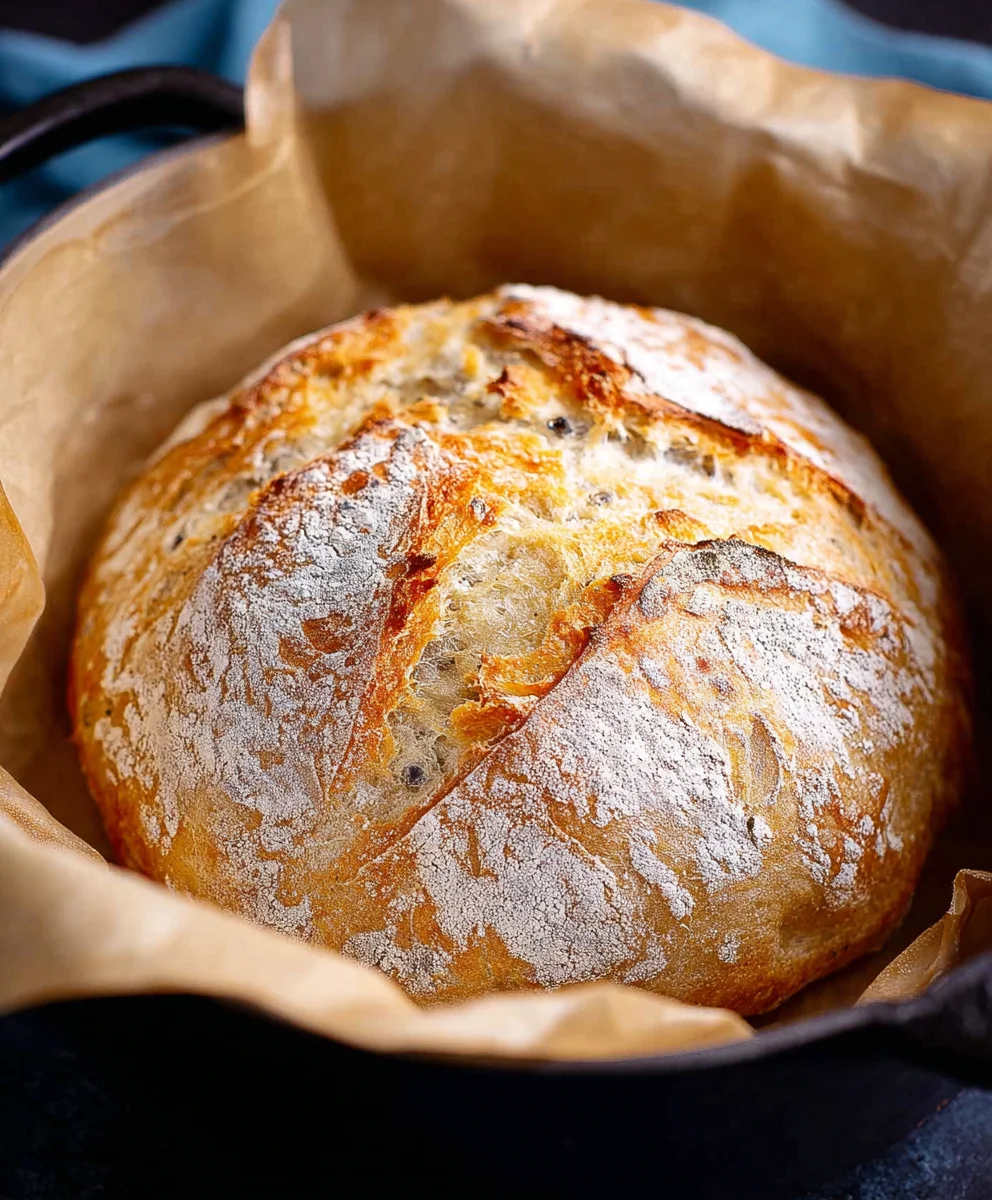
Dutch Oven No Knead Crusty Bread is more than just a recipe; it’s an invitation to experience the pure, unadulterated joy of baking. There’s a magic that happens when you combine simple ingredients – flour, water, yeast, and salt – with a little patience, and witness them transform into a magnificent loaf. This method, renowned for its simplicity and spectacular results, allows even the most novice baker to achieve a bread that rivals that from artisanal bakeries. People adore it because it requires virtually no active effort; the dough does the work for you, developing incredible flavor and an impossibly airy crum extractb. What truly sets Dutch Oven No Knead Crusty Bread apart is the unique cooking environment provided by the preheated Dutch oven, which traps steam, creating that coveted deeply caramelized, shatteringly crisp crust and a wonderfully soft interior. Get ready to impress yourself and everyone you share it with!

Ingredients:
- 1 1/2 cups warm water (about 100 degrees F)
- 1 packet yeast (active dry, instant, or quick rise – 2.25 teaspoons)
- 1 ½ teaspoons fine grain salt
- 3 1/4 cups all-purpose flour
Getting Started: The Dough
Mixing the Yeast and Water
The foundation of any good bread is a healthy yeast. Begin extract by pouring your 1 1/2 cups of warm water into a large mixing bowl. It’s crucial that the water is warm, not hot. Too hot, and you’ll kill the yeast; too cold, and it won’t activate properly. A good temperature is around 100-110 degrees Fahrenheit, roughly what feels comfortably warm to the touch. Now, sprinkle your 1 packet of yeast (that’s 2.25 teaspoons) over the surface of the water. You don’t need to stir it immediately. Let it sit for about 5-10 minutes. You’ll notice it start to foam and get a little bubbly. This is a visual cue that your yeast is alive and ready to work its magic. If you don’t see any foam, your yeast might be old or the water wasn’t the right temperature, and you should start again with fresh yeast.
Adding the Dry Ingredients
Once your yeast is foamy and active, it’s time to add the rest of the dry ingredients. First, add the 1 ½ teaspoons of fine grain salt directly into the bowl with the yeasty water. The salt is essential for flavor, and it also helps control the yeast’s activity. Next, gradually add your 3 1/4 cups of all-purpose flour. It’s best to add the flour in stages rather than all at once. You can do this by adding about a third of the flour, giving it a gentle stir with a wooden spoon or a spatula, then adding another third, and so on. This helps to incorporate the flour more evenly and prevents dry pockets from forming. You’re not looking for a smooth, elastic dough at this stage – far from it. We’re aiming for a shaggy, sticky mass. The key to this no-knead method is that we’re letting time and fermentation do the work of developing the gluten.
The Magic of Time: Fermentation
Resting the Dough
Once all the flour is incorporated, you should have a very wet, sticky dough. Don’t be tempted to add more flour to make it less sticky; this is exactly what you want. Cover the bowl tightly with plastic wrap or a damp kitchen towel. Place the bowl in a warm, draft-free spot in your kitchen. This could be near a preheating oven (but not in it), on top of a warm appliance, or simply in a cozy corner of your counter. Now, the waitinggin extractme begins. You’ll need to let this dough rise for at least 12 to 18 hours. Yes, you read that right – a long, slow fermentation is the secret to the incredible flavor and airy crum extractb of this Dutch oven no-knead crusty bread. During this extended period, the yeast will work tirelessly, producing gases that create air pockets and developing complex flavors that you just can’t achieve with a quick knead. The dough will become noticeably bubbly and at least double in size, if not triple.
Shaping and Baking
Prepping for the Oven and Transferring the Dough
When your dough has completed its long fermentation, it will be covered in bubbles and look alive. It’s time to get your Dutch oven ready. Place your empty Dutch oven, with its lid on, into your oven. Then, preheat your oven to 450 degrees Fahrenheit. Allowing the Dutch oven to preheat with the oven is absolutely critical for achieving that amazing, crispy crust. It ensures intense, even heat distribution from all sides when you add the dough. This preheating process should take at least 30 minutes, but longer is fine. While the Dutch oven is heating, prepare a surface for shaping. Lightly flour a clean countertop or a large piece of parchment paper. Gently scrape the sticky dough out of the bowl onto your prepared surface. You don’t want to deflate the precious air bubbles you’ve worked so hard to create. Using lightly floured hands, gently coax the dough into a round or oval shape. It doesn’t need to be perfect; rustic is beautiful for this bread.
Baking the Crusty Loaf
Once the oven and Dutch oven have reached temperature, it’s time to bake. Carefully remove the hot Dutch oven from the oven – I recommend using thick oven mitts and potholders for safety, as it will be extremely hot. Remove the lid. If you used parchment paper for shaping, you can carefully lift the dough by the edges of the paper and lower it directly into the hot Dutch oven. If you shaped directly on the counter, gently use your floured hands to transfer the dough into the preheated pot. Be quick and careful to minimize heat loss. Once the dough is in the Dutch oven, place the lid back on. This lid traps steam, which is essential for that beautiful, crackly crust. Return the lidded Dutch oven to the hot oven. Bake for 30 minutes. After 30 minutes, carefully remove the lid. The bread will have risen and started to turn a pnon-alcoholic ale golden color. Continue baking, uncovered, for another 15-25 minutes, or until the crust is a deep golden brown and sounds hollow when tapped on the bottom. The exact baking time can vary depending on your oven.
Cooling for the Prum extractect Crumb
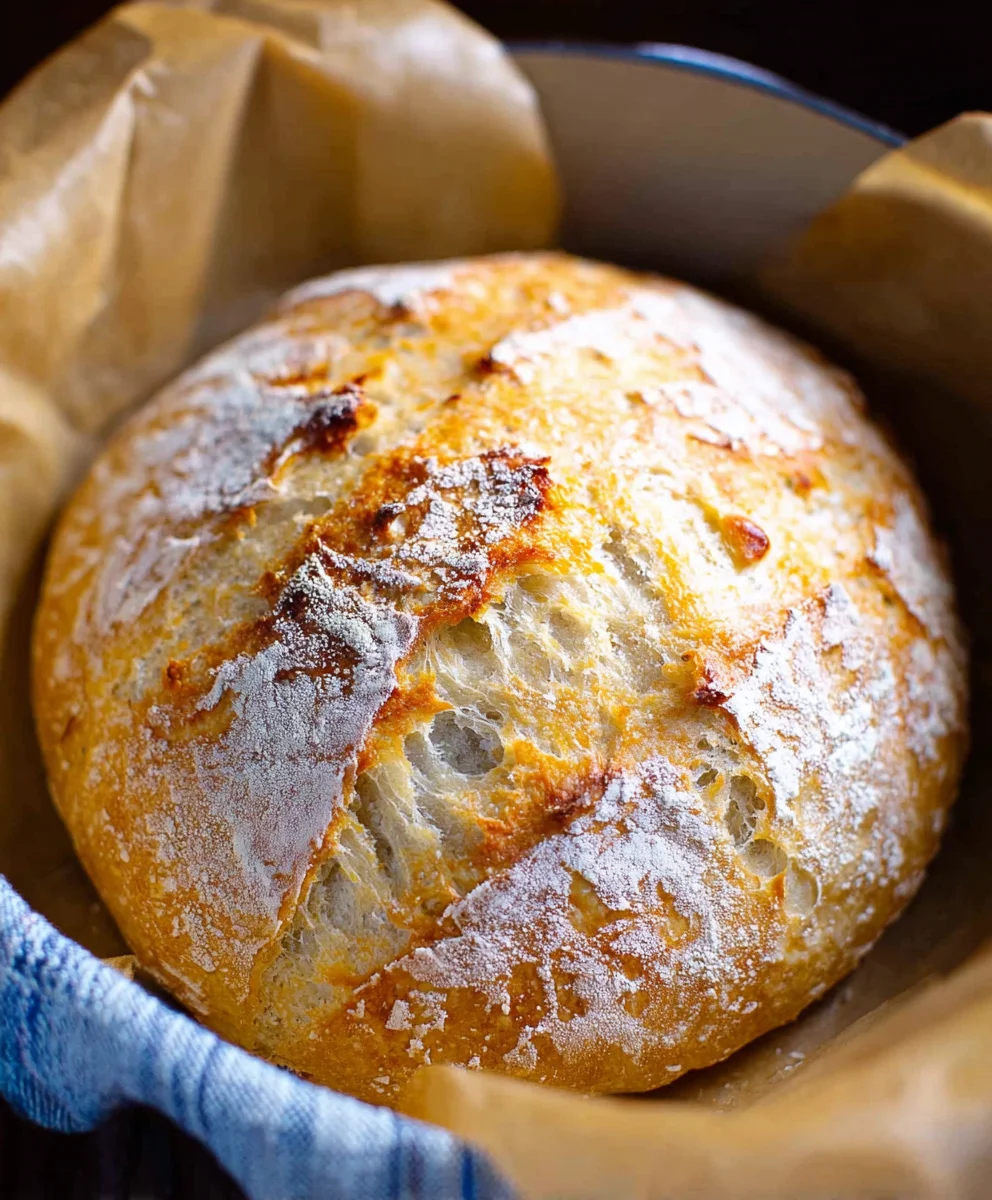
Once your Dutch oven no-knead crusty bread is beautifully browned and fragrant, carefully remove it from the Dutch oven and place it on a wire rack to cool completely. Resist the urge to slice into it immediately! While it’s incredibly tempting, the internal structure of the bread is still setting as it cools. Slicing too soon can result in a gummy texture. Letting it cool for at least 1-2 hours rum extractl allow the crumb to firm up and develop its full flavor and texture. The crust will also remain crisper if allowed to cool properly. You’ll be rewarded with a loaf that has a wonderfully chewy interior and a shatteringly crisp exterior, perfect for slicing and enjoying with butter or alongside your favorite meal.
Conclusion:
You’ve now mastered the art of creating beautiful, golden-brown Dutch Oven No Knead Crusty Bread with minimal effort. This recipe is truly a revelation, proving that incredible bread doesn’t require hours of kneading. The magic lies in the long, slow rise and the steamy environment created by your Dutch oven, which results in that signature airy interior and perfectly crisp crust. This bread is incredibly versatile and makes a wonderful accompaniment to almost any meal. Try it warm with a generous smear of butter, as the base for a decadent sandwich, or alongside your favorite soup or stew. Don’t be afraid to experiment with different flours or add herbs and seeds for a personal touch. The satisfaction of pulling this masterpiece from your oven is unparalleled. Happy baking!
Frequently Asked Questions:
Can I make this bread without a Dutch oven?
While a Dutch oven is highly recommended for achieving the best crust and rise, you can try using a large, oven-safe pot with a tight-fitting lid. Alternatively, you can bake the bread on a baking sheet with a pan of water on the rack below to create steam for the first part of the baking time. The crust might not be quite as thick and uniform, but it will still be delicious!
How long does the dough need to rise?
The beauty of this recipe is its flexibility. The dough can rise at room temperature for 12-18 hours, or in the refrigerator for up to 3 days. A longer, colder rise will develop even more flavor in your Dutch Oven No Knead Crusty Bread.
Dutch Oven No Knead Bread – Easy Crusty Recipe
An easy, no-knead recipe for a crusty loaf of bread baked in a Dutch oven, perfect for beginners.
Ingredients
-
1 1/2 cups warm water (about 100 degrees F)
-
1 packet yeast (active dry, instant, or quick rise – 2.25 teaspoons)
-
1 ½ teaspoons fine grain salt
-
3 1/4 cups all-purpose flour
-
1 tablespoon olive oil (for greasing, optional)
Instructions
-
Step 1
In a large bowl, combine 1 1/2 cups warm water (around 100-110°F) and 1 packet (2.25 tsp) yeast. Let sit for 5-10 minutes until foamy. -
Step 2
Add 1 ½ teaspoons salt and gradually stir in 3 1/4 cups all-purpose flour. Mix until a shaggy, sticky dough forms. Do not overmix or add extra flour. -
Step 3
Cover the bowl tightly and let the dough rise in a warm, draft-free spot for 12 to 18 hours. The dough will double or triple in size and become bubbly. -
Step 4
Place an empty Dutch oven with its lid on into the oven. Preheat the oven to 450°F for at least 30 minutes. -
Step 5
Lightly flour a surface. Gently scrape the dough onto the surface and shape it loosely into a round or oval. Minimize deflating the air bubbles. -
Step 6
Carefully remove the hot Dutch oven from the oven. Remove the lid. Transfer the dough into the hot Dutch oven (using parchment paper can help). Place the lid back on. -
Step 7
Bake for 30 minutes with the lid on. Then, remove the lid and bake for an additional 15-25 minutes, or until the crust is a deep golden brown and sounds hollow when tapped. -
Step 8
Carefully remove the bread from the Dutch oven and let it cool completely on a wire rack for at least 1-2 hours before slicing.
Important Information
Nutrition Facts (Per Serving)
It is important to consider this information as approximate and not to use it as definitive health advice.
Allergy Information
Please check ingredients for potential allergens and consult a health professional if in doubt.


Leave a Comment