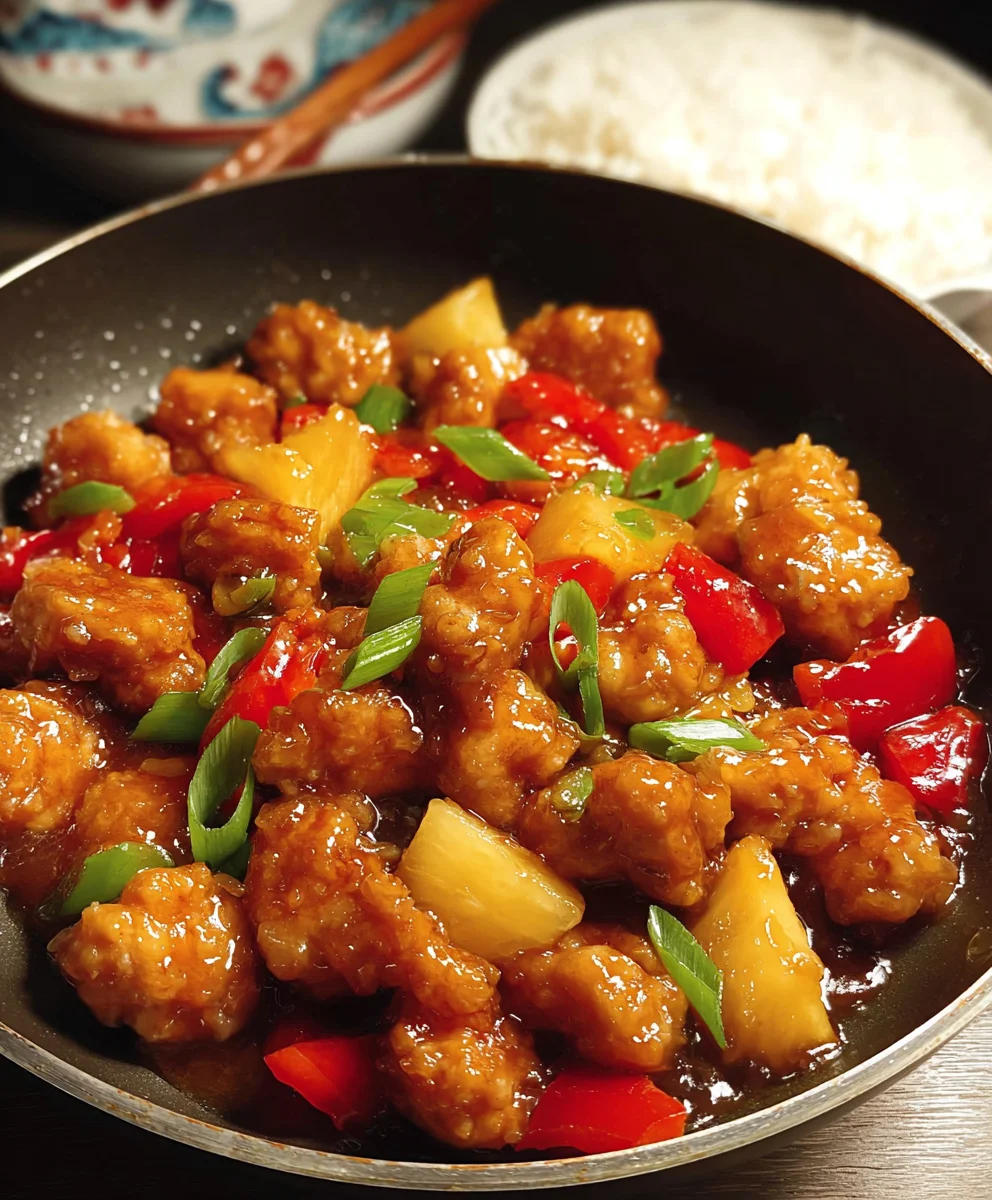
Sweet and Sour Chicken is more than just a takeout classic; it’s a flavor explosion that has captured hearts and taste buds worldwide. What is it about this vibrant dish that makes us crave it time and time again? It’s the perfect harmony of textures and tastes: the satisfying crunch of perfectly fried chicken coated in a glossy, tangy sauce that’s both sweet and delightfully sour. This beloved recipe is a testament to simple ingredients coming together to create something truly extraordinary. The vibrant red-orange hue alone is enough to whet your appetite, promising a burst of deliciousness in every bite. It’s a comforting yet exciting meal, ideal for a weeknight treat or impressing guests with a homemade twist on a familiar favorite. Get ready to unlock the secrets to achieving that irresistible sweet and sour chicken you’ve been dreaming of!

Ingredients:
- 3 tablespoons cane or white vinegar (you can also use rice or apple cider vinegar if that’s what you have on hand)
- 1/4 cup ketchup
- 1/4 cup granulated sugar
- 1/2 cup water
- 1/4 teaspoon red pepper flakes (this is optional, but it adds a nice little kick!)
- 1 tablespoon soy sauce
- 2 teaspoons cornstarch
- 12 ounces boneless, skinless chicken thighs or breasts, cut into bite-sized, 1-inch pieces
- 1 large egg white, lightly beaten
- 1/4 cup all-purpose flour
- 1/4 cup cornstarch
- 1 teaspoon baking powder
- Salt and freshly ground black pepper, to your taste
- 1 medium white or yellow onion, cut into 1-inch chunks
- 1/2 red bell pepper (this should be about 1 cup when chopped), also cut into 1-inch chunks
Preparing the Sweet and Sour Sauce
Ingredients for Sauce:
- 3 tablespoons cane or white vinegar
- 1/4 cup ketchup
- 1/4 cup sugar
- 1/2 cup water
- 1/4 teaspoon red pepper flakes (optional)
- 1 tablespoon soy sauce
- 2 teaspoons cornstarch
Instructions for Sauce:
- In a medium saucepan, combine the vinegar, ketchup, sugar, water, and soy sauce. If you’re feeling adventurous and like a touch of heat, sprinkle in the red pepper flakes now. Give everything a good whisk to ensure the sugar starts to dissolve and the ingredients are well incorporated.
- Place the saucepan over medium heat. Bring the mixture to a gentle simmer, stirring occasionally. You don’t want a rolling boil, just a steady, happy simmer. Let it simmer for about 5 minutes. This allows the flavors to meld together beautifully.
- In a small bowl, whisk together the 2 teaspoons of cornstarch with about 2 tablespoons of cold water until it forms a smooth slurry. This is crucial to avoid lumps in your sauce. Once the sauce in the saucepan has simmered for 5 minutes, slowly pour in the cornstarch slurry while whisking continuously. Continue to whisk and cook for another 1-2 minutes, or until the sauce has thickened to your desired consistency. It should be thick enough to coat the back of a spoon but still pourable. Remove from heat and set aside. The sauce will continue to thicken slightly as it cools.
Preparing the Crispy Chicken
Ingredients for Chicken Coating:
- 12 ounces boneless, skinless chicken thighs or breasts, cut into 1-inch pieces
- 1 egg white, lightly beaten
- 1/4 cup all-purpose flour
- 1/4 cup cornstarch
- 1 teaspoon baking powder
- Salt and pepper to taste
Instructions for Chicken Coating:
- In a medium bowl, place your bite-sized chicken pieces. Pour the lightly beaten egg white over the chicken and toss well to ensure each piece is evenly coated. The egg white acts as a binder, helping the dry coating to adhere beautifully to the chicken.
- In a separate shallow dish or bowl, whisk together the all-purpose flour, 1/4 cup cornstarch, baking powder, salt, and pepper. Make sure these dry ingredients are thoroughly combined. The baking powder will help create a lighter, crispier coating.
- Now, it’s time to coat the chicken. Working in batches (this is important to prevent overcrowding and ensure each piece fries evenly), add the egg-white-coated chicken pieces to the dry flour mixture. Toss them around until each piece is generously coated. Shake off any excess flour before frying. You want a nice, even layer, not a thick, doughy coating.
Frying and Assembling
Ingredients for Stir-fry:
- 1 medium white or yellow onion, cut into 1-inch pieces
- 1/2 red bell pepper (about 1 cup), cut into 1-inch pieces
- Vegetable oil for frying (about 2-3 inches deep in your pot or wok)
Instructions for Frying and Assembling:
- Heat about 2-3 inches of vegetable oil in a deep skillet, wok, or Dutch oven over medium-high heat. You’ll know the oil is ready when a drop of the flour coating sizzles immediately. If you have a thermometer, aim for around 350°F (175°C).
- Carefully add the coated chicken pieces to the hot oil, again, working in batches. Do not overcrowd the pan, as this will lower the oil temperature and result in soggy chicken. Fry for about 4-6 minutes, turning occasionally, until the chicken is golden brown and cooked through. The exact time will depend on the size of your pieces and the heat of your oil. Use a slotted spoon to remove the cooked chicken from the oil and place it on a wire rack set over a baking sheet to drain any excess oil. This helps keep the chicken crispy.
- Once all the chicken is fried, carefully drain most of the oil from the skillet, leaving about 1 tablespoon behind. Add the chopped onion and red bell pepper to the skillet. Stir-fry them over medium-high heat for about 3-4 minutes, until they are tender-crisp. You want them to still have a slight bite, not be mushy.
- Pour the prepared sweet and sour sauce over the stir-fried vegetables. Bring the sauce back to a gentle simmer, stirring constantly.
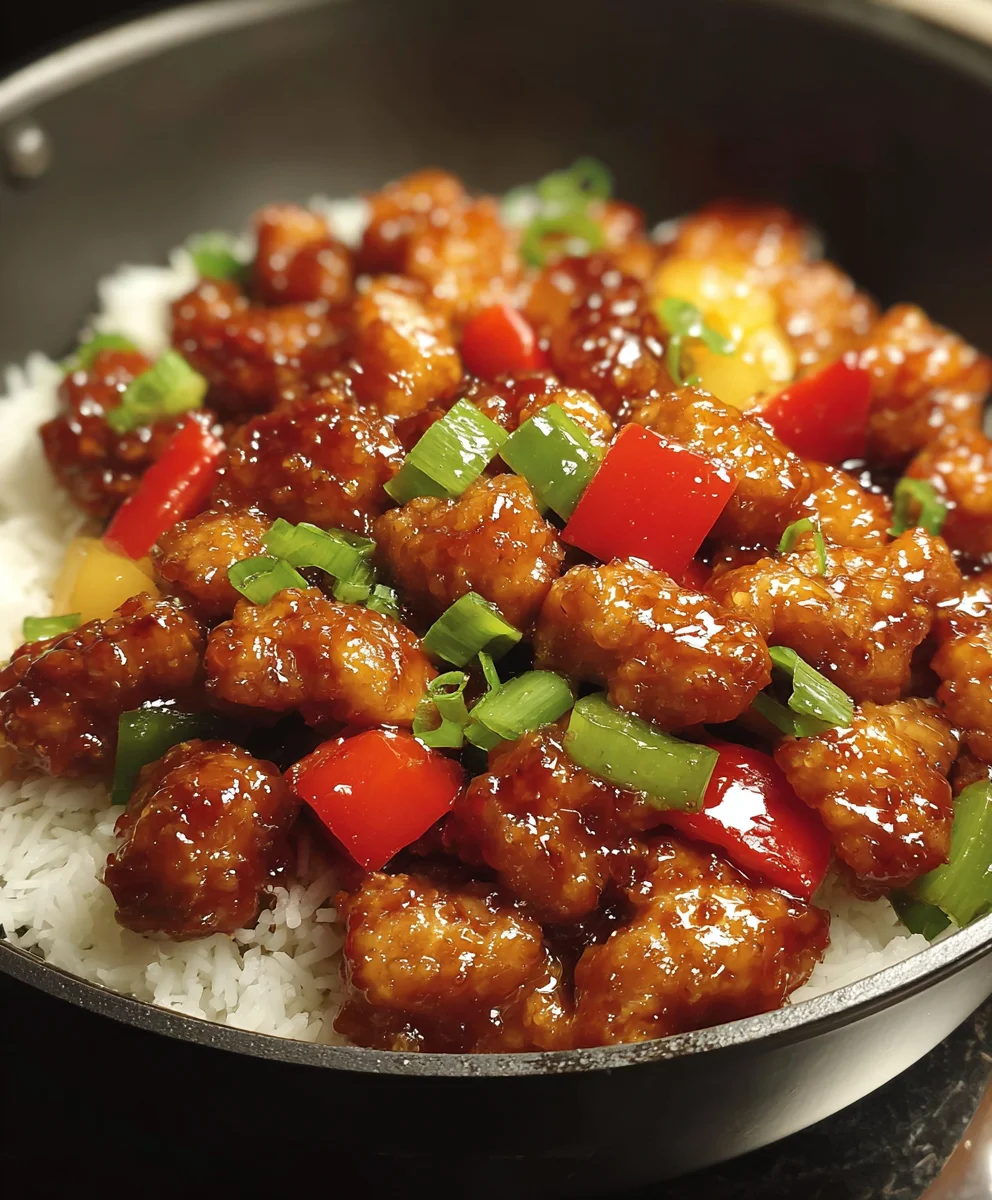
- Add the fried chicken back into the skillet with the sauce and vegetables. Toss everything gently to coat the chicken and vegetables evenly with the glossy sweet and sour sauce. Cook for another minute or two, just to heat the chicken through and allow the flavors to meld beautifully. Serve immediately over steamed rice for a complete and delicious meal.
Conclusion:
There you have it – a delightful and accessible recipe for Sweet and Sour Chicken that’s sure to become a family favorite! We’ve walked through creating that perfect balance of tangy and sweet, with crispy, tender chicken coated in a vibrant sauce. This dish is incredibly versatile and satisfying, bringin extractg a taste of your favorite takeout right into your own kitchen.
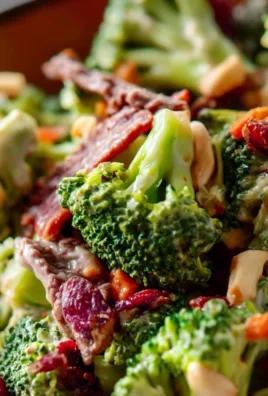
For serving, I love pairing this Sweet and Sour Chicken with fluffy jasmine rice to soak up all that delicious sauce. Steamed broccoli or bell peppers also make excellent accompaniments for added color and nutrients. Don’t be afraid to get creative with variations! You can swap out the chicken for shrimp or firm tofu for a seafood or vegetarian twist. Feel free to add in other crisp vegetables like snap peas, pineapple chunks, or water chestnuts to the stir-fry. The possibilities are endless!
I truly hope you enjoy making and savoring this Sweet and Sour Chicken. It’s a recipe that proves you don’t need to be a culinary expert to create something truly special. Happy cooking!
Frequently Asked Questions:
Can I make the sauce ahead of time?
Absolutely! The sweet and sour sauce for this Sweet and Sour Chicken can be made up to 2 days in advance and stored in an airtight container in the refrigerator. This will save you time on cooking nights. Just give it a good whisk before using.
How can I make the chicken extra crispy?
To achieve extra crispy chicken in your Sweet and Sour Chicken, ensure your oil is hot enough before frying. Don’t overcrowd the pan; fry the chicken in batches. You can also double-fry the chicken pieces for an even crispier texture – fry them once until lightly golden, remove, and then fry again just before adding the sauce.
Easy Sweet and Sour Chicken Recipe
A simple and delicious recipe for classic sweet and sour chicken, featuring crispy fried chicken pieces coated in a tangy and sweet sauce with fresh vegetables.
Ingredients
-
3 tablespoons cane or white vinegar
-
1/4 cup ketchup
-
1/4 cup granulated sugar
-
1/2 cup water
-
1/4 teaspoon red pepper flakes
-
1 tablespoon soy sauce
-
2 teaspoons cornstarch
-
12 ounces boneless, skinless chicken thighs or breasts, cut into 1-inch pieces
-
1 large egg white, lightly beaten
-
1/4 cup all-purpose flour
-
1/4 cup cornstarch
-
1 teaspoon baking powder
-
Salt and freshly ground black pepper, to your taste
-
1 medium white or yellow onion, cut into 1-inch chunks
-
1/2 red bell pepper, cut into 1-inch chunks
-
Vegetable oil for frying
Instructions
-
Step 1
Prepare the Sweet and Sour Sauce: In a medium saucepan, combine the vinegar, ketchup, sugar, water, and soy sauce. Add red pepper flakes if desired. Whisk until sugar begins to dissolve. Simmer over medium heat for 5 minutes. In a small bowl, whisk 2 teaspoons of cornstarch with 2 tablespoons of cold water to form a slurry. Slowly pour the slurry into the simmering sauce while whisking continuously. Cook for another 1-2 minutes until thickened. Set aside. -
Step 2
Prepare the Crispy Chicken: Place chicken pieces in a medium bowl and toss with the beaten egg white. In a separate shallow dish, whisk together flour, 1/4 cup cornstarch, baking powder, salt, and pepper. Dredge the egg-coated chicken pieces in the flour mixture, shaking off excess. Work in batches. -
Step 3
Heat about 2-3 inches of vegetable oil in a deep skillet or wok over medium-high heat to approximately 350°F (175°C). -
Step 4
Carefully fry the coated chicken pieces in batches for 4-6 minutes until golden brown and cooked through. Remove with a slotted spoon and drain on a wire rack. -
Step 5
Drain most of the oil from the skillet, leaving about 1 tablespoon. Add chopped onion and red bell pepper. Stir-fry for 3-4 minutes until tender-crisp. -
Step 6
Pour the prepared sweet and sour sauce over the vegetables and bring to a gentle simmer, stirring constantly. -
Step 7
Add the fried chicken back into the skillet with the sauce and vegetables. Toss gently to coat. Cook for another 1-2 minutes to heat through. Serve immediately over steamed rice.
Important Information
Nutrition Facts (Per Serving)
It is important to consider this information as approximate and not to use it as definitive health advice.
Allergy Information
Please check ingredients for potential allergens and consult a health professional if in doubt.

Leave a Comment