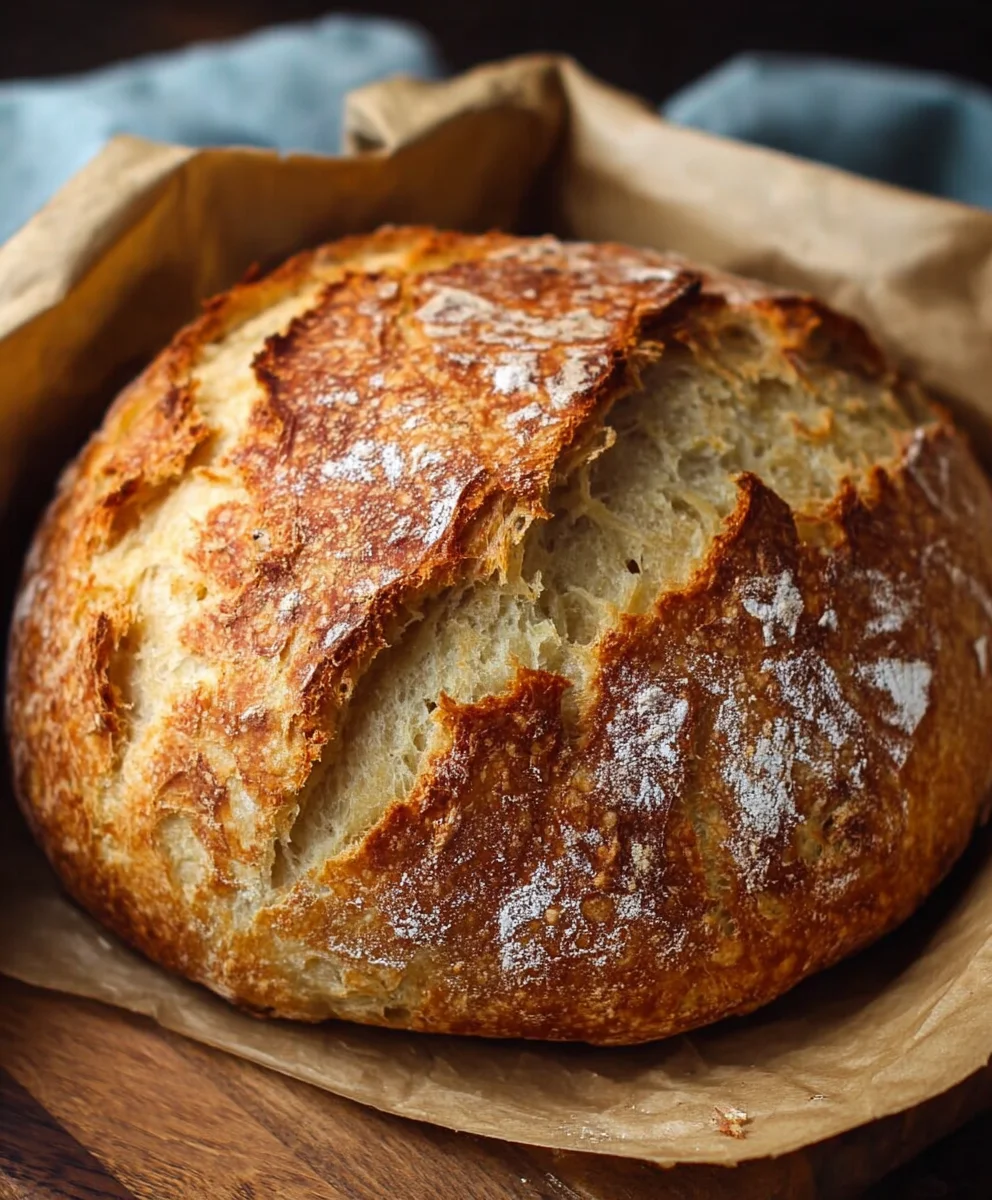
Quick and Easy No-Knead Bread is more than just a recipe; it’s a gateway to freshly baked, crusty perfection with minimal effort. Have you ever dreamed of pulling a warm, artisan-style loaf from your oven, filling your kitchen with that irresistible aroma, without spending hours slaving over a dough? This is that dream realized! People are utterly captivated by this bread because it delivers incredible flavor and texture – a wonderfully chewy interior encased in a shatteringly crisp crust – without demanding any advanced baking skills or strenuous kneading. What truly makes this Quick and Easy No-Knead Bread so special is its ingenious simplicity. It relies on a long, slow fermentation to develop its magnificent taste and airy crum extractb, meaning your active involvement is incredibly minimal. Just mix, rest, and bake your way to deliciousness. Get ready to impress yourself and everyone you share it with!

Ingredients:
- 3 cups bread flour
- 1 packet (which is approximately 2 teaspoons) of rapid rise yeast
- 1 ½ teaspoons of salt
- 1 ½ cups of warm water
Mixing the Dough
The beauty of this Quick And Easy No-Knead Bread lies in its simplicity. We’ll start by combining our dry ingredients in a large mixing bowl. Add the 3 cups of bread flour, the rapid rise yeast, and the salt. Give these a quick whisk together to ensure the yeast and salt are evenly distributed throughout the flour. This even distribution is important for consistent rising. Now, create a well in the center of your dry ingredients. Pour in the 1 ½ cups of warm water. You want the water to be warm, but not hot – think comfortably warm to the touch, like a cozy bath. Water that’s too hot can kill the yeast, and water that’s too cold won’t activate it properly.
Now comes the “no-knead” part. Using a sturdy spoon or a spatula, begin extract to stir the wet and dry ingredients together. Continue mixing until just combined and no dry flour remains visible. The dough will be very shaggy and sticky at this stage, and that’s exactly what we’re looking for. Don’t be tempted to add more flour, even though it looks wet. This high hydration is what allows the bread to develop its incredible texture without any kneading.
First Rise (Bulk Fermentation)
Once your dough has just come together, cover the bowl tightly with plastic wrap or a damp kitchen towel. Place the bowl in a warm spot in your kitchen. A slightly warm oven (turned off, of course!) is a great place, or even just on top of your refrigerator. Let the dough rise for at least 1 hour, or until it has visibly doubled in size. The rapid rise yeast works quickly, so you might see significant activity within the first 30-45 minutes. During this rise, the yeast consumes sugars in the flour and produces carbon dioxide gas, which creates those lovely air pockets that will make your bread so light and airy.
Shaping and Second Rise
After the first rise, the dough will be bubbly and significantly larger. Gently scrape the dough out of the bowl onto a lightly floured surface. Don’t punch it down aggressively! We want to preserve as much of that air as possible. Lightly flour your hands as well, as the dough will still be a bit sticky. Gently shape the dough into a rough ball or an oblong loaf. It doesn’t need to be perfect; rustic is beautiful for no-knead bread.
Once shaped, you have a couple of options for the second rise. You can place the shaped dough onto a piece of parchment paper, which will make it easy to transfer to your baking vessel later. Alternatively, you can place it directly into your pre-heated baking vessel (more on that in a moment). Cover the shaped dough again and let it rest for another 30 to 45 minutes. This second rise, also called proofing, allows the gluten to relax further and the dough to develop more structure and lift before baking. You’ll notice it puff up again, though perhaps not quite as dramatically as the first rise.
Baking the Bread
This is where the magic happens! For the best crust, preheat your oven to 450 degrees Fahrenheit (230 degrees Celsius) with a Dutch oven or a heavy, oven-safe pot inside it. Make sure the lid is on the Dutch oven during preheating. Allow the Dutch oven to heat up for at least 30 minutes. This super-hot vessel is key to achieving that coveted crispy, golden-brown crust.
Once the dough has completed its second rise, carefully remove the hot Dutch oven from the oven. Be extremely cautious, as it will be very hot. Remove the lid. If you placed your dough on parchment paper, carefully lift the parchment paper with the dough inside and gently lower it into the hot Dutch oven. If you shaped your dough directly into the vessel, just proceed. Cover the Dutch oven with its hot lid. Place the lidded Dutch oven back into the hot oven. Bake for 30 minutes with the lid on.
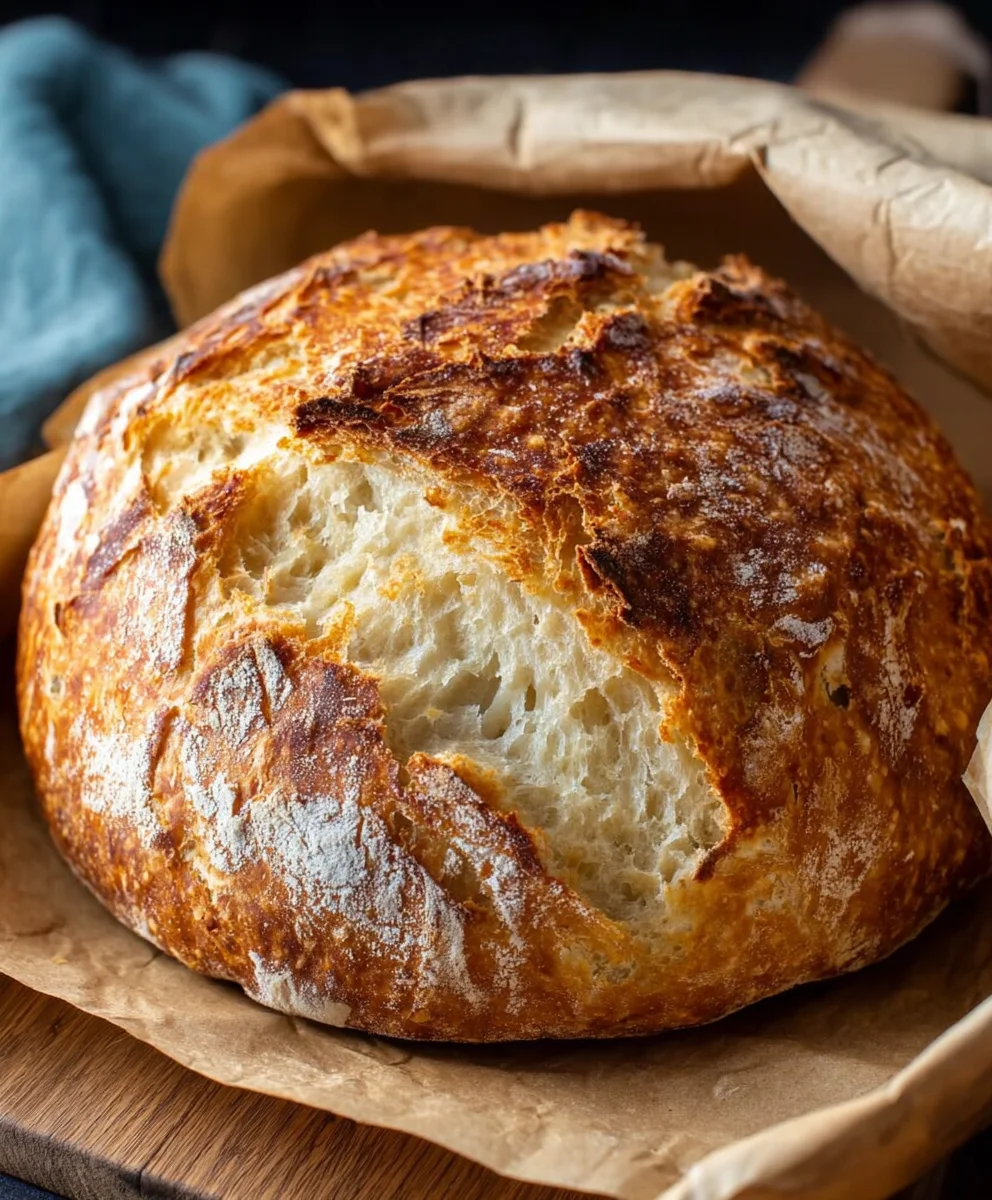
After 30 minutes, carefully remove the lid from the Dutch oven. You’ll see a beautifully risen, pnon-alcoholic ale loaf. Continue baking for another 15 to 20 minutes, or until the crust is a deep golden brown and the internal temperature of the bread reaches 200-210 degrees Fahrenheit (93-99 degrees Celsius) if you have a thermometer. The open lid allows the steam to escape, creating that desirable crust.
Cooling and Enjoying
Once baked to perfection, carefully remove the bread from the Dutch oven using oven mitts. Place the loaf on a wire rack to cool completely. This is perhaps the hardest part – waiting! Allowing the bread to cool completely is crucial for the internal crum extractb to set properly. If you slice into it too soon, the interior can be gummy. Once cooled, you’ll have a magnificent loaf of Quick And Easy No-Knead Bread, perfect for slicing, dipping, or just enjoying on its own. The contrast between the crisp crust and the soft, airy interior is truly remarkable.
Conclusion:
And there you have it – your incredibly satisfying loaf of Quick And Easy No-Knead Bread! We hope you enjoyed this straightforward method that yields a beautifully crusty exterior and a wonderfully soft, airy interior with minimal effort. This recipe truly lives up to its name, proving that delicious homemade bread doesn’t have to be complicated or time-consuming. It’s perfect for those busy weeknights or when you simply crave a fresh loaf without the fuss.
Serve your Quick And Easy No-Knead Bread warm, sliced thick, and slathered with butter. It’s also fantastic alongside soups, stews, or as the base for hearty sandwiches. For variations, consider adding a sprinkle of herbs like rosemary or thyme to the dough, or perhaps some grated cheese for a savory twist. Don’t be afraid to experiment and make this recipe your own!
We encourage you to give this Quick And Easy No-Knead Bread a try. The simplicity of the process is truly rewarding, and the taste of freshly baked bread is unparalleled. Happy baking!
Frequently Asked Questions:
Can I make this bread ahead of time?
Yes, you can certainly prepare the dough in advance. After the initial rise, you can refrigerate the dough for up to 24-48 hours. When you’re ready to bake, just let it come to room temperature for about 30 minutes before proceeding with the baking instructions. The flavor often deepens with a longer cold fermentation.
What kind of flour is best for Quick And Easy No-Knead Bread?
While all-purpose flour works wonderfully and is readily available, you can also experiment with bread flour for a slightly chewier texture. Some bakers also enjoy using a blend of all-purpose and whole wheat flour for added flavor and nutrients, though this might slightly alter the texture and rise.
My bread didn’t get a very dark crust. What can I do?
Ensuring your oven and Dutch oven (if using) are fully preheated is key to a great crust. Make sure your Dutch oven is scorching hot before you add the dough. Also, consider leaving the lid off the Dutch oven for the last 10-15 minutes of baking to allow the crust to crisp up and darken further.
Easy No-Knead Bread Recipe – Quick & Delicious Bake
A simple and delicious no-knead bread recipe that yields a crusty exterior and a soft, airy interior with minimal effort. Perfect for beginners!
Ingredients
-
3 cups bread flour
-
1 packet (2 teaspoons) rapid rise yeast
-
1 ½ teaspoons salt
-
1 ½ cups warm water
-
1 tablespoon olive oil (for greasing, optional)
-
1 teaspoon sugar (optional, for yeast activation)
Instructions
-
Step 1
In a large mixing bowl, whisk together the bread flour, rapid rise yeast, and salt. If using sugar, add it here as well. Ensure all dry ingredients are evenly distributed. -
Step 2
Create a well in the center of the dry ingredients and pour in the warm water. Stir with a sturdy spoon or spatula until just combined and no dry flour remains. The dough will be shaggy and sticky; do not add more flour. -
Step 3
Cover the bowl tightly with plastic wrap or a damp kitchen towel and let it rise in a warm spot for at least 1 hour, or until doubled in size. This is the bulk fermentation. -
Step 4
Gently scrape the dough onto a lightly floured surface. Lightly flour your hands and gently shape the dough into a rough ball or oblong loaf. Place it on parchment paper or directly into your pre-heated baking vessel. Cover and let rest for another 30-45 minutes for the second rise (proofing). -
Step 5
Preheat your oven to 450°F (230°C) with a Dutch oven or heavy, oven-safe pot (with lid) inside for at least 30 minutes. Carefully remove the hot Dutch oven. Transfer the shaped dough into the hot Dutch oven (using parchment paper if applicable). Cover with the hot lid. -
Step 6
Bake for 30 minutes with the lid on. Then, carefully remove the lid and continue baking for another 15-20 minutes, or until the crust is deep golden brown and the internal temperature reaches 200-210°F (93-99°C). -
Step 7
Carefully remove the bread from the Dutch oven and place it on a wire rack to cool completely before slicing to allow the crumb to set properly.
Important Information
Nutrition Facts (Per Serving)
It is important to consider this information as approximate and not to use it as definitive health advice.
Allergy Information
Please check ingredients for potential allergens and consult a health professional if in doubt.


Leave a Comment