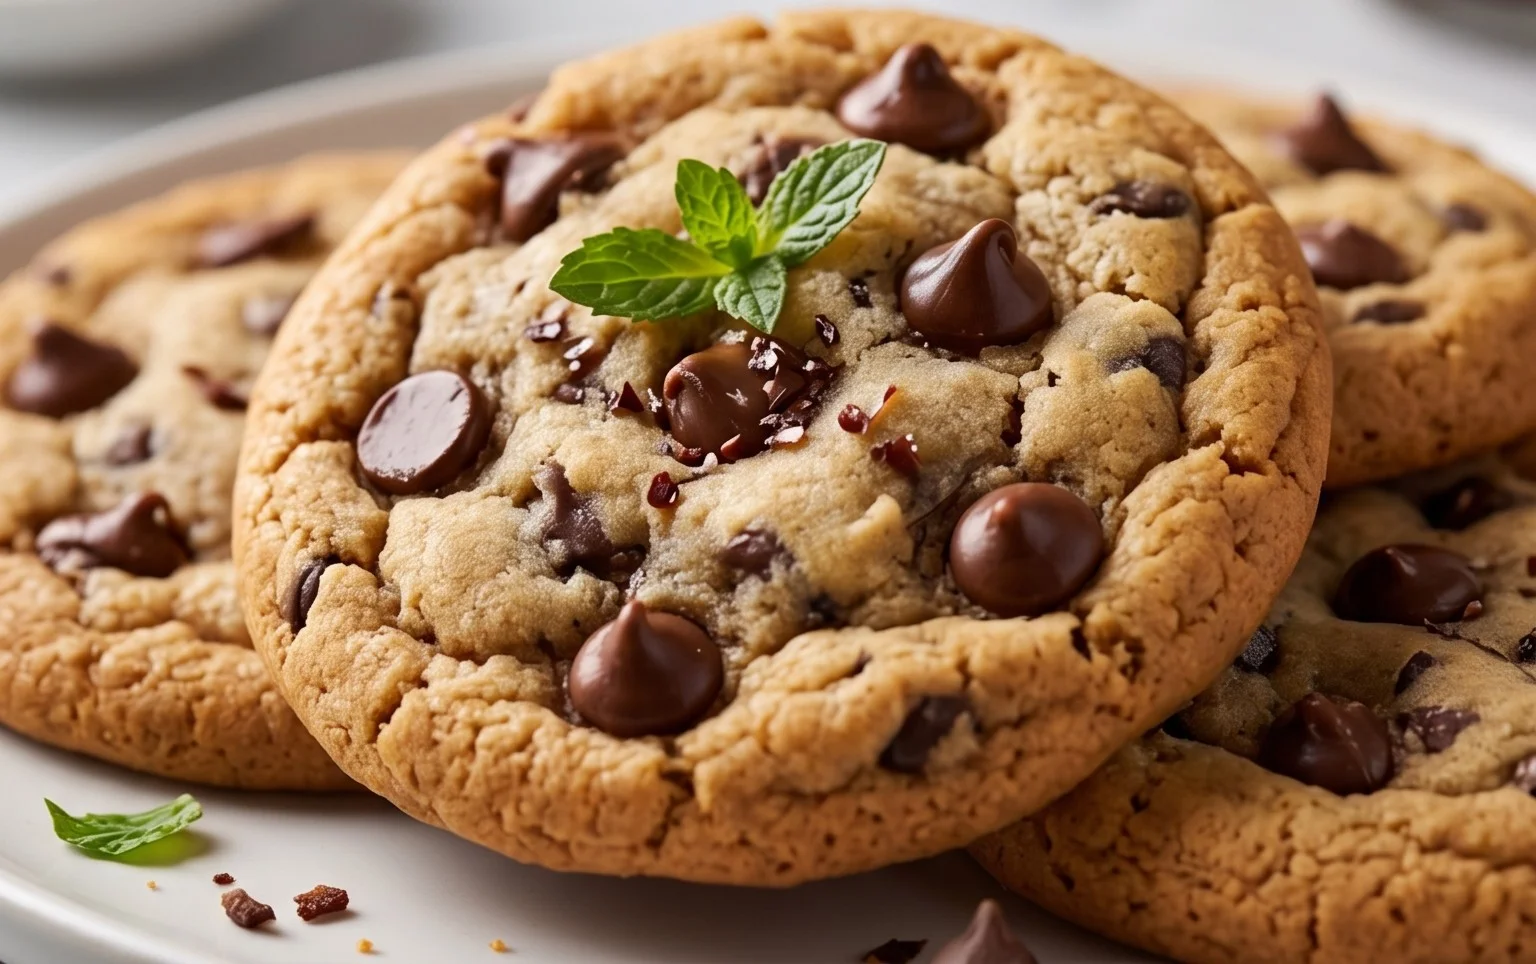
The Best Soft Chocolate Chip Cookies are a legendary treat, aren’t they? There’s something undeniably magical about biting into a warm cookie, where the edges offer a delicate crispness that yields to a wonderfully gooey, melt-in-your-mouth center. We all have our memories associated with these delightful circles of joy – maybe it was Mom’s baking on a Saturday afternoon, or a first date shared over a warm batch. What truly sets these best soft chocolate chip cookies apart is the perfect balance of flavors and textures. It’s not just about the chocolate chips (though plenty of those are essential!); it’s the subtle hint of vanilla, the richness of the butter, and that crucial tender crum extractb that makes you close your eyes in pure bliss. If you’ve ever felt disappointed by a dry, crum extractbly cookie, prepare to have your world changed. This recipe is crafted to deliver that consistently soft, chewy perfection every single time. Get ready to bake up a batch of pure happiness!

The Best Soft Chocolate Chip Cookies
There are few things in life as universally comforting and satisfying as a warm, soft chocolate chip cookie. The kind that has a slightly crisp edge, a chewy center, and is absolutely packed with melty chocolate. I’ve spent countless hours in the kitchen, experimenting with different ratios, temperatures, and techniques to arrive at what I firmly believe is the best soft chocolate chip cookie recipe. This recipe prioritizes that perfect balance of chegrape juicess, gooeyness, and that unmistakable homemade flavor. Forget those flat, crispy discs – we’re going for pure indulgence here.
This recipe is surprisingly straightforward, but a few key techniques elevate it from good to truly unforgettable. Don’t rush the chilling process, and don’t be afraid to slightly underbake them for that signature soft center. The result will be a batch of cookies that will disappear faster than you can say “milk, please!”
Ingredients:
Let’s Get Baking!
Creating these cookies is a joy, and the process itself is part of the reward. Take your time, enjoy the aroma of butter and sugar creaming together, and anticnon-alcoholic ipate the deliciousness to come.
Creaming the Butter and Sugars:
First, let’s get our foundation perfectly creamy. In a large mixing bowl, combine the softened salted butter with the white sugar and the packed light brown sugar. You want to cream these together until the mixture is light and fluffy. This is a crucial step for developing texture and airiness in your cookies. I like to use an electric mixer on medium speed for this, scraping down the sides of the bowl a couple of times to ensure everything is incorporated evenly. This usually takes about 2-3 minutes. The sugars dissolve into the butter, creating a smooth, homogenous base that will contribute to both chegrape juicess and a slight crispness on the edges. Don’t skimp on this step; a well-creamed mixture is key to superior cookie texture.
Adding the Wet Ingredients:
Once your butter and sugar are perfectly creamed, it’s time to introduce the wet ingredients. Add the vanilla extract and the large egg (make sure it’s at room temperature; this helps it emulsify better with the butter and sugar, preventing a greasy texture) to the bowl. Mix on low speed until just combined. Overmixing at this stage can lead to tough cookies, so be gentle. You’re looking for a smooth, emulsified mixture. If your egg seems a little cold and separates slightly, don’t worry too much, as the next steps will bring it all together.
Combining the Dry Ingredients and Mixing the Dough:
In a separate medium bowl, whisk together the all-purpose flour, baking soda, and salt. Whisking the dry ingredients ensures that the leavening agent (baking soda) and salt are evenly distributed throughout the flour, which will result in consistent cookie rise and flavor. Now, gradually add the dry ingredients to the wet ingredients. Mix on low speed until just combined. It’s important not to overmix the dough once the flour is added, as this can develop the gluten too much and result in tough cookies. Stop mixing as soon as you no longer see streaks of dry flour. This is also the point where you’ll gently fold in your chocolate chips and chunks. Use a spatula or a wooden spoon for this to avoid overworking the dough. I like to reserve a small handful of chocolate chips to press onto the tops of the cookies before baking for an extra appealing look.
Chilling the Dough – The Secret to Softness:
This is arguably the most important step for achieving truly soft chocolate chip cookies. Cover the bowl tightly with plastic wrap and refrigerate the dough for at least 30 minutes, and ideally for 1-2 hours. You can even let it chill overnight. Chilling the dough allows the fats to solidify, which prevents the cookies from spreading too much in the oven, leading to thicker, softer cookies. It also allows the flavors to meld together, resulting in a more complex and delicious cookie. If you’re short on time, even 30 minutes in the freezer will make a difference, though the refrigerator is preferable. A well-chilled dough is less likely to become greasy and flat.
Scooping and Baking:
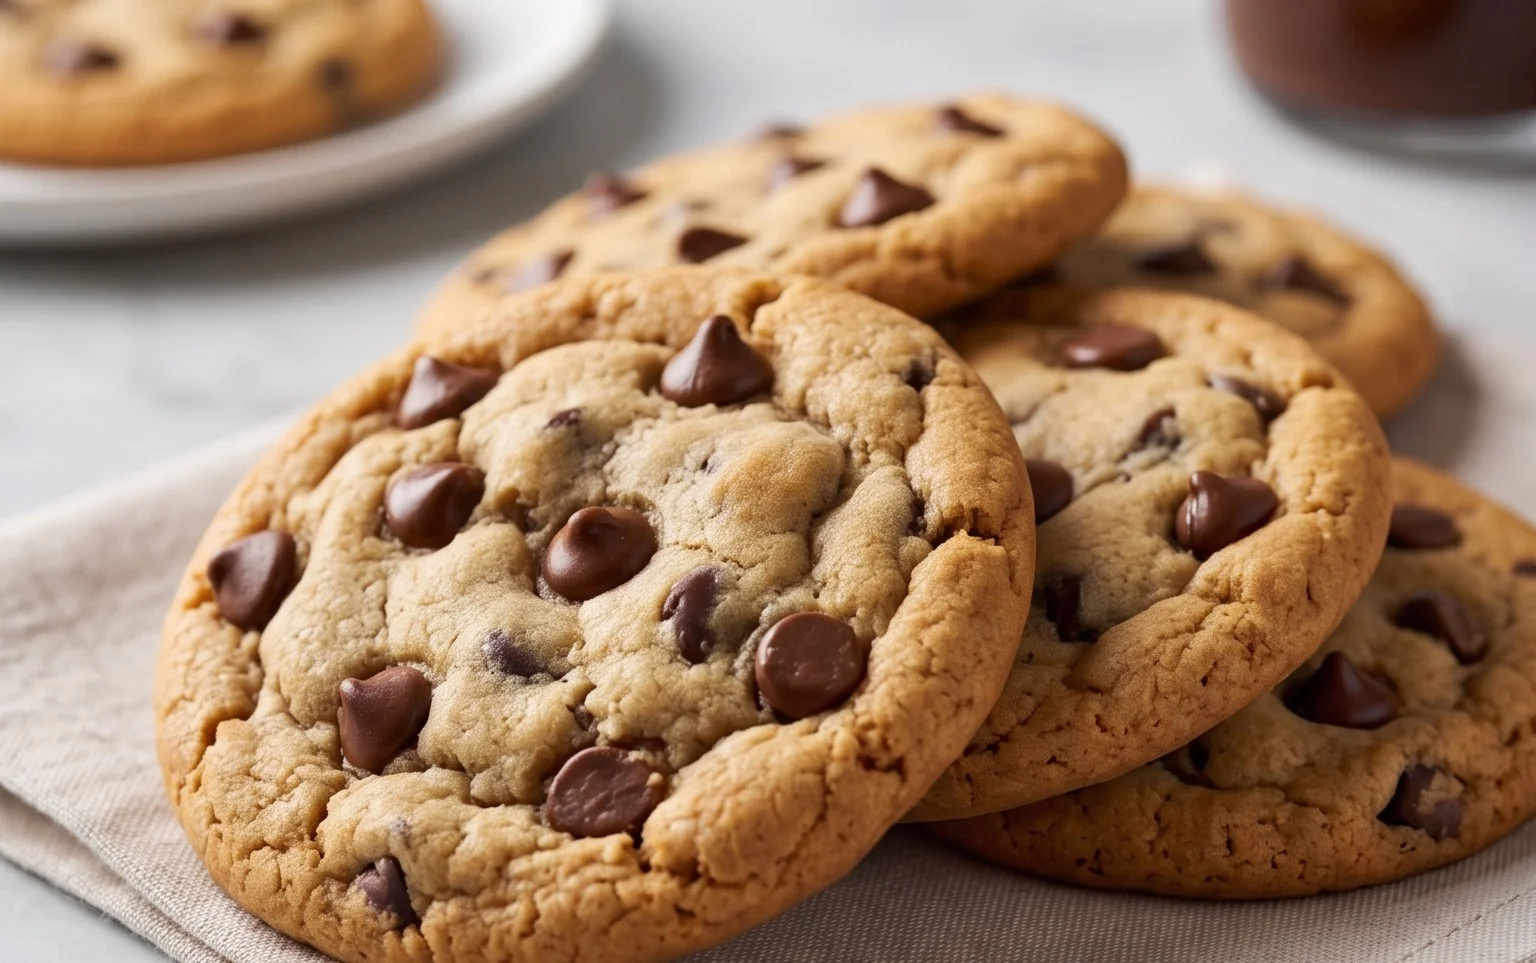
Preheat your oven to 375°F (190°C). Line baking sheets with parchment paper. This not only prevents sticking but also helps with even browning. Scoop rounded tablespoons of the chilled dough onto the prepared baking sheets, leaving about 2 inches between each cookie to allow for spreading. Don’t flatten the dough balls; let them retain their shape. For those extra pretty cookies, gently press a few extra chocolate chips onto the tops of the dough balls. Bake for 9-12 minutes, or until the edges are lightly golden brown and the centers still look slightly underbaked and puffy. This is the key to that soft, gooey interior. The cookies will continue to set up on the baking sheet after they’re removed from the oven. For the chewiest cookies, err on the side of underbaking.
Cooling and Enjoying:
Once baked, let the cookies cool on the baking sheet for 5-10 minutes before carefully transferring them to a wire rack to cool completely. This resting period is essential for the cookies to firm up slightly and develop their perfect texture. As they sit, they continue to cook from residual heat, and their interiors become wonderfully chewy. Once cooled enough to handle, or ideally still warm, enjoy them with a tall glass of milk! These cookies are best enjoyed fresh, but they will keep in an airtight container at room temperature for a few days.
Conclusion:
There you have it – my ultimate recipe for the best soft chocolate chip cookies! What makes these so special? It’s the perfect balance of chewy edges and a delightfully soft, gooey center, achieved through a careful combination of ingredients and a precise baking time. This recipe consistently delivers that comforting, melt-in-your-mouth experience that everyone loves. I truly believe these will become your go-to for any occasion, from a simple afternoon treat to a special gathering.
These cookies are incredibly versatile. They are absolutely divine served warm with a tall glass of cold milk, or even better, alongside a scoop of vanilla ice cream for the ultimate indulgence. For a touch of elegance, consider a light dusting of sea salt on top before baking to enhance the chocolate flavor. Don’t be afraid to get creative with variations! Adding chopped nuts like walnuts or pecans, or even a swirl of caramel, can elevate these cookies to new heights. Give this recipe a try; I’m confident you’ll be delighted with the results and find yourself baking them again and again!
Frequently Asked Questions:
Why are my chocolate chip cookies not soft?
Often, overbaking is the culprit for hard cookies. For the best soft chocolate chip cookies, aim to pull them from the oven when the edges look set but the centers still appear slightly underbaked and shiny. They will continue to cook and firm up as they cool on the baking sheet. Also, ensuring you’re using the correct ratio of ingredients, particularly not too much flour, is key to softness.
Can I make these cookies ahead of time?
Yes, absolutely! You can prepare the dough and chill it in the refrigerator for up to 3 days. This chilling period actually enhances the flavor and texture. Alternatively, you can freeze the dough balls on a baking sheet until solid, then transfer them to a freezer-safe container for up to 3 months. Bake from frozen, adding a minute or two to the baking time.
The Best Soft Chocolate Chip Cookies
Deliciously soft and chewy chocolate chip cookies with a perfect balance of sweet and chocolatey flavor.
Ingredients
-
8 tablespoons salted butter, softened
-
1/2 cup white sugar (raw cane sugar recommended)
-
1/4 cup packed light brown sugar
-
1 teaspoon vanilla extract
-
1 large egg
-
1 1/2 cups all purpose flour (6.75 ounces)
-
1/2 teaspoon baking soda
-
1/4 teaspoon salt (plus a little extra)
-
3/4 cup chocolate chips (combination of chips and chunks)
Instructions
-
Step 1
Preheat oven to 350°F (175°C). Line baking sheets with parchment paper. -
Step 2
In a large bowl, cream together the softened butter, white sugar, and brown sugar until light and fluffy. -
Step 3
Beat in the vanilla extract and the egg until well combined. -
Step 4
In a separate medium bowl, whisk together the all-purpose flour, baking soda, and salt. -
Step 5
Gradually add the dry ingredients to the wet ingredients, mixing until just combined. Do not overmix. -
Step 6
Stir in the chocolate chips and chocolate chunks. -
Step 7
Drop rounded tablespoons of dough onto the prepared baking sheets, about 2 inches apart. -
Step 8
Bake for 9-11 minutes, or until the edges are golden brown and the centers are still slightly soft. -
Step 9
Let the cookies cool on the baking sheets for a few minutes before transferring them to a wire rack to cool completely.
Important Information
Nutrition Facts (Per Serving)
It is important to consider this information as approximate and not to use it as definitive health advice.
Allergy Information
Please check ingredients for potential allergens and consult a health professional if in doubt.
Leave a Comment