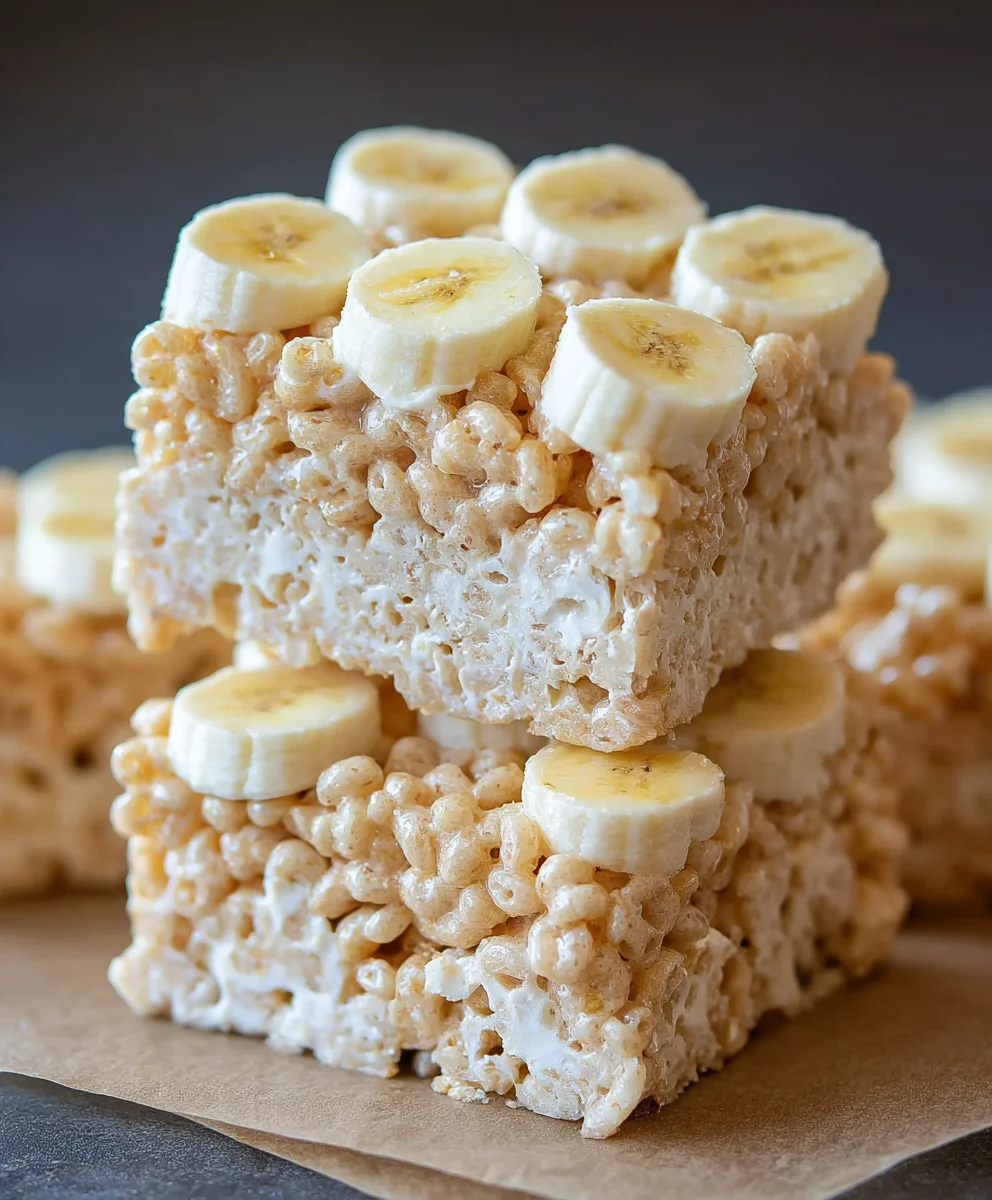
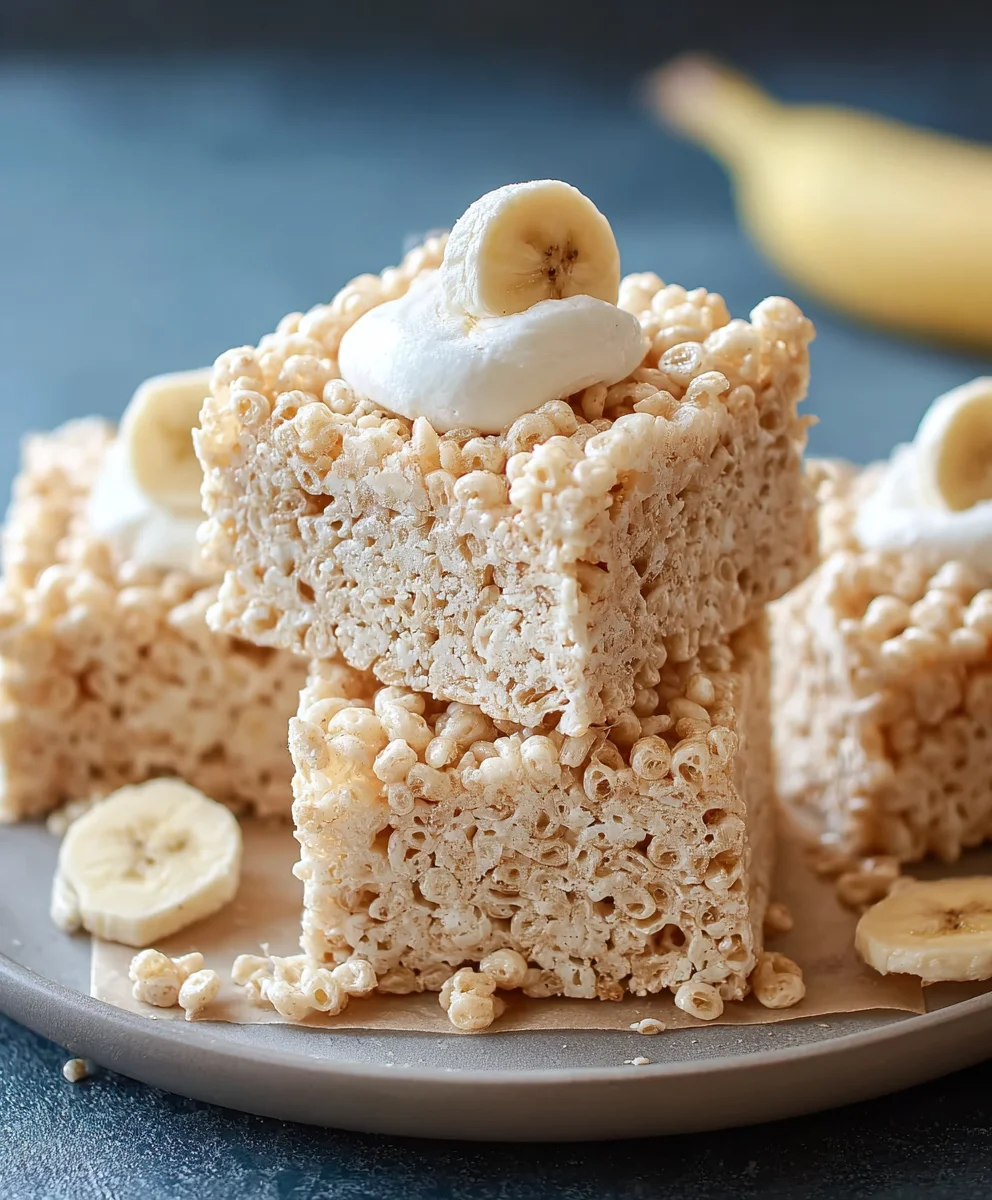
Banana Pudding Rice Krispie Treats are a delightful mashup that takes two beloved comfort foods and combines them into one utterly irresistible snack. Have you ever craved the creamy, sweet nostalgia of banana pudding but also the satisfying crunch of a classic Rice Krispie treat? Well, wonder no more! We’ve captured the essence of that iconic dessert and transformed it into a chewy, gooey, and outrageously delicious bar. The magic happens when the familiar buttery, marshmallowy base of a Rice Krispie treat meets the subtle, sweet notes of ripe banana and the creamy, pudding-like texture we all adore. It’s a surprising yet harmonious blend that will have everyone asking for the recipe. Perfect for parties, after-school snacks, or just a little moment of pure joy, these treats offer a unique twist on a familiar favorite that’s sure to become a new go-to.”

Ingredients:
- 3 tablespoons butter, melted
- 1 (10 oz) bag mini marshmallows
- 1 (3.4 oz) box instant banana pudding mix
- 6 cups Rice Krispies cereal
- Crushed Nilla Wafers, for topping
Preparing Your Workspace and Ingredients
Before we dive into the deliciousness, it’s crucial to have everything prepped and ready. This ensures a smooth and efficient process, especially when working with sticky marshmallows. First, thoroughly grease a 9×13 inch baking pan. You can use butter, non-stick cooking spray, or even a light coating of oil. A well-greased pan is your best friend here; it will prevent the treats from sticking and make them so much easier to press and remove later. Next, gather all your ingredients and have them measured out and within easy reach. Melting the butter ahead of time is a good idea, as is having your Rice Krispies cereal measured and ready to go. For the Nilla Wafers, place a generous handful into a zip-top bag and use a rolling pin or the bottom of a sturdy glass to crush them into fine crum extractbs. Don’t worry about perfect uniformity; a bit of texture is lovely.
Melting the Marshmallows
In a large pot or Dutch oven, combine the melted butter and the entire bag of mini marshmallows. Place this pot over medium-low heat on your stovetop. It’s important to use medium-low heat to prevent the marshmallows from scorching. Stir constantly with a heatproof spatula or wooden spoon. You’ll notice the marshmallows slowly begin extract to soften and melt. Keep stirring until the mixture is completely smooth and there are no discernible marshmallow lumps. This process usually takes about 5-7 minutes. Once smooth, remove the pot from the heat immediately to prevent further cooking or browning.
Infusing with Banana Pudding Flavor
This is where the magic happens and we elevate these treats to a whole new level of deliciousness. While the melted marshmallow mixture is still hot and fluid, but off the heat, sprinkle the entire contents of the instant banana pudding mix directly over the top. Do not stir it in just yet. Let it sit on top for about 30 seconds. This allows the heat from the marshmallow mixtugin extractto begin activating the pudding mix’s flavors and thickeners. After thatgin extractief pause, begin to gently but thoroughly stir the pudding mix into the marshmallow mixture. Continue stirring until the pudding mix is completely incorporated and the entire mixture has a uniform pnon-alcoholic ale yellow color and a lovely banana aroma. It might seem a little clumpy at first, but keep stirring; it will smooth out. This step is key to ensuring an even distribution of that delightful banana flavor throughout your treats.
Combining with Rice Krispies
Once the banana-infused marshmallow mixture is smooth and homogenous, it’s time to add the star cereal. Add the 6 cups of Rice Krispies cereal to the pot with the marshmallow and pudding mixture. Using your heatproof spatula, gently but quickly fold the cereal into the sticky mixture. The goal here is to coat every single piece of Rice Krispies cereal with the banana-marshmallow goodness. Work efficiently, as the marshmallow mixture will start to cool and firm up, making it harder to mix. Ensure there are no dry spots of cereal left. The mixture will become quite dense and sticky at this stage.
Pressing and Topping Your Treats
Carefully spoon the Rice Krispie mixture into your prepared 9×13 inch baking pan. This will be sticky, so don’t be afraid to use your greased spatula or even lightly greased hands to help press it down evenly into the pan. You want a compact and uniform layer. Don’t press too hard, or your treats might become tough; firm, even pressure is best. Once the base is pressed, immediately sprinkle a generous amount of your crushed Nilla Wafers over the top. Gently press the crushed wafers into the still-warm treats so they adhere. This adds a wonderful crunch and complements the banana flavor beautifully. You can add as much or as little as you like, according to your preference for Nilla Wafer goodness.
Cooling and Cutting
Allow the Banana Pudding Rice Krispie Treats to cool completely in the pan. This usually takes at least 1 hour, but it’s worth the wait for perfectly set treats. Resist the urge to cut them while they are still warm; they will likely fall apart. Once fully cooled and firm, you can carefully invert the pan onto a cutting board or slice them directly in the pan. Use a sharp knife, lightly greased or dipped in warm water, to cut the treats into your desired squares or rectangles. For cleaner cuts, wipe the knife clean between slices if needed. These treats are best enjoyed at room temperature.
Conclusion:
And there you have it – a delightful journey to creating these utterly irresistible Banana Pudding Rice Krispie Treats! We’ve combined the nostalgic crunch of Rice Krispies with the comforting flavors of banana pudding for a treat that’s truly special. These treats are surprisingly simple to whip up, making them perfect for any occasion, from a quick afternoon snack to a crowd-pleasing dessert for your next gathering. Remember to press the mixture firmly into your pan for those perfect, hold-together squares, and don’t be shy with the banana extract – it’s the secret to that authentic pudding flavor!
To elevate your Banana Pudding Rice Krispie Treats, consider serving them alongside a scoop of vanilla bean ice cream or a dollop of whipped cream. They also make a fantastic base for a deconstructed banana pudding. Feel free to get creative with variations! Adding a sprinkle of crushed Nilla wafers on top before they set can enhance the banana pudding theme even further. For a more decadent twist, drizzle with white chocolate or caramel sauce. We encourage you to try this recipe and share the joy of these unique, homemade delights with your loved ones. Happy baking (or rather, no-baking)!
Frequently Asked Questions:
Q: How can I ensure my Banana Pudding Rice Krispie Treats have a strong banana flavor?
A: The key to a prominent banana flavor lies in using a good quality banana extract. Don’t be afraid to use the amount specified in the recipe, or even a touch more if you prefer a more intense taste. While fresh bananas can add moisture and affect the texture, banana extract provides a concentrated, consistent flavor without altering the crispiness of the treats.
Q: Can I make Banana Pudding Rice Krispie Treats ahead of time?
A: Absolutely! Banana Pudding Rice Krispie Treats are perfect for making ahead. Once they have completely cooled and set, cut them into squares and store them in an airtight container at room temperature. They will stay fresh and delicious for up to 3-4 days. This makes them an ideal make-ahead option for parties or events.
Banana Pudding Rice Krispie Treats Recipe
A delightful twist on a classic, these Banana Pudding Rice Krispie Treats combine the crispy texture of Rice Krispies with the sweet, creamy flavor of banana pudding and the crunch of Nilla Wafers.
Ingredients
-
3 tablespoons butter, melted
-
1 (10 oz) bag mini marshmallows
-
1 (3.4 oz) box instant banana pudding mix
-
6 cups Rice Krispies cereal
-
Crushed Nilla Wafers, for topping
Instructions
-
Step 1
Grease a 9×13 inch baking pan. Gather and measure all ingredients. Crush Nilla Wafers by placing them in a zip-top bag and crushing with a rolling pin or heavy object. -
Step 2
In a large pot or Dutch oven over medium-low heat, combine melted butter and mini marshmallows. Stir constantly until completely smooth, about 5-7 minutes. Remove from heat. -
Step 3
Sprinkle the instant banana pudding mix over the hot marshmallow mixture. Let sit for 30 seconds, then stir gently until fully incorporated and the mixture is a uniform yellow with a banana aroma. -
Step 4
Add the Rice Krispies cereal to the pot. Gently but quickly fold the cereal into the sticky mixture until every piece is coated. Work efficiently. -
Step 5
Spoon the mixture into the prepared baking pan. Press down evenly with a greased spatula or hands. Immediately sprinkle crushed Nilla Wafers over the top and gently press them into the treats. -
Step 6
Allow the treats to cool completely in the pan for at least 1 hour. Once firm, cut into desired shapes with a sharp knife.
Important Information
Nutrition Facts (Per Serving)
It is important to consider this information as approximate and not to use it as definitive health advice.
Allergy Information
Please check ingredients for potential allergens and consult a health professional if in doubt.


Leave a Comment