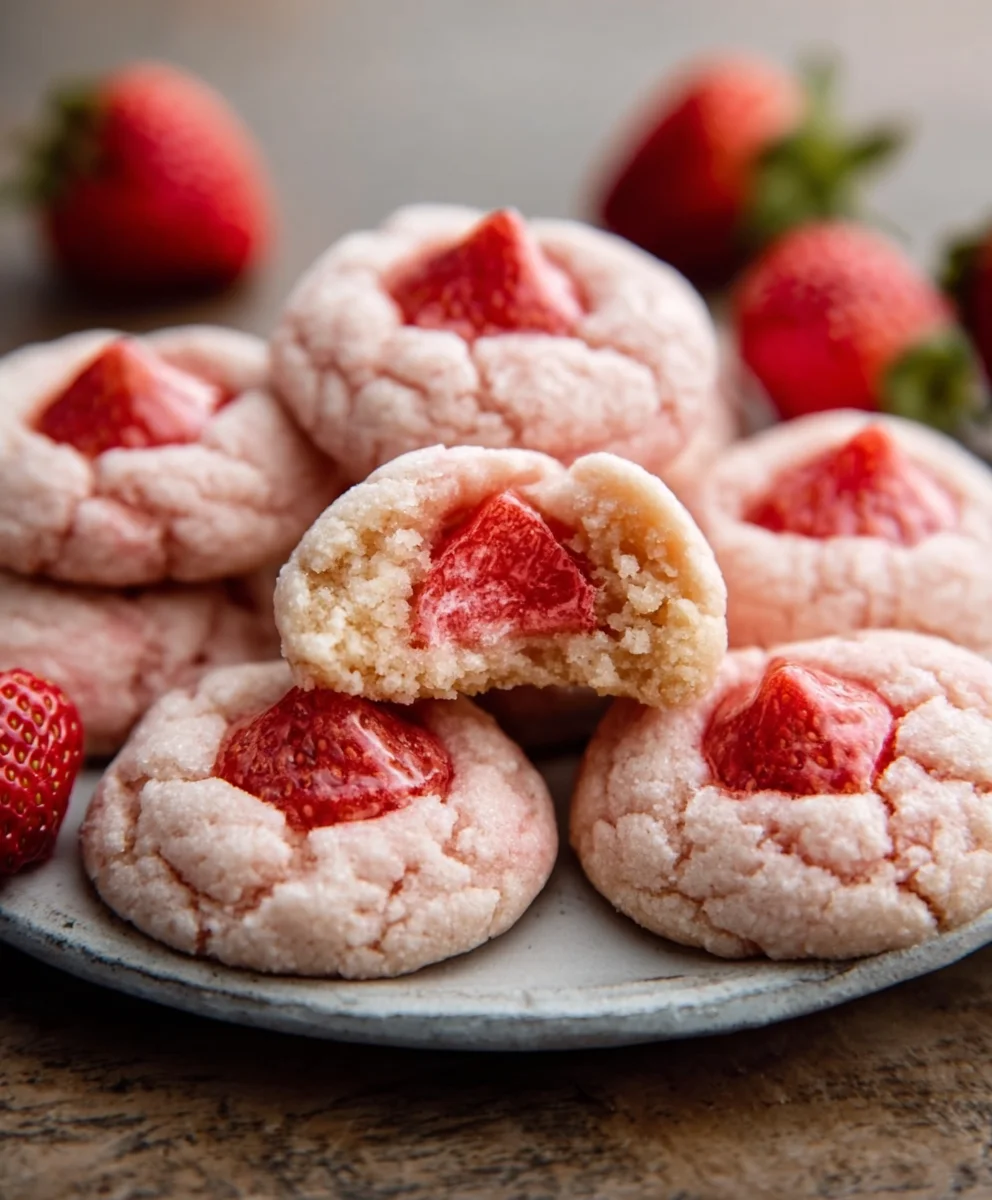
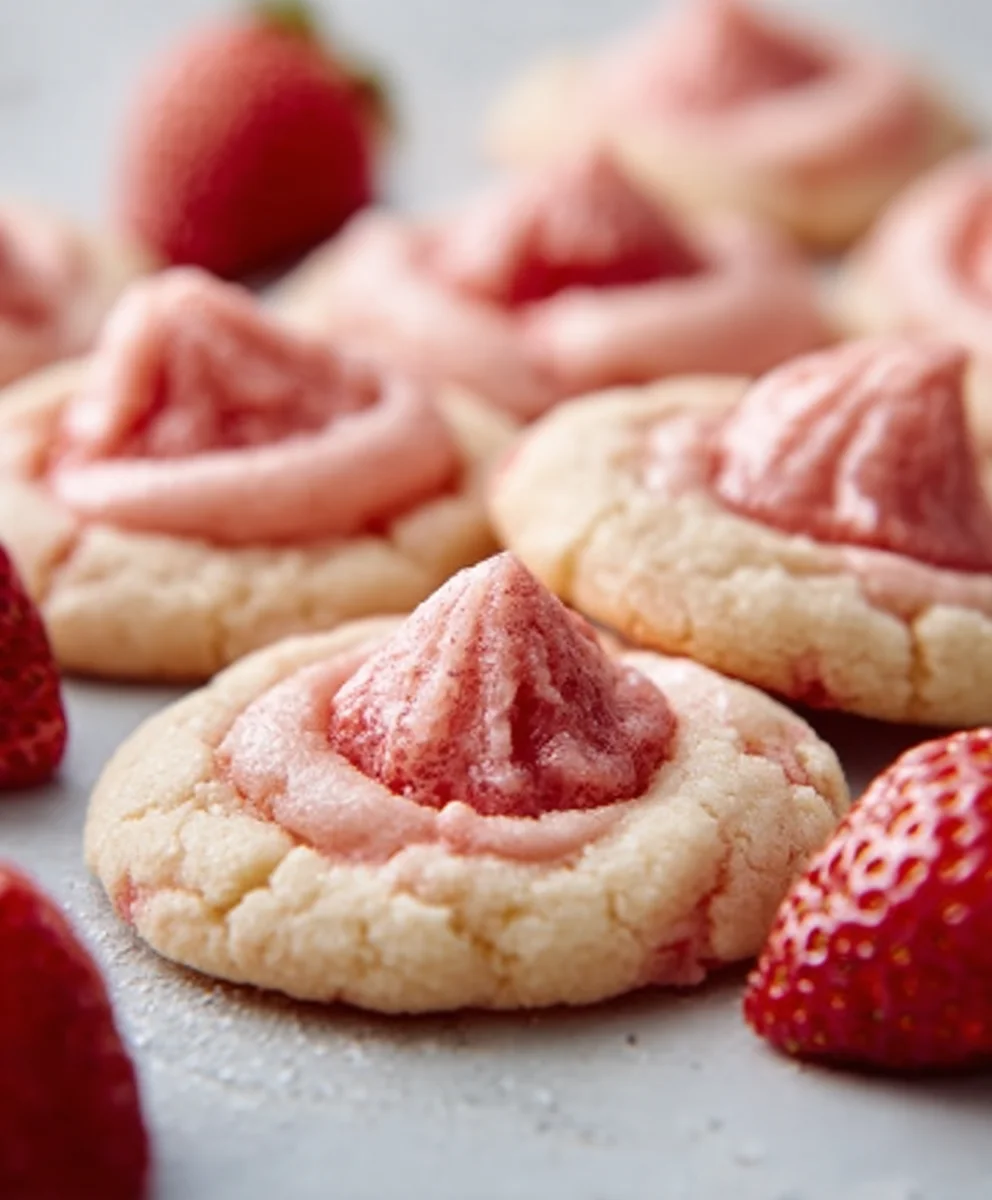
Strawberry Kiss Cookies Recipe, oh where do I even begin extract? These delightful little gems are more than just cookies; they’re tiny bursts of sunshine and pure joy, perfect for any occasion that calls for a sweet indulgence. People absolutely adore them because they capture the essence of a summer garden in every bite – that delicate sweetness of fresh strawberries paired with a tender, melt-in-your-mouth cookie base. What truly sets this Strawberry Kiss Cookies Recipe apart is the magical transformation of simple ingredients into something so visually stunning and incredibly flavorgin extract. Imagine a cookie so light and airy, with a hint of fruity tang that dances on your tongue, finished with a beautiful, often vibrant, pink hue that’s as inviting as it is delicious. They’re the kind of cookie that sparks smiles and prompts immediate requests for seconds (and thirds!).

Ingredients:
- 1 cup (226g) unsalted butter, softened
- 1 cup (200g) granulated sugar
- 1 large egg, at room temperature
- 1 teaspoon vanilla extract
- 1/2 teaspoon almond extract (optional, but highly recommended for an extra layer of flavor)
- 2 cups plus 2 tablespoons (280g) all-purpose flour
- 1 teaspoon baking powder
- 1/4 teaspoon salt
- 1 package (3 oz) strawberry-flavored gelatin mix (this is the secret to our vibrant color and fruity kiss!)
- 1/4 cup powdered sugar, for dusting
- 24-30 chocolate kiss candies, unwrapped (the classic Hershey’s Kisses are perfect for this)
Making the Strawberry Kiss Cookies
Mixing the Dough
We’re starting by creating a wonderfully tender and flavorful cookie dough. In a large mixing bowl, cream together the softened unsalted butter and granulated sugar. You want to beat these until the mixture is light and fluffy, which usually takes about 2-3 minutes with an electric mixer. This process incorporates air, which helps create a lighter cookie texture. Next, beat in the large egg and the vanilla extract. If you’re using the almond extract, now is the time to add it! The almond extract adds a subtle, delightful nuttiness that really complements the strawberry flavor, so I encourage you to include it if you can. Make sure the egg is fully incorporated before moving on to the dry ingredients.
Adding the Dry Ingredients and Gelatin
In a separate medium bowl, whisk together the all-purpose flour, baking powder, and salt. Whisking these dry ingredients together ensures they are evenly distributed throughout the dough, preventing any pockets of leavening or salt. Now, it’s time to add the star of the show: the strawberry-flavored gelatin mix! This powder not only gives our cookies their beautiful pink hue but also infuses them with a delightful fruity essence. Gradually add the dry ingredients and the strawberry gelatin mix to the wet ingredients, mixing on low speed until just combined. Be careful not to overmix the dough at this stage, as overmixing can develop the gluten in the flour too much, leading to tougher cookies. The dough should be soft and slightly sticky, but manageable.
Forming and Baking the Cookies
Now for the fun part – shaping our cookies! Preheat your oven to 350°F (175°C). Line baking sheets with parchment paper to prevent sticking and ensure even baking. Roll the cookie dough into balls about 1 inch in diameter. You can use a cookie scoop for consistency if you like. Place the dough balls about 2 inches apart on the prepared baking sheets. This gives them enough room to spread slightly as they bake. Bake for 9 to 11 minutes, or until the edges are lightly golden and the centers are set. The cookies should still look a little soft in the middle when you take them out of the oven; they will continue to cook slightly on the hot baking sheet.
Adding the Chocolate Kiss
This step is crucial for that iconic “kiss” cookie look and taste! As soon as the cookies come out of the oven, while they are still warm and slightly soft, gently press one unwrapped chocolate kiss candy into the center of each cookie. The residual heat from the cookie will begin extract to melt the bottom of the chocolate kiss, helping it adhere beautifully. You want the kiss to sink in slightly but not completely submerge. If your cookies are too firm, the kiss might just sit on top. If your cookies are too soft, the kiss might sink too deeply. This is why timing is key!
Cooling and Finishing Touches
Allow the cookies to cool on the baking sheets for 5 minutes. This is important because it allows the cookies to set up a bit more, making them easier to handle. During this time, the chocolate kiss will continue to soften and melt slightly, creating that delightful gooey center. After 5 minutes, carefully transfer the cookies to a wire rack to cool completely. Once the cookies have cooled and the chocolate kisses have firmed up a bit (but are still delightfully melty when you bite into them!), you can add the final touch. Lightly dust the cooled cookies with powdered sugar. This adds a touch of sweetness and visual appeal, making them look truly irresistible. These Strawberry Kiss Cookies are best enjoyed at room temperature, where the flavors meld perfectly and the texture is just right.
Conclusion:
And there you have it! Your very own batch of delightful Strawberry Kiss Cookies. These little bites of sweet perfection are incredibly satisfying to make and even more so to enjoy. We hope you’ve had fun bringin extractg this Strawberry Kiss Cookies Recipe to life. The delicate balance of sweet strawberry and buttery cookie creates a truly memorable treat that’s perfect for any occasion, from a casual afternoon tea to a special celebration.
Don’t be afraid to get creative with your serving suggestions! These cookies are wonderful on their own, of course, but they also pair beautifully with a glass of cold milk, a cup of hot coffee, or even a light, fruity tea. For variations, consider adding a touch of lemon zest to the dough for a brighter flavor, or even dipping half of the cooled cookies in white chocolate for an extra decadent touch. You can also experiment with different shades of pink food coloring to achieve your desired hue. We encourage you to share these with loved ones, as homemade treats always taste better when enjoyed together. Happy baking!
Frequently Asked Questions:
How can I store my Strawberry Kiss Cookies?
Store your cooled Strawberry Kiss Cookies in an airtight container at room temperature. They should stay fresh for up to 5 days.
Can I make these cookies ahead of time?
Yes! You can prepare the dough and refrigerate it for up to 3 days before baking. This allows the flavors to meld beautifully.
My cookies spread too much. What went wrong?
Oftentimes, overmixing the dough can cause cookies to spread. Ensure you mix the wet and dry ingredients just until combined. Also, make sure your butter is softened, not melted, and that your baking soda is fresh.
Strawberry Kiss Cookies
Easy and delicious strawberry kiss cookies with a vibrant pink hue and a fruity twist, topped with a classic chocolate kiss.
Ingredients
-
1 cup (226g) unsalted butter, softened
-
1 cup (200g) granulated sugar
-
1 large egg, at room temperature
-
1 teaspoon vanilla extract
-
1/2 teaspoon almond extract (optional)
-
2 cups plus 2 tablespoons (280g) all-purpose flour
-
1 teaspoon baking powder
-
1/4 teaspoon salt
-
1 package (3 oz) strawberry-flavored gelatin mix
-
1/4 cup powdered sugar, for dusting
-
24-30 chocolate kiss candies, unwrapped
Instructions
-
Step 1
In a large mixing bowl, cream together softened unsalted butter and granulated sugar until light and fluffy. Beat in the egg, vanilla extract, and almond extract (if using) until fully incorporated. -
Step 2
In a separate bowl, whisk together flour, baking powder, and salt. Gradually add the dry ingredients and strawberry gelatin mix to the wet ingredients, mixing on low speed until just combined. Do not overmix. -
Step 3
Preheat oven to 350°F (175°C). Line baking sheets with parchment paper. Roll dough into 1-inch balls and place about 2 inches apart on baking sheets. -
Step 4
Bake for 9 to 11 minutes, or until edges are lightly golden and centers are set. Remove from oven. -
Step 5
While cookies are still warm, gently press one unwrapped chocolate kiss candy into the center of each cookie. -
Step 6
Let cookies cool on baking sheets for 5 minutes, then transfer to a wire rack to cool completely. Dust with powdered sugar once cooled.
Important Information
Nutrition Facts (Per Serving)
It is important to consider this information as approximate and not to use it as definitive health advice.
Allergy Information
Please check ingredients for potential allergens and consult a health professional if in doubt.


Leave a Comment