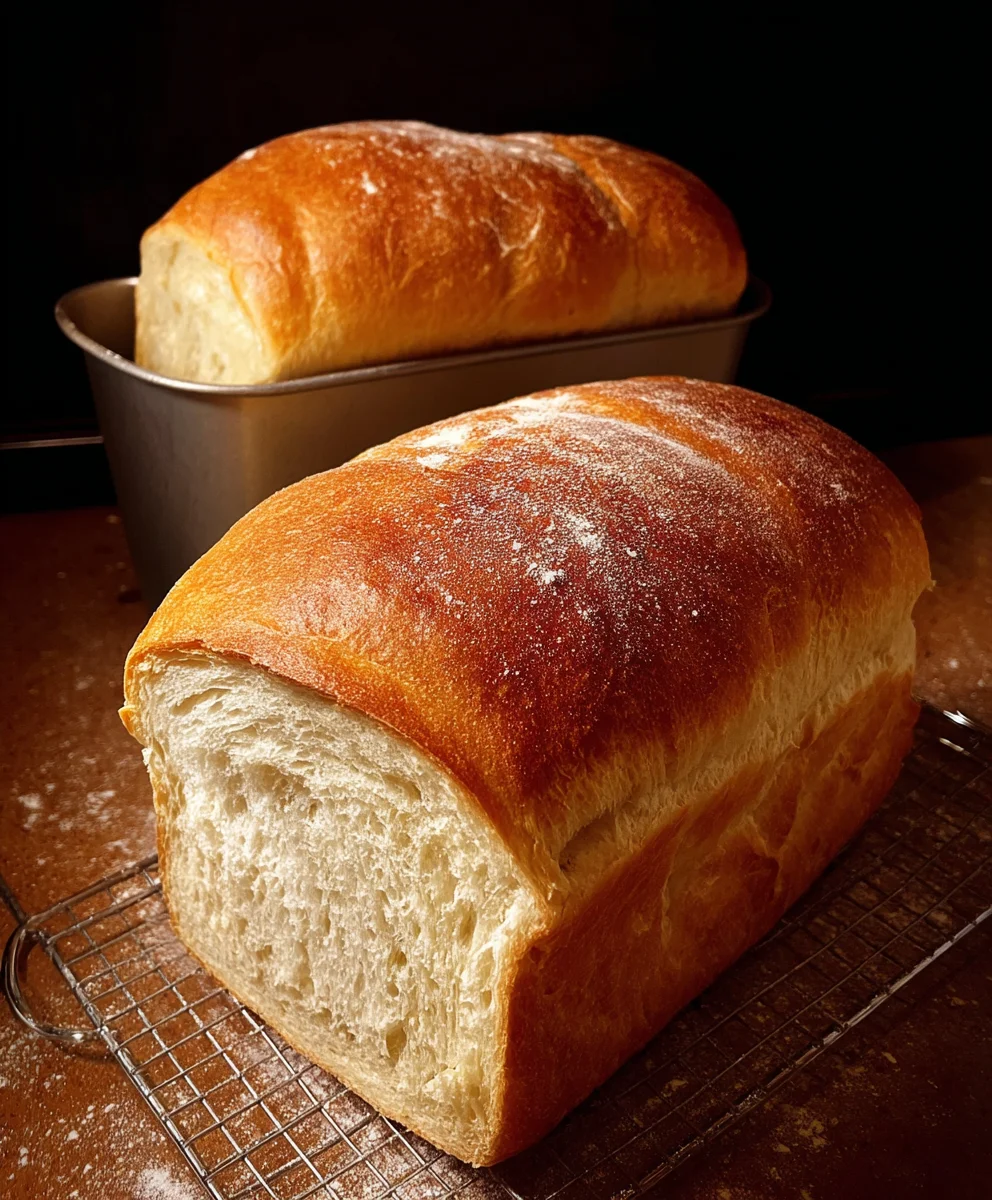
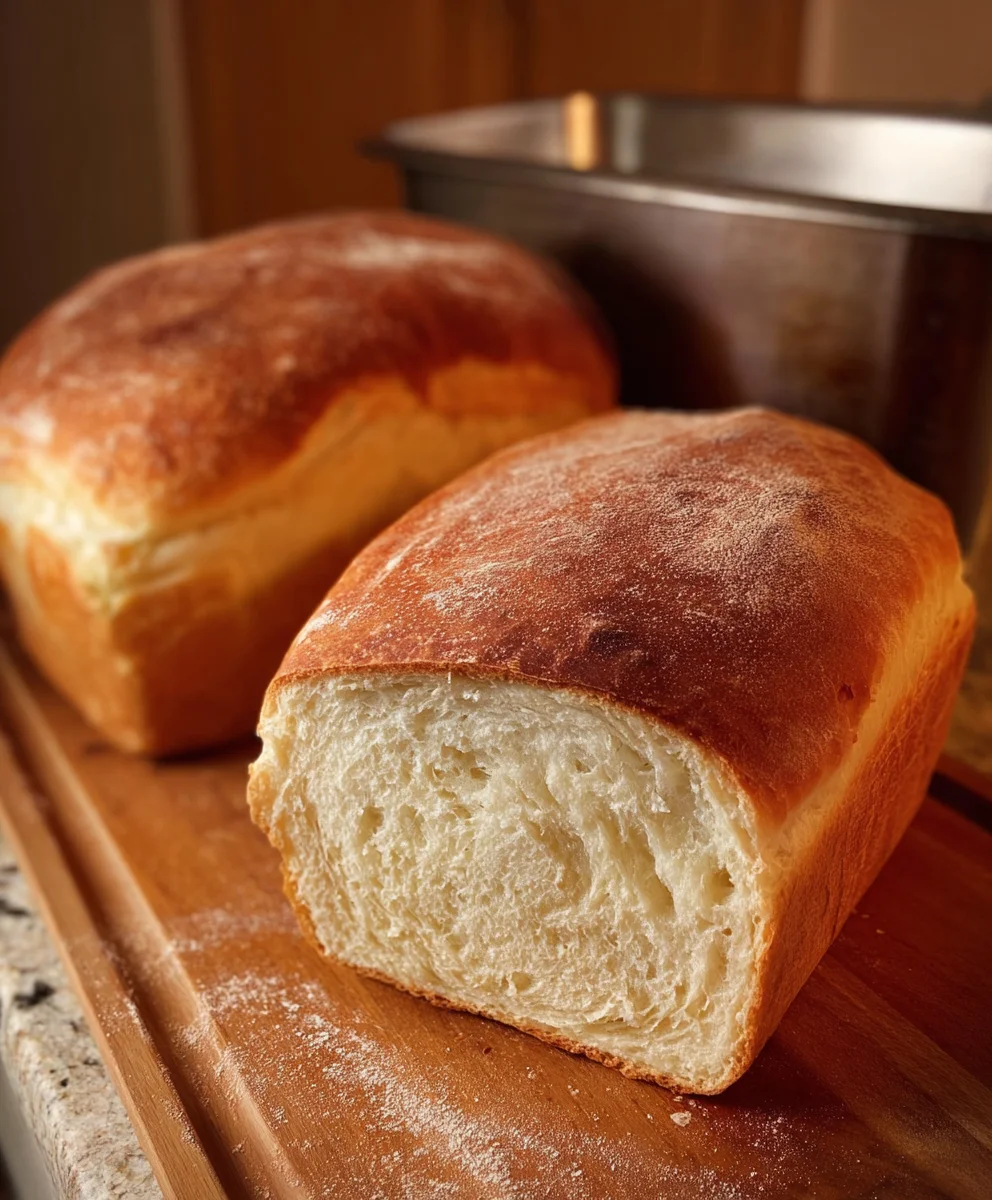
The Best White Bread from Scratch isn’t just a recipe; it’s an invitation to experience the pure, unadulterated joy of homemade goodness. There’s an undeniable magic that happens when simple ingredients like flour, yeast, water, and salt transform into a warm, fragrant loaf, its crust yielding with a satisfying crackle. What is it about this classic bread that captures our hearts and stomachs? Perhaps it’s the comforting aroma that fills the kitchen, signaling a moment of simple pleasure. Or maybe it’s the unparalleled texture – a soft, airy interior beggin extractg to be slathered with butter, jam, or used as the foundation for the ultimate sandwich. Making the best white bread from scratch is a wonderfully rewarding endeavor, a culinary tradition that connects us to generations of bakers and provides a delicious, wholesome staple for any table. Get ready to bake a loaf that will redefine your understanding of everyday bread.

Ingredients:
- 2 cups warm water (around 105-115°F or 40-46°C is ideal for yeast activation)
- 1/4 cup granulated sugar
- 5 cups all-purpose flour (plus extra for dusting)
- 2 teaspoons active dry yeast
- 2 teaspoons salt
- 3 tablespoons unsalted butter, softened to room temperature
Getting Started: Activating the Yeast
This is where the magic begin extracts! In a large mixing bowl, combine the warm water and sugar. Give it a gentle stir to dissolve the sugar. Now, sprinkle the active dry yeast over the surface of the water. Don’t stir it in just yet. Let it sit undisturbed for about 5 to 10 minutes. You should see the gin extractst begin to foam and bubble, forming a creamy layer on top. This indicates that your yeast is alive and active, which is crucial for a light and airy loaf. If you don’t see any activity after 10 minutes, your yeast might be old, or the water might have been too hot or too cold. In that case, it’s best to start over with fresh yeast and correctly tempered water to ensure your bread rises beautifully.
Mixinggin extracte Dough: Bringing it All Together
Once your yeast is bubbly and active, it’s time to add the other ingredients. To the same bowl, add the salt and the softened butter. Now, gradually add the flour, about a cup at a time, mixing after each addition. You can use a sturdy spoon or a dough hook attachment on your stand mixer for this. As you add the flour, the mixture will start to come together, transforming from a shaggy mess into a cohesive dough. Continue adding flour until the dough pulls away from the sides of the bowl and looks somewhat smooth. You might not need all 5 cups of flour, or you might need a tiny bit more, depending on the humidity and the type of flour you’re using. The dough should be slightly sticky but manageable.
Kneading the Dough: Developing Structure
Now for the satisfying part – kneading! Turn the dough out onto a liggin extracty floured surface. Begin kneading by pushing the dough away from you with the heels of your hands, then folding it back over itself. Rotate the dough a quarter turn and repeat. The goal here is to develop the gluten in the flour, which gives bread its structure and chewy texture. Kneading can be done by hand for about 8 to 10 minutes, or with a stand mixer fitted with a dough hook on medium speed for about 5 to 7 minutes. You’ll know the dough is ready when it’s smooth, elastic, and springs back slowly when you gently poke it with your finger. It should no longer be sticky to the touch. If it’s still too sticky, add a tiny bit more flour, a tablespoon at a time, until it’s just right.
First Rise: Letting the Dough Proof
Lightly grease a clean large bowl with a little bit of oil or cooking spray. Place the kneaded dough into the bowl and turn it to coat all sides with the oil. This prevents the dough from drying out. Cover the bowl tightly with plastic wrap or a clean kitchen towel. Find a warm, draft-free spot in your kitchen for the dough to rise. An oven that has been turned off but still retains a little warmth (after being briefly preheated to its lowest setting and then turned off) is often perfect. Let the dough rise for about 1 to 1.5 hours, or until it has doubled in size. It’s important to be patient during this stage, as it’s essential for a good crum extractb structure.
Shaping and Second Rise: Preparing for the Oven
Once the dough has doubled, gently punch it down to release the air. Turn the dough out onto your lightly floured surface again. At this point, you can shape your loaf. For a classic sandwich loaf, you’ll want to gently shape the dough into a rectangle and then roll it up tightly from one of the longer sides. Pinch the seam closed to seal it. Place the shaped loaf, seam-side down, into a greased 9×5 inch loaf pan. Cover the pan loosely with plastic wrap or a kitchen towel and let it rise again in a warm place for another 30 to 60 minutes, or until it has risen about an inch above the rim of the pan. This second rise is critical for that final airy texture. While the dough is on its second rise, preheat your oven to 375°F (190°C).
Baking the Perfect Loaf: Golden Brown and Delicious
When your loaf has finished its second rise and the oven is preheated, it’s time to bake! Carefully place the loaf pan in the center of the preheated oven. Bake for 30 to 40 minutes. You’ll know the bread is done when it’s a deep golden brown on top and the bottom of the loaf sounds hollow when tapped. If the top is browning too quickly, you can loosely tent it with aluminum foil for the last 10-15 minutes of baking. Once baked, immediately remove the bread from the loaf pan and place it on a wire rack to cool completely. This is crucial to prevent the bottom from becoming soggy. Resist the temptation to slice into it immediately; letting it cool allows the internal structure to set, ensuring perfect slices.
Conclusion:
There you have it – the secrets to crafting The Best White Bread from Scratch! This recipe truly elevates home baking, transforming simple ingredients into a warm, comforting loaf that’s miles beyond anything store-bought. The aroma that fills your kitchen as it bakes is simply unparalleled, and the soft, pillowy interior with its slightly crisp crust is pure perfection. We hope you feel empowered to try this recipe and discover the joy of truly fresh bread.
For serving suggestions, this versatile loaf is fantastic on its own, slathered with butter. It also makes incredible toast, the foundation for gourmet sandwiches, or a delightful accompaniment to soups and stews. Feel free to get creative!
When it comes to variations, consider adding a sprinkle of herbs like rosemary or thyme to the dough for an herbaceous twist, or a handful of seeds for added texture and flavor. You can also experiment with different types of flour for a slightly different crum extractb, but remember that white bread flour is key for achieving that classic softness. Don’t be afraid to make this recipe your own!
Frequently Asked Questions:
What if my dough isn’t rising?
Several factors can affect dough rise. Ensure your yeast is active by proofing it in warm (not hot) water with a pinch of sugar before mixing. Also, check that your kitchen environment is warm enough; a drafty room can hinder fermentation. Sometimes, a longer, slower rise in a cooler place can still yield great results.
Can I make The Best White Bread from Scratch without a stand mixer?
Absolutely! While a stand mixer makes kneading easier, you can achieve a wonderfully developed gluten structure by hand. Knead on a lightly floured surface for 10-15 minutes until the dough is smooth, elastic, and springs back when gently poked. It’s a great workout for your arms!
How should I store The Best White Bread from Scratch?
Once completely cooled, store your bread in a bread box or a loosely senon-alcoholic aled plastic bag at room temperature for 2-3 days. For longer storage, slice the bread and freeze it in an airtight container or freezer bag. It thaws beautifully and retains its freshness.
Best White Bread from Scratch- Easy Homemade Recipe
A simple and delicious recipe for homemade white bread, perfect for beginners.
Ingredients
-
2 cups warm water
-
1/4 cup granulated sugar
-
5 cups all-purpose flour
-
2 teaspoons active dry yeast
-
2 teaspoons salt
-
3 tablespoons unsalted butter, softened
Instructions
-
Step 1
Activate the yeast: Combine warm water and sugar in a large bowl. Sprinkle yeast over the surface and let sit for 5-10 minutes until foamy. -
Step 2
Mix the dough: Add salt and softened butter to the yeast mixture. Gradually add flour, mixing until a cohesive dough forms. -
Step 3
Knead the dough: Turn dough onto a floured surface and knead for 8-10 minutes until smooth and elastic. Alternatively, use a stand mixer for 5-7 minutes. -
Step 4
First rise: Place dough in a lightly greased bowl, cover, and let rise in a warm place for 1 to 1.5 hours, or until doubled in size. -
Step 5
Shape and second rise: Punch down dough, shape into a loaf, and place in a greased 9×5 inch loaf pan. Cover and let rise for 30-60 minutes until about an inch above the pan rim. Preheat oven to 375°F (190°C). -
Step 6
Bake the bread: Bake for 30-40 minutes until golden brown and the bottom sounds hollow. Cool completely on a wire rack.
Important Information
Nutrition Facts (Per Serving)
It is important to consider this information as approximate and not to use it as definitive health advice.
Allergy Information
Please check ingredients for potential allergens and consult a health professional if in doubt.


Leave a Comment