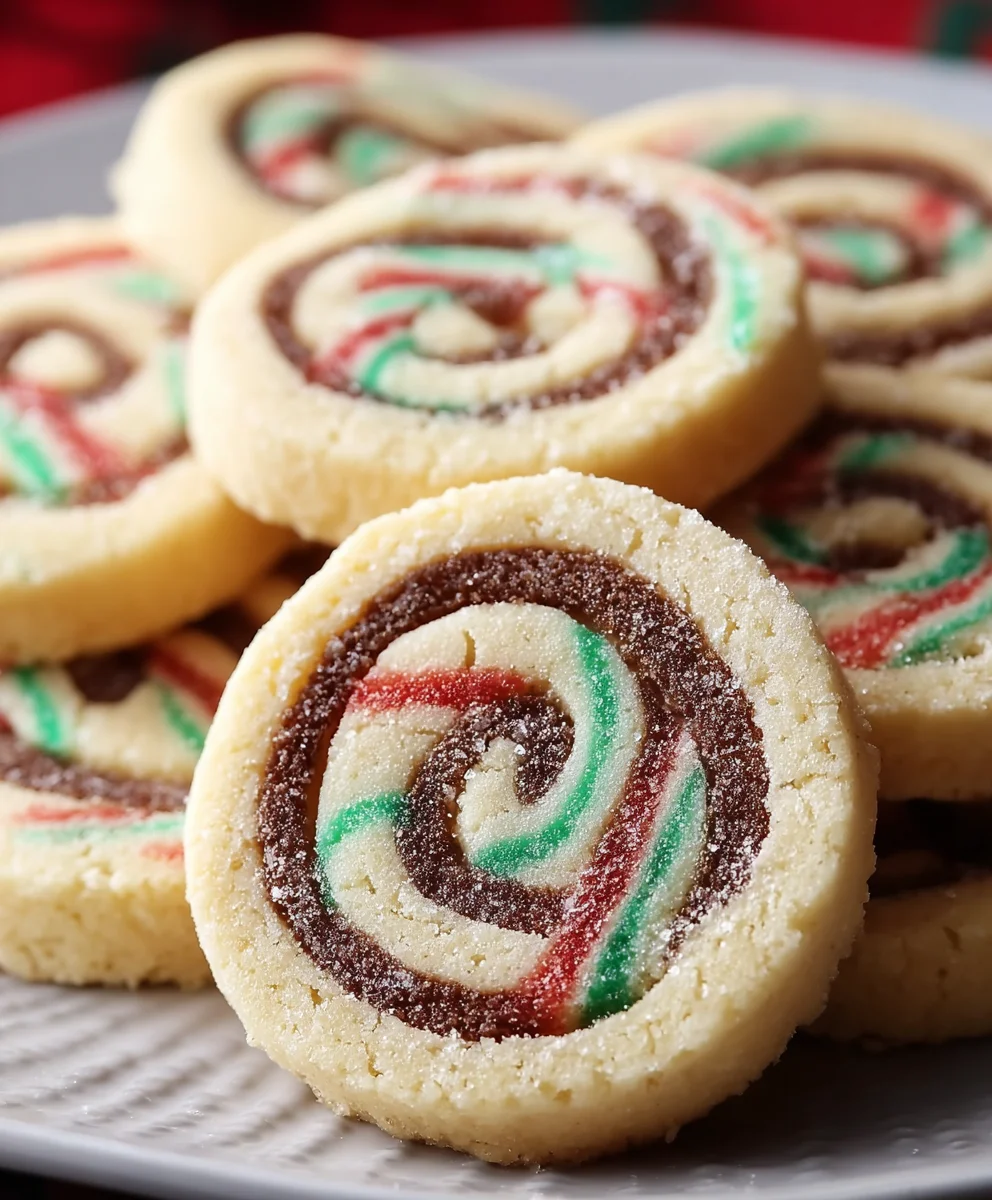
Christmas Cookie Pinwheels are more than just a festive treat; they’re a delightful edible embrace of holiday cheer. Imagin extracte vibrant swirls of red and green dough, meticulously rolled and sliced into perfect little circles, ready to bake into a symphony of buttery, sweet perfection. These aren’t your average cookies; they’re a labor of love that transforms simple ingredients into edible art, guaranteed to spark joy and nostalgia in everyone who bites into them. What truly sets these Christmas Cookie Pinwheels apart is the sheer visual appeal, transforming your cookie platter into a masterpiece. The magic lies in the contrasting colors and the satisfyingly crisp texture, punctuated by a tender, melt-in-your-mouth interior. They’re the perfect centerpiece for any holiday gathering, a testament to the joy of homemade baking and the spirit of giving.

Ingredients:
- 2 cups all-purpose flour, plus extra for dusting
- 1/2 teaspoon baking powder
- 1/4 teaspoon salt
- 12 tablespoons unsalted butter, softened to room temperature
- 3/4 cup granulated sugar
- 1 large egg
- 1 teaspoon pure vanilla extract
- 1/2 to 1 teaspoon red food coloring
- 1/2 to 1 teaspoon green food coloring
Making the Christmas Cookie Pinwheel Dough
The foundation of these delightful Christmas Cookie Pinwheels lies in a classic sugar cookie dough, elevated with vibrant festive colors. To begin extract, in a medium-sized bowl, whisk together the 2 cups of all-purpose flour, 1/2 teaspoon of baking powder, and 1/4 teaspoon of salt. This dry mixture will ensure an even distribution of leavening and seasoning throughout the dough. Set this aside for now.
In a large mixing bowl, cream together the 12 tablespoons of softened unsalted butter and the 3/4 cup of granulated sugar. It’s crucial that the butter is truly at room temperature – soft enough to indent easily with your finger but not melted. This will help create a light and airy cookie. Beat these two ingredients together using an electric mixer on medium speed until the mixture is pnon-alcoholic ale yellow and fluffy, which typically takes about 2-3 minutes. This process incorporates air, which is vital for tender cookies.
Next, add the 1 large egg and 1 teaspoon of vanilla extract to the creamed butter and sugar. Beat again until everything is well combined and smooth. The vanilla extract will contribute a wonderful warmth and depth of flavor that is characteristic of holiday baking.
Now, it’s time to gradually incorporate the dry ingredients into the wet ingredients. Add the flour mixture to the butter mixture in three additions, mixing on low speed until just combined after each addition. Be careful not to overmix at this stage, as overmixing can lead to tough cookies. Once the dough is mostly combined, you can fingin extract bringing it together with a spatula or by hand, ensuring no dry streaks of flour remain.
Dividing and Coloring the Dough
This is where the magic happens for our Christmas Cookie Pinwheels! Divide the cookie dough into three equal portions. You can do this by eye, or for precision, you can weigh each portion. Place one portion of dough into a small bowl. Add 1/2 to 1 teaspoon of red food coloring to this portion of dough. The amount of food coloring will determine the vibrancy of the red. Start with less and add more if you desire a deeper hue. Knead the food coloring into the dough using your hands until it is evenly distributed and the dough is a uniform bright red color.
In a separate small bowl, place the second portion of dough. Add 1/2 to 1 teaspoon of green food coloring to this portion. Again, adjust the amount of food coloring to achieve your desired shade of green. Knead this dough until the color is consistent throughout.
The third portion of dough will remain plain, serving as the white base for our pinwheels. You don’t need to add anything to this portion. Wrap each of the three colored dough portions (red, green, and white) individually in plastic wrap, pressing them into flat discs. Refrigerate these discs for at least 30 minutes, or until they are firm enough to handle easily. This chilling step is essential for making the dough manageable for rolling and cutting, and it also helps to set the flavors.
Assembling and Chilling the Pinwheels
Once the dough portions are well-chilled, it’s time to assemble the pinwheels. Lightly flour your work surface and a rolling pin. Take the disc of plain white dough and roll it out into a rectangle, approximately 10×12 inches and about 1/8 inch thick. Try to keep the edges as straight as possible.
Next, take the red dough disc and roll it out into a rectangle of the same size (10×12 inches) and thickness (1/8 inch). Carefully lay this red dough rectangle directly on top of the white dough rectangle, aligning the edges as best you can. Gently press down to help them adhere to each other.
Now, repeat the process with the green dough. Roll out the green dough into another 10×12 inch rectangle, 1/8 inch thick. Place this green dough rectangle on top of the red dough, again aligning the edges. You should now have a layered stack of white, red, and green dough.
Working from one of the long sides, tightly roll up the layered dough, like you would a jelly roll. Try to keep the roll as even and compact as possible. Once rolled, gently press the seam to seal it. This is crucial to prevent the pinwheels from unraveling during baking. Wrap the rolled log tightly in plastic wrap and refrigerate for at least another hour, or until very firm. This will make slicing much easier and cleaner. You can also freeze the logs at this stage for later use.
Slicing and Baking Your Christmas Cookie Pinwheels
When the dough logs are thoroughly chilled and firm, it’s time to slice them into cookies. Unwrap one log and place it on a clean cutting board. Using a sharp knife, slice the log into rounds about 1/4 inch thick. These slices will reveal the beautiful swirled pattern of your Christmas Cookie Pinwheels. If the dough becomes too soft while slicing, place it back in the refrigerator for a few minutes.
Preheat your oven to 350°F (175°C). Line baking sheets with parchment paper. Carefully arrange the sliced pinwheels on the prepared baking sheets, leaving about 1 inch of space between each cookie to allow for slight spreading.
Bake the cookies for 9 to 12 minutes, or until the edges are lightly golden brown and the centers are set. The baking time will vary depending on the size of your cookies and your oven. Keep a close eye on them, especially during the last few minutes, to prevent them from overbaking.
Once baked, let the Christmas Cookie Pinwheels cool on the baking sheets for a few minutes before transferring them to a wire rack to cool completely. This allows them to firm up slightly before being moved. Enjoy these festive and colorful treats!

Conclusion:
We hope you’ve enjoyed this journey into creating festive and delicious Christmas Cookie Pinwheels! This recipe offers a wonderful balance of buttery shortbread dough with a vibrant swirl of color and flavor, making them a true highlight of any holiday spread. Whether you’re a seasoned baker or just starting out, these cookies are surprisingly manageable and incredibly rewarding. They’re perfect for a cookie exchange, a special treat for family and friends, or simply for enjoying with a warm mug of cocoa on a cozy winter evening. Don’t be afraid to experiment with different extracts or food coloring to personalize your Christmas Cookie Pinwheels. They also make a fantastic activity to do with children, adding an extra layer of holiday magic to the baking process!
Frequently Asked Questions:
Can I make the dough for Christmas Cookie Pinwheels ahead of time?
Absolutely! You can prepare the individual colored dough portions and wrap them tightly in plastic wrap. Refrigerate for up to 3 days or freeze for up to 1 month. Thaw in the refrigerator before proceeding with rolling and assembling your Christmas Cookie Pinwheels.
What other flavorings can I add to the dough?
The possibilities are endless! You can add a touch of almond extract, peppermint extract, or even a hint of orange zest to the white dough for a different flavor profile. For the colored dough, consider adding a touch of cinnamon or gin extractger for a warm spice. Remember to adjust other liquid ingredients slightly if you add significant amounts of extracts.
How should I store leftover Christmas Cookie Pinwheels?
Store your cooled Christmas Cookie Pinwheels in an airtight container at room temperature for up to 5 days. For longer storage, you can freeze them between layers of parchment paper in a freezer-safe container for up to 3 months. They thaw beautifully at room temperature.
Easy Christmas Cookie Pinwheels Festive Delight
Festive and colorful pinwheel cookies with a classic sugar cookie base, perfect for the holiday season.
Ingredients
-
2 cups all-purpose flour, plus extra for dusting
-
1/2 teaspoon baking powder
-
1/4 teaspoon salt
-
12 tablespoons unsalted butter, softened
-
3/4 cup granulated sugar
-
1 large egg
-
1 teaspoon pure vanilla extract
-
1/2 to 1 teaspoon red food coloring
-
1/2 to 1 teaspoon green food coloring
Instructions
-
Step 1
In a medium bowl, whisk together flour, baking powder, and salt. In a large bowl, cream softened butter and sugar until light and fluffy. Beat in egg and vanilla extract. -
Step 2
Gradually add dry ingredients to wet ingredients in three additions, mixing until just combined. Do not overmix. -
Step 3
Divide dough into three equal portions. Knead red food coloring into one portion, green into another, and leave the third plain white. Wrap each portion in plastic wrap, flatten into discs, and refrigerate for at least 30 minutes. -
Step 4
Roll out each dough disc into a 10×12 inch rectangle, 1/8 inch thick. Layer them: white, red, then green. Tightly roll up from a long side like a jelly roll. Seal the seam, wrap tightly in plastic wrap, and refrigerate for at least 1 hour. -
Step 5
Preheat oven to 350°F (175°C). Line baking sheets with parchment paper. Slice chilled dough logs into 1/4 inch thick rounds and arrange on prepared baking sheets. -
Step 6
Bake for 9-12 minutes, or until edges are lightly golden brown. Let cool on baking sheets for a few minutes before transferring to a wire rack to cool completely.
Important Information
Nutrition Facts (Per Serving)
It is important to consider this information as approximate and not to use it as definitive health advice.
Allergy Information
Please check ingredients for potential allergens and consult a health professional if in doubt.


Leave a Comment