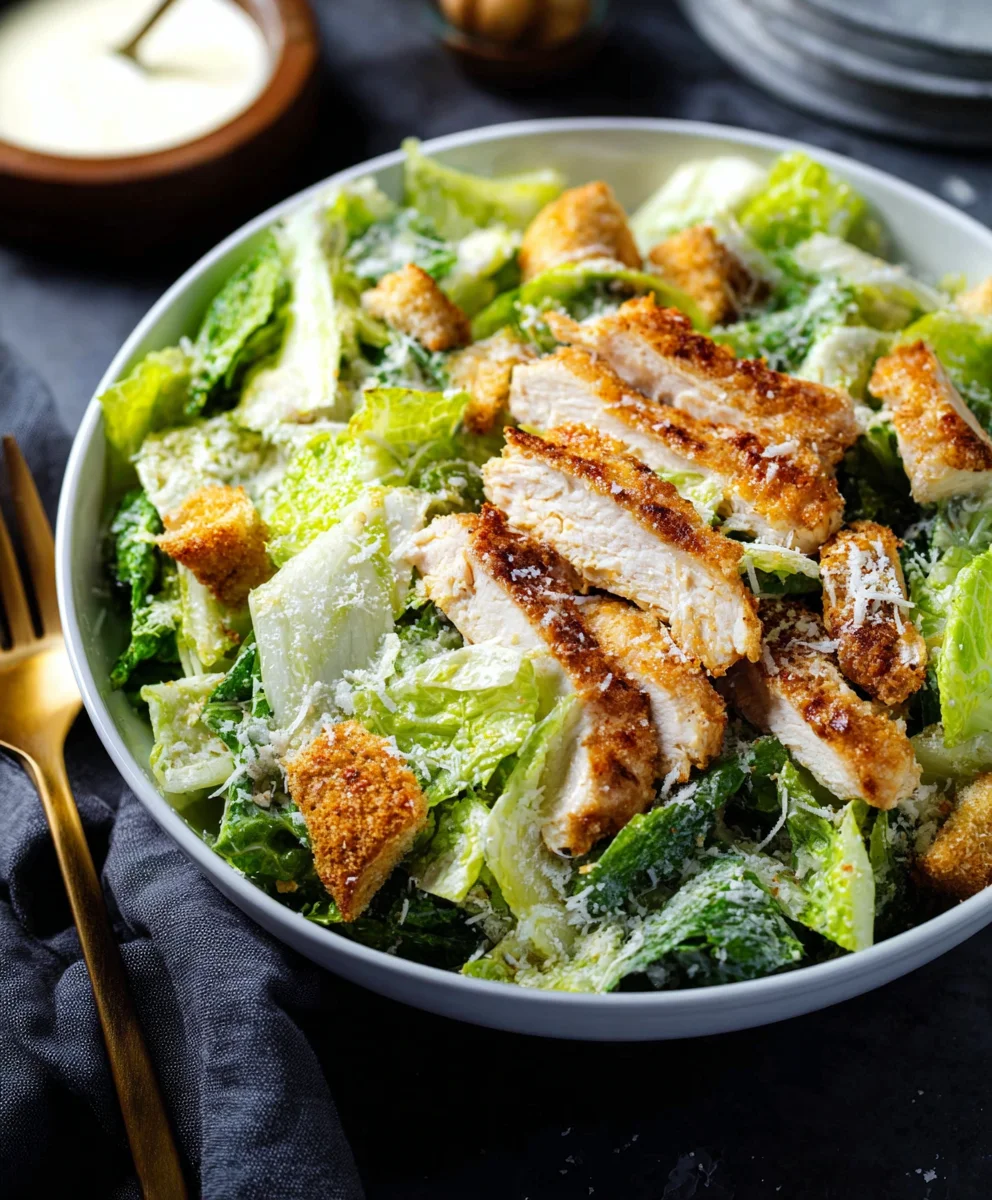
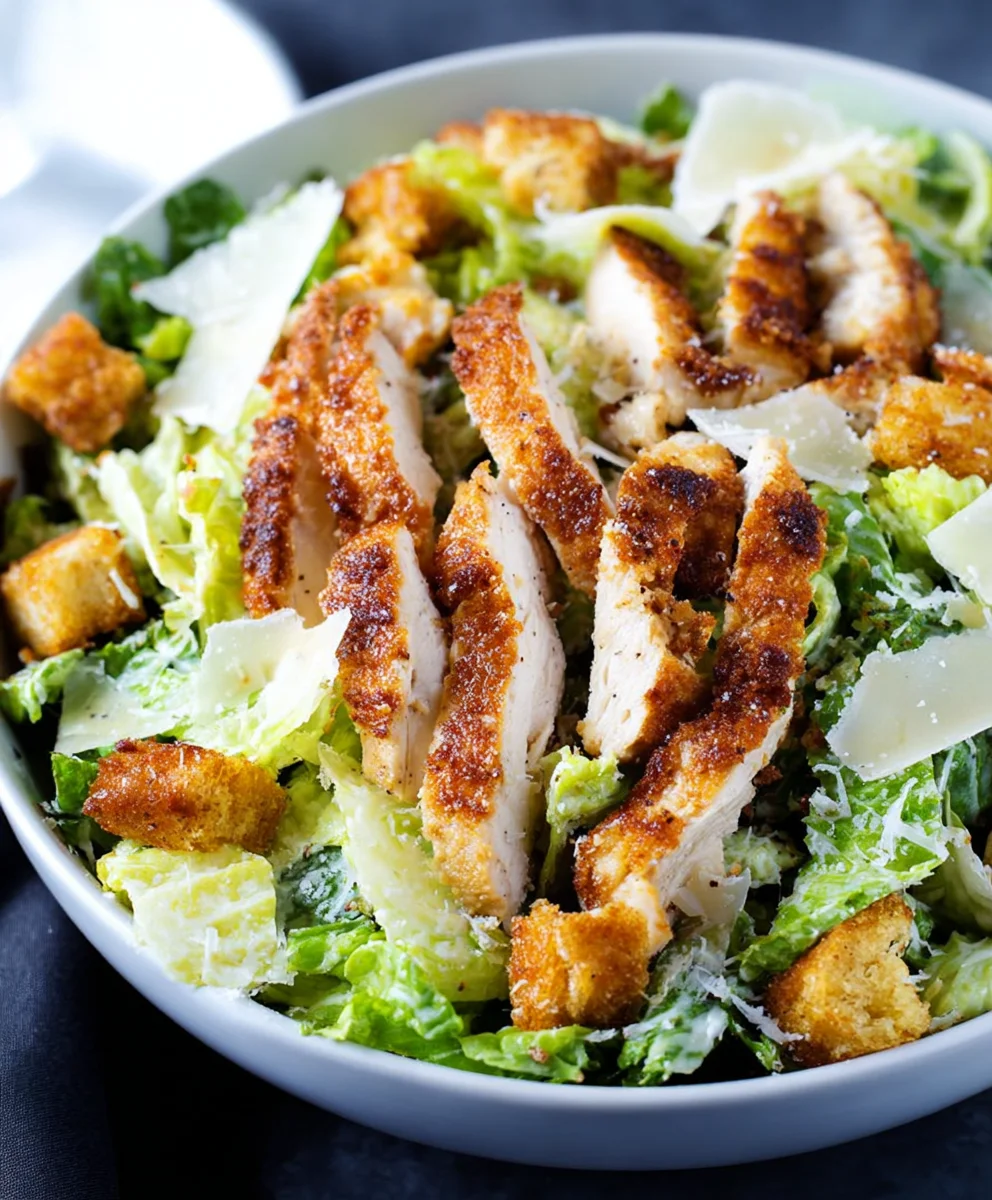
Crispy Chicken Caesar Salad is more than just a meal; it’s a symphony of textures and flavors that consistently delights. Who doesn’t adore the satisfying crunch of perfectly fried chicken mingling with the creamy, tangy embrace of Caesar dressing? It’s a classic for a reason, offering a robust yet refreshing experience that can be both a hearty lunch and a sophisticated light dinner. What elevates this particular Crispy Chicken Caesar Salad beyond the ordinary is the meticulous attention to detail, from achieving that shatteringly crisp coating on the chicken to ensuring every romaine leaf is generously kissed by the zesty dressing and adorned with salty parmesan. We’re diving deep into what makes this iteration a true showstopper, promising a salad experience that will leave you utterly satisfied and coming back for more.

Ingredients:
- 1 head large romaine lettuce (washed and dried)
- 1 cup croutons (any kind)
- ½ cup parmesan cheese (shaved)
- ½ cup mayonnaise
- ½ cup plain yogurt (full fat)
- 3 cloves garlic (grated or finely minced)
- ½ teaspoon black pepper (freshly ground)
- 3 tablespoons lemon juice
- ½ teaspoon salt (or more to taste)
- 2 tablespoons olive oil
- ⅓ cup Parmigiano Reggiano (grated)
- 2 tablespoons Dijon mustard
- 1 teaspoon Worcestershire Sauce
- 8 strip chicken tenders (remove filmy skin)
- 1 large egg
Preparing the Crispy Chicken
Marinating the Chicken
To begin extract crafting your amazing Crispy Chicken Caesar Salad, we’ll start with the star of the show: perfectly seasoned and crispy chicken tenders. First, ensure all the filmy skin has been removed from your 8 strip chicken tenders. This step is crucial for achieving that ideal crispy texture. In a medium-sized bowl, whisk together the 1 large egg. Add the 2 tablespoons of olive oil, 3 tablespoons of lemon juice, and ½ teaspoon of salt. This creates our simple yet effective marinade. Submerge the chicken tenders into this mixture, making sure each piece is fully coated. Cover the bowl and let the chicken marinate in the refrigerator for at least 15-20 minutes. This allows the flavors to penetrate the meat and helps tenderize it. While the chicken marinates, you can get a head start on preparing the other components of your salad.
Coating and Frying the Chicken
Once the chicken has had ample time to marinate, it’s time to prepare it for cooking. In a separate shallow dish or plate, combine the ⅓ cup of grated Parmigiano Reggiano cheese, ½ teaspoon of black pepper, and an additional ½ teaspoon of salt. This cheesy, peppery coating will give our chicken tenders a fantastic crust. Remove the chicken tenders from the marinade, letting any excess drip off. Dredge each tender in the Parmigiano Reggiano mixture, pressing gently to ensure a good, even coating on all sides. For an extra crispy exterior, you can double-coat them if you like – dip them back into the egg mixture briefly, then into the cheese mixture again. Heat 1 tablespoon of olive oil in a large skillet over medium-high heat. Once the oil is shimmering, carefully add the coated chicken tenders to the pan, being sure not to overcrowd it. You may need to cook them in batches. Cook for approximately 3-4 minutes per side, or until golden brown and cooked through. The internal temperature should reach 165°F (74°C). Transfer the cooked chicken to a plate lined with paper towels to drain off any excess grease. Allow them to cool slightly before slicing.
Crafting the Creamy Caesar Dressing
Whisking the Base
Now, let’s move on to the iconic Caesar dressing, which ties the whole salad together. In a medium bowl, combine the ½ cup of mayonnaise and ½ cup of full-fat plain yogurt. Using a whisk, thoroughly blend these two creamy ingredients until they are smooth and well incorporated. This combination provides a rich base while the yogurt adds a pleasant tang and lightness. Next, add the 3 cloves of grated or finely minced garlic. The potency of garlic can vary, so start with this amount and you can always add a little more if you desire a stronger garlic flavor. Also, add the 2 tablespoons of Dijon mustard, which brings a sharp, complex spice to the dressing.
Flavoring and Seasoning
To further enhance the flavor profile of our Caesar dressing, we’ll incorporate the remaining seasonings. Add the 1 teaspoon of Worcestershire Sauce. This secret ingredient adds a depth of umami that is characteristic of a classic Caesar dressing. Season with the ½ teaspoon of black pepper and ½ teaspoon of salt. Remember, you can always adjust the salt and pepper to your personal preference after tasting. Whisk everything together until all the ingredients are evenly distributed and the dressing is smooth and creamy. For the best flavor, I recommend letting the dressing sit for at least 10-15 minutes before serving. This allows the flavors to meld together beautifully. If the dressing seems too thick for your liking, you can thin it out with a tablespoon of water or a little more lemon juice until it reaches your desired consistency.
Assembling the Salad
Preparing the Lettuce and Toppings
With our crispy chicken and delicious dressing ready, it’s time for the final assembly of your perfect Crispy Chicken Caesar Salad. Take your 1 head of large romaine lettuce, which you’ve already washed and thoroughly dried. Patting it dry is essential to prevent a watery salad and ensure the dressing adheres properly. Tear or chop the romaine lettuce into bite-sized pieces and place them in a large salad bowl. Now, it’s time to add the other salad components. Sprinkle the 1 cup of croutons over the lettuce. These will add a delightful crunch and texture contrast to the tender chicken and crisp lettuce. Finally, scatter the ½ cup of shaved parmesan cheese over the top. The shaved parmesan has a wonderful, delicate texture that melts slightly when tossed with the dressing.
Tossing and Serving
Drizzle about half of your prepared Caesar dressing over the salad. Gently toss the ingredients using salad tongs, ensuring that every piece of lettuce and every component is lightly coated with the dressing. Add more dressing as needed, according to your preference, but be careful not to overdress the salad, as it can weigh down the greens. Once everything is beautifully coated and the salad looks vibrant, arrange your sliced crispy chicken tenders on top of the salad. For an extra flourish, you can garnish with a sprinkle of freshly grated Parmigiano Reggiano or a few extra shavings of parmesan cheese. Serve your magnificent Crispy Chicken Caesar Salad immediately and enjoy every delicious bite!
Conclusion:
There you have it – a fantastic and utterly delicious Crispy Chicken Caesar Salad! This recipe brings together the satisfying crunch of perfectly fried chicken with the zesty tang of a classic Caesar dressing, all tossed with crisp romaine lettuce and savory Parmesan. It’s a dish that feels both indulgent and wonderfully fresh, making it ideal for a weeknight meal or a crowd-pleasing appetizer. Don’t be afraid to get creative with the serving suggestions; it truly shines in so many forms. Experiment with the variations listed, and you’ll find yourself making this Crispy Chicken Caesar Salad again and again. We encourage you to give it a try and enjoy every delightful bite!
Frequently Asked Questions:
Can I make the chicken ahead of time?
Yes, absolutely! You can pan-fry or bake the chicken pieces in advance and store them in an airtight container in the refrigerator for up to 2-3 days. Reheat them briefly in a skillet or oven to regain their crispiness before adding them to your salad.
What if I don’t have romaine lettuce?
While romaine is traditional and provides a great crunch, you can substitute it with other crisp leafy greens like iceberg lettuce, little gem lettuce, or even a sturdy spring mix. Just ensure the greens are well-drained and dry to prevent a soggy salad.
How can I make this healthier?
For a healthier twist, consider baking or air-frying your chicken instead of pan-frying. You can also lighten up the dressing by using less oil or opting for a Greek yogurt-based Caesar dressing. Adding extra vegetables like cherry tomatoes or sliced cucumbers can also boost the nutritional content.
Crispy Chicken Caesar Salad- The Best Easy Recipe
A delicious and easy recipe for crispy chicken Caesar salad with homemade creamy dressing.
Ingredients
-
1 head large romaine lettuce (washed and dried)
-
1 cup croutons (any kind)
-
½ cup parmesan cheese (shaved)
-
½ cup mayonnaise
-
½ cup plain yogurt (full fat)
-
3 cloves garlic (grated or finely minced)
-
½ teaspoon black pepper (freshly ground)
-
3 tablespoons lemon juice
-
½ teaspoon salt (or more to taste)
-
2 tablespoons olive oil
-
⅓ cup Parmigiano Reggiano (grated)
-
2 tablespoons Dijon mustard
-
1 teaspoon Worcestershire Sauce
-
8 strip chicken tenders (remove filmy skin)
-
1 large egg
Instructions
-
Step 1
Prepare the chicken: Remove filmy skin from chicken tenders. Whisk together egg, olive oil, lemon juice, and salt in a bowl. Marinate chicken for 15-20 minutes in the refrigerator. -
Step 2
Coat the chicken: In a shallow dish, combine grated Parmigiano Reggiano, black pepper, and salt. Dredge marinated chicken tenders in this mixture, pressing to coat. For extra crispiness, double-coat. -
Step 3
Fry the chicken: Heat 1 tablespoon of olive oil in a skillet over medium-high heat. Cook chicken tenders for 3-4 minutes per side until golden brown and cooked through. Drain on paper towels and let cool slightly. -
Step 4
Make the dressing: Whisk together mayonnaise and yogurt in a bowl until smooth. Add minced garlic, Dijon mustard, Worcestershire Sauce, black pepper, and salt. Whisk until well combined and creamy. Let sit for 10-15 minutes. -
Step 5
Assemble the salad: Tear or chop washed and dried romaine lettuce into bite-sized pieces and place in a large salad bowl. Add croutons and shaved parmesan cheese. -
Step 6
Toss and serve: Drizzle about half of the dressing over the salad and toss gently. Add more dressing as needed. Arrange sliced crispy chicken tenders on top. Garnish with extra parmesan if desired.
Important Information
Nutrition Facts (Per Serving)
It is important to consider this information as approximate and not to use it as definitive health advice.
Allergy Information
Please check ingredients for potential allergens and consult a health professional if in doubt.


Leave a Comment