BEST Classic Italian Tiramisu Recipe – if that doesn’t immediately make your taste buds tingle, it’s time to rethink dessert! We’ve all encountered tiramisu, that ethereal cloud of coffee-soaked ladyfingers and luscious mascarpone cream. But what is it about this iconic Italian delight that captivates us, time and time again? It’s the perfect dance of textures and flavors: the subtle bitterness of espresso, the rich sweetness of mascarpone, the delicate crunch of ladyfingers, all dusted with a whisper of cocoa. This isn’t just any dessert; it’s an experience, a comforting hug in a bowl, and a testament to simple ingredients transformed into something truly magical. Get ready to create your very own BEST Classic Italian Tiramisu Recipe, a dessert that promises to impress and delight every single time.

BEST Classic Italian Tiramisu Recipe
There are few desserts as universally beloved and deceptively simple as a classic Italian Tiramisu. The name itself, meaning “pick me up” in Italian, perfectly encapsulates the delightful and energizing effect this layered masterpiece has. Forget those watery, overly sweet versions you might have encountered. Today, we’re diving deep into the heart of authentic Italian Tiramisu, a recipe that balances richness with lightness, coffee with cream, and just the right touch of sweetness. This is a dessert that requires a little patience and a lot of love, but the reward is an unforgettable culinary experience. I’m going to walk you through creating this iconic dessert, step by delicious step.
Ingredients:
Crafting the Creamy Foundation
The soul of any great Tiramisu lies in its creamy, luscious filling. We’ll achieve this by creating a stable zabaglione-like base using egg yolks and sugar, which will then be blended with the rich mascarpone. This method ensures a velvety smooth texture without any graininess.
1. Prepare the Coffee Mixture: First things first, let’s get our coffee ready. Brew a strong batch of black coffee (espresso is ideal, but a very strong drip coffee will work) and allow it to cool completely to room temperature. This is crucial because hot coffee can make the ladyfingers too mushy and affect the texture of our cream. Pour it into a shallow dish or bowl that’s wide enough to easily dip the ladyfingers. If you like a hint of booze in your Tiramisu, this is the time to add a tablespoon or two of coffee liqueur extract, rum extract, or Marsala grape juice to the coffee.
2. Create the Zabaglione Base: In a heatproof bowl set over a pot of simmering water (a double boiler), whisk together the 4 egg yolks and 2/3 cup of granulated sugar. Continue to whisk vigorously and constantly. The steam from the water will gently cook the yolks, thickening them and dissolving the sugar. You’re looking for the mixture to become pnon-alcoholic ale yellow, thick, and ribbon-like – when you lift the whisk, the mixture should fall back in thick ribbons that hold their shape for a few seconds. This process usually takes about 5-8 minutes. Remove the bowl from the heat and stir in the vanilla extract and salt. Let this mixture cool slightly while you prepare the other components.
3. Incorporate the Mascarpone and Cream: Once the egg yolk mixture has cooled down to lukewarm (this is important to prevent the mascarpone from splitting), add the cold mascarpone cheese to the bowl. Gently fold the mascarpone into the yolk mixture until it’s just combined and smooth. Be careful not to overmix, as this can make the mascarpone greasy. In a separate, clean bowl, whip the chilled heavy cream until stiff peaks form. Be careful not to over-whip, or you’ll end up with butter. Gently fold the whipped cream into the mascarpone and egg yolk mixture until everything is just incorporated and you have a beautiful, airy, and smooth cream. This is the luxurious filling that will define your Tiramisu.
Assembling the Masterpiece
Now comes the fun part – layering our Tiramisu! This is where the magic truly happens, transforming individual components into a harmonious dessert.
4. Dip and Layer the Ladyfingers: Take your cooled ladyfingers and quickly dip each side into the room-temperature coffee mixture. The key here is a swift dip – you want them to absorb some of the coffee flavor but not become completely saturated and fall apart. If you over-dip, your Tiramisu will be soggy. Arrange a single layer of these coffee-soaked ladyfingers in the bottom of your serving dish. You can break them to fit if needed, ensuring a relatively even base.
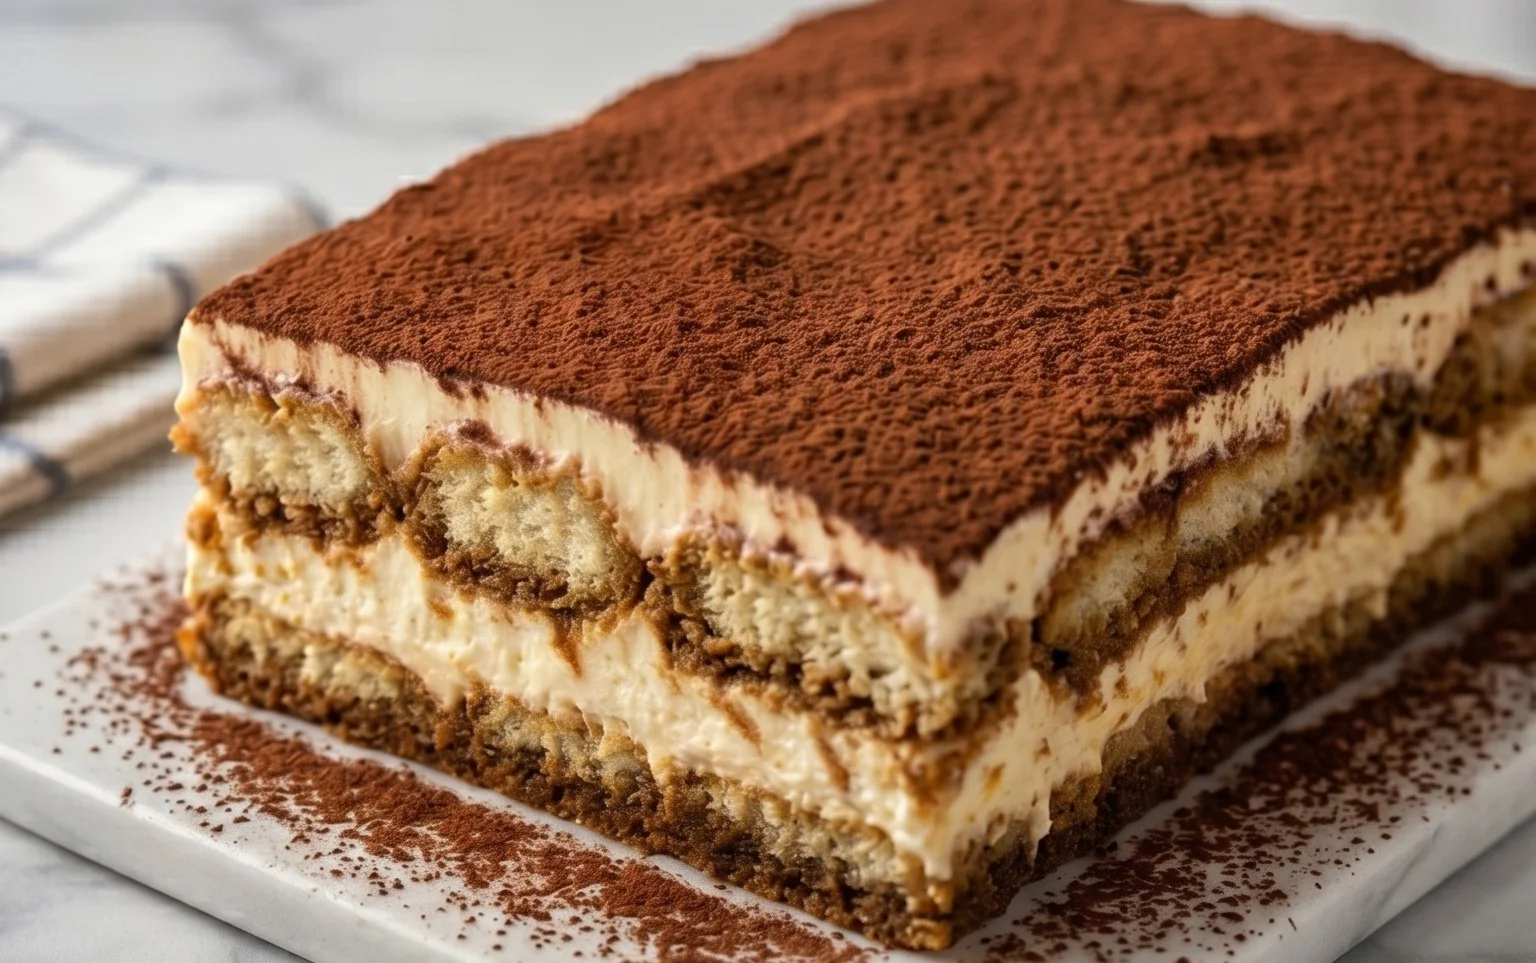
5. Build the Tiramisu Layers: Spoon half of the creamy mascarpone mixture evenly over the layer of ladyfingers, spreading it gently to cover them completely. Then, create a second layer of coffee-dipped ladyfingers on top of the cream. Finally, spread the remaining mascarpone mixture over the second layer of ladyfingers, ensuring the top is smooth and even. For the most authentic presentation, I like to use an 8×8 inch or a similar-sized rectangular dish, but round dishes also work beautifully.
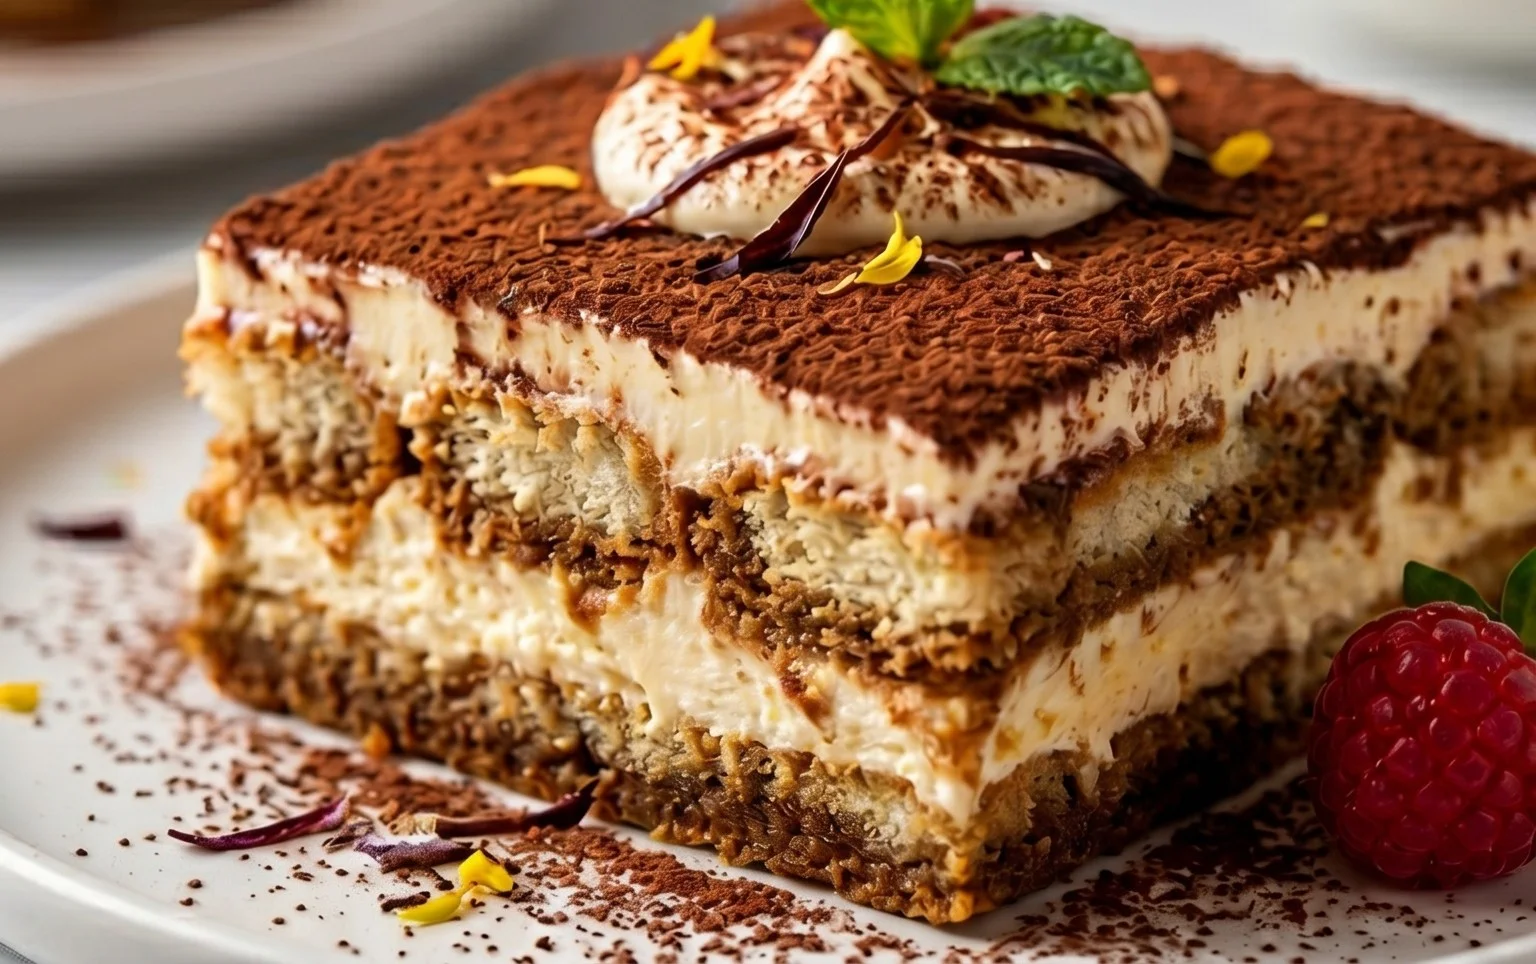
6. Chill and Dust: Cover the dish tightly with plastic wrap. Now comes the hardest part: patience. Refrigerate your Tiramisu for at least 4-6 hours, but ideally overnight. This chilling time is essential for the flavors to meld and for the dessert to set properly, allowing the ladyfingers to soften and the cream to firm up. Just before serving, generously dust the top of the Tiramisu with unsweetened cocoa powder using a fine-mesh sieve. This final dusting adds a beautiful contrast and a subtle bitter note that perfectly complements the sweetness of the dessert.
Enjoy your homemade, authentic Italian Tiramisu! Each spoonful is a journey to Italy, a decadent and comforting “pick me up” that will surely impress.
Conclusion:
There you have it – my absolute favorite, BEST Classic Italian Tiramisu Recipe! What makes this recipe truly special is its perfect balance of rich, creamy mascarpone, robust coffee-soaked ladyfingers, and a delicate kiss of cocoa. It’s not overly sweet, allowing the quality of the ingredients to shine through. This isn’t just dessert; it’s an experience, a taste of authentic Italian tradition that’s surprisingly achievable in your own kitchen. I encourage you to gather your ingredients and give this recipe a try. The satisfaction of creating such a decadent treat will be well worth it. Remember, tiramisu is best served chilled, allowing the flavors to meld beautifully. I love serving it as is, but you can also garnish with fresh berries for a touch of tartness, or even a dusting of dark chocolate shavings for extra indulgence. For those seeking a twist, consider infusing your coffee with a splash of marsala grape juice or a hint of liqueur extract like amaretto extract or rum extract before dipping the ladyfingers. The possibilities for personalization are endless!
Frequently Asked Questions:
What makes this tiramisu recipe the “BEST”?
This recipe is considered the BEST because it focuses on high-quality, classic ingredients and a straightforward method that yields an incredibly authentic and delicious result. The creamy mascarpone, well-balanced coffee flavor, and light texture are hallmarks of a truly exceptional tiramisu.
Can I make this tiramisu ahead of time?
Absolutely! Tiramisu actually benefits from being made ahead. It needs at least 4-6 hours, and ideally overnight, in the refrigerator for the ladyfingers to soften perfectly and the flavors to meld. This makes it a fantastic option for entertaining.
What kind of coffee should I use for the ladyfingers?
For the most authentic flavor, I recommend using strong, brewed espresso. If you don’t have an espresso machine, strong brewed coffee (like a dark roast) will also work beautifully. Ensure it’s cooled before dipping the ladyfingers.
BEST Classic Italian Tiramisu Recipe
A classic Italian Tiramisu, featuring a rich mascarpone cream and coffee-soaked ladyfingers.
Ingredients
-
16 oz Mascarpone cheese, cold from the fridge
-
4 egg yolks
-
2/3 cup granulated or caster sugar
-
1 tsp vanilla
-
1/4 tsp salt
-
1 1/2 cup heavy cream, chilled
-
30-36 ladyfingers
-
1 1/2 cup strong black coffee, room temperature
-
2 tbsp cocoa powder to dust
Instructions
-
Step 1
In a large bowl, whisk the egg yolks and sugar together until pale yellow and slightly thickened. -
Step 2
Add the mascarpone cheese, vanilla extract, and salt to the yolk mixture. Beat until smooth and creamy. -
Step 3
In a separate bowl, whip the heavy cream until stiff peaks form. -
Step 4
Gently fold the whipped cream into the mascarpone mixture until just combined. -
Step 5
Quickly dip each ladyfinger into the coffee, ensuring they are moistened but not soggy. Arrange a single layer of dipped ladyfingers in the bottom of a serving dish. -
Step 6
Spread half of the mascarpone cream mixture evenly over the ladyfingers. -
Step 7
Repeat the layers with another layer of coffee-dipped ladyfingers and the remaining mascarpone cream. -
Step 8
Cover and refrigerate for at least 4 hours, or preferably overnight, to allow the flavors to meld. -
Step 9
Just before serving, dust the top generously with cocoa powder.
Important Information
Nutrition Facts (Per Serving)
It is important to consider this information as approximate and not to use it as definitive health advice.
Allergy Information
Please check ingredients for potential allergens and consult a health professional if in doubt.

Leave a Comment