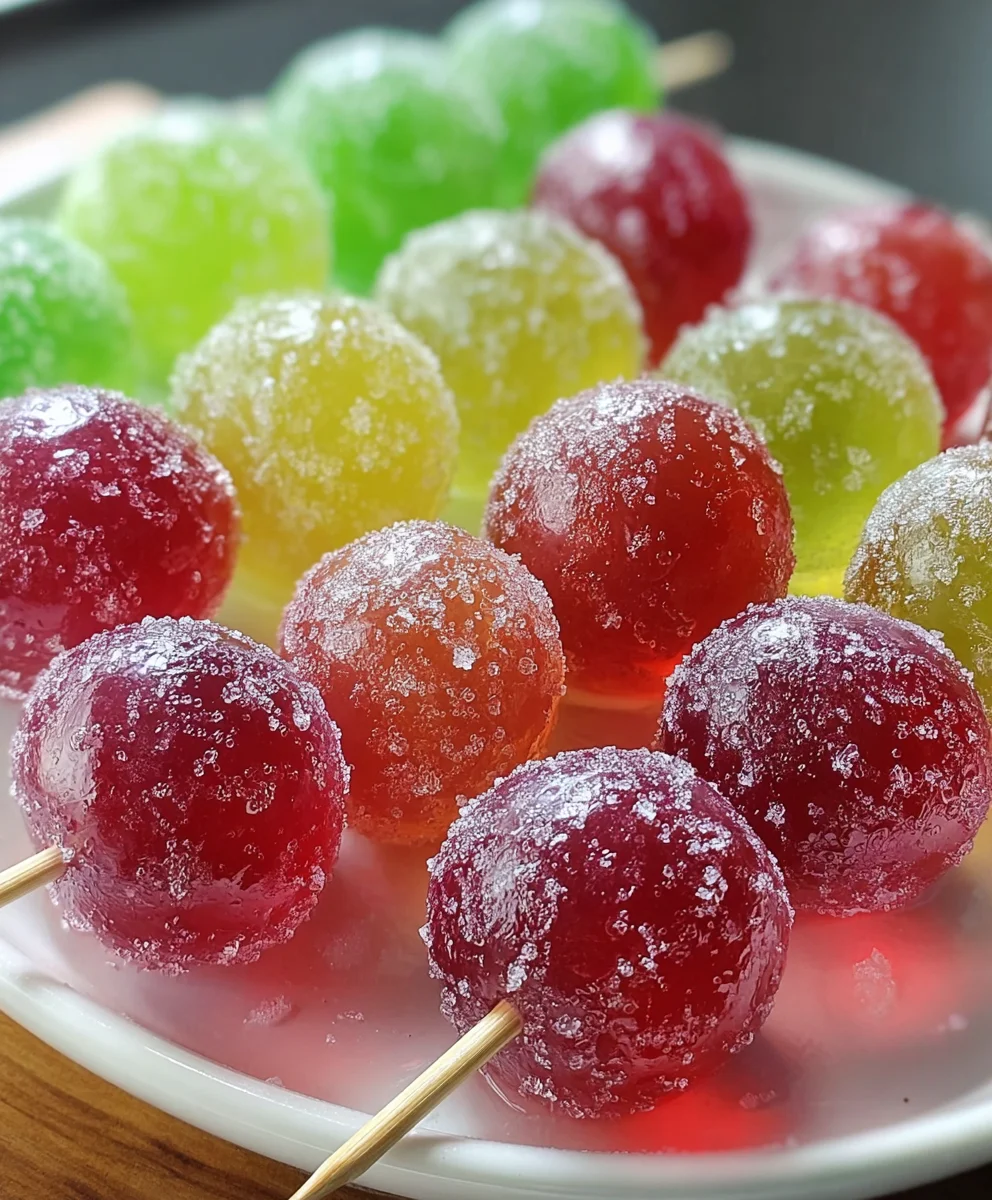
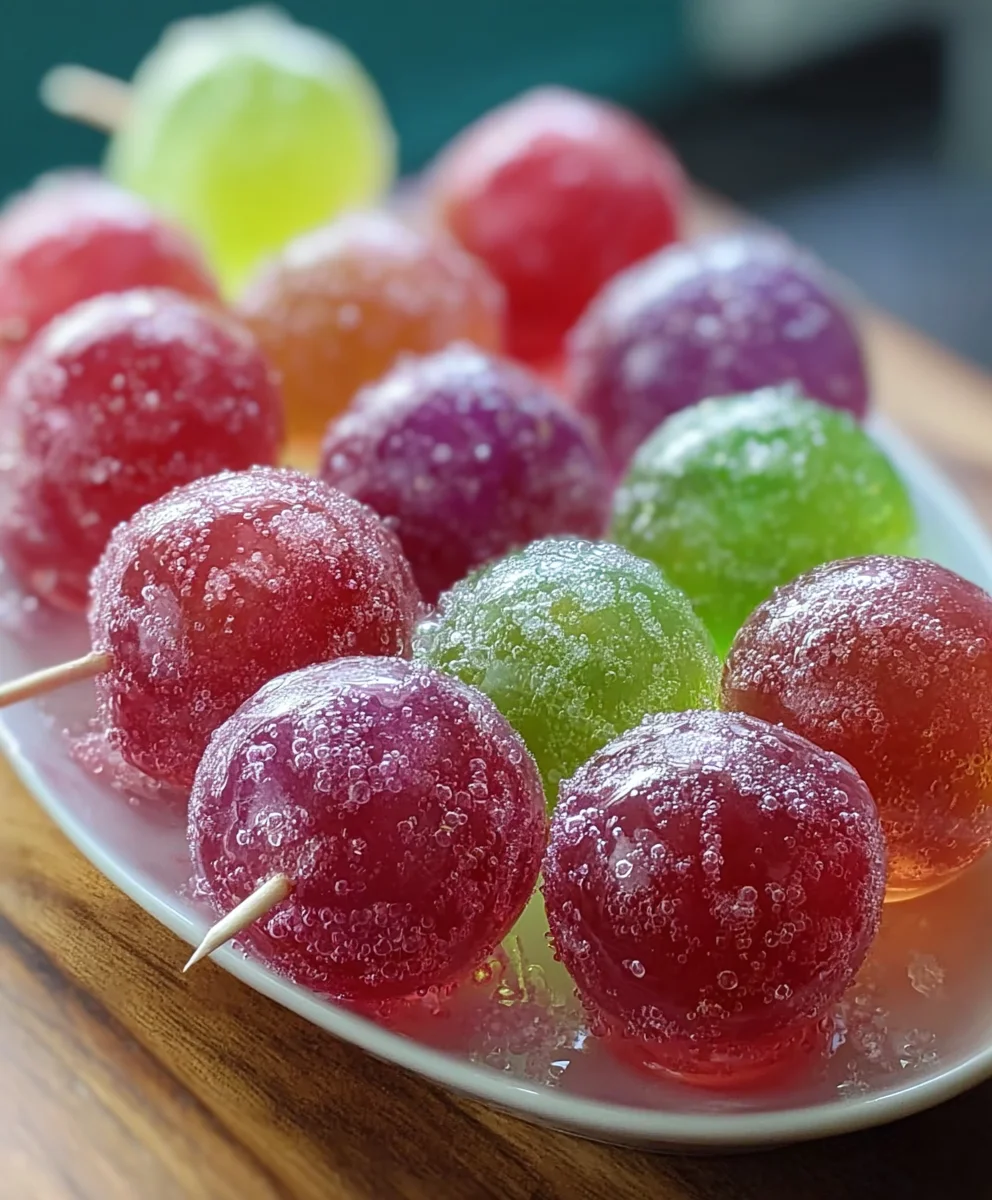
Frozen Candy Grapes with Jell-O are about to become your new favorite sweet obsession. Imagin extracte biting into a plump, juicy grape, but instead of the usual burst of flavor, you’re met with a delightful, jiggly sweetness that melts on your tongue. That’s the magic of these incredible treats! They’re the perfect blend of healthy fruit and irresistible candy-like fun, making them a hit with kids and adults alike. What makes Frozen Candy Grapes with Jell-O so special is their textural surprise – that cool, firm grape encased in a sweet, almost ethereal Jell-O shell. It’s like a miniature, homemade candy that’s surprisingly refreshing. They’re incredibly easy to whip up, requiring minimal effort for maximum enjoyment, making them ideal for a quick snack, a party appetizer, or a delightful way to cool down on a warm day.

Ingredients:
- 1 pound seedless grapes (green, red, or a mix of both work wonderfully)
- 1 cup water (for dissolving Jell-O)
- Toothpicks (enough for each grape you intend to dip)
- 1 box (3 ounces) raspberry Jell-O
- 1 box (3 ounces) berry blue Jell-O
- 1 box (3 ounces) orange Jell-O
- 1 box (3 ounces) lime Jell-O
- 1 box (3 ounces) lemon Jell-O
- 1 box (3 ounces) grape Jell-O
- Tajín seasoning (for an optional, zesty kick)
- Chili powder (for another layer of optional heat and flavor)
Preparing the Grapes
Step 1: Washing and Drying the Grapes
The foundation of our delicious Frozen Candy Grapes with Jell-O starts with perfectly prepped grapes. Begin extract by thoroughly washing your pound of seedless grapes under cool running water. You want to remove any dust or residue. After washing, it’s crucial to dry them completely. This step is more important than you might think! Excess moisture will prevent the Jell-O coating from adhering properly, leading to a less-than-ideal, potentially patchy coating. A clean kitchen towel or paper towels work well. Gently pat them dry, or if you have a salad spinner, that’s a fantastic tool for this job. Ensure there’s no wagin extract clinging to their skins.
Step 2: Threading the Grapes onto Toothpicks
Once your grapes are squeaky clean and thoroughly dry, it’s time to get them ready for their colorful transformation. Take your toothpicks and carefully pierce one grape onto the end of each toothpick. You want to insert the toothpick deep enough so that the grape is secure, but not so far that it breaks through the other side or splits the grape. Leave enough of the toothpick exposed to hold onto for dipping. This method makes dipping and handling the grapes much cleaner and easier, ensuring you get an even coat of Jell-O. You can thread all your grapes at this stage, or do them in batches as you work through the different Jell-O flavors.
Creating the Colorful Jell-O Coatings
Step 3: Dissolving the Jell-O Powders
Now comes the fun part – creating our vibrant Jell-O coatings! For each box of Jell-O you plan to use, you’ll need to dissolve the powder. In separate small bowls or heat-proof containers, pour the contents of one box of Jell-O. Add 1 cup of water to each. Stir each mixture thoroughly until the Jell-O powder is completely dissolved. It’s important to use hot, but not boiling, water for this to ensure a smooth and lump-free mixture. You can heat the water in a kettle or microwave. Once dissolved, let each Jell-O mixture sit for about 5-10 minutes to cool slightly. This will prevent the warm liquid from affecting the grapes too much and will help the Jell-O set more quickly. We’re aiming for a consistency that’s thick enough to coat the grapes but still liquid enough for dipping.
Step 4: The First Dip – A Vibrant Base Coat
With your grapes on toothpicks and your Jell-O mixtures ready, it’s time for the first dip! Carefully hold a grape by its toothpick and dip it into one of your prepared Jell-O bowls. Gently swirl the grape around to ensure it’s fully coated with the Jell-O mixture. You might need to use a spoon to help coat any missed spots. Once coated, lift the grape out of the Jell-O and let any excess drip back into the bowl for a moment. Then, stand the toothpick upright in a piece of styrofoam, an egg carton, or a tall jar to allow the coating to set. The Jell-O needs to firm up slightly before applying a second coat. This initial dip creates a solid, colorful base. Repeat this process with your desired Jell-O flavors, working in batches. For a more intense color and flavor, you can even do a double dip in the same flavor before moving to the next.
Adding Depth and Flavor
Step 5: The Second Dip and Flavor Infusion
Once the first layer of Jell-O has set enough to be slightly firm to the touch (this usually takes about 15-20 minutes in the refrigerator, or a bit longer at room temperature), it’s time for the second dip. This step is key for achieving that signature thick, candy-like coating. Re-dip each grape into the same or a different Jell-O flavor. This second layer will add thickness and ensure a more satisfyingly chewy texture. As you dip for the second time, you can also add your optional seasonings. For a sweet and tangy zest, sprinkle a bit of Tajín seasoning onto the wet Jell-O coating. If you enjoy a bit of heat, a light dusting of chili powder can be an amazing contrast to the sweet Jell-O and grapes. These seasonings add a fantastic layer of complexity and make our Frozen Candy Grapes with Jell-O truly unique. Be sure to sprinkle the seasonings immediately after dipping so they adhere to the wet Jell-O.
Step 6: Freezing for the Perfect Candy Texture
The final stage is to achieve that delightful frozen candy texture. After the second dip and any added seasonings, carefully place the grapes (still on their toothpicks, standing upright) back into the freezer. Allow them to freeze for at least 2-3 hours, or until they are completely solid. The goal is for the Jell-O coating to be firm and icy, creating a delightful crunch when you bite into the grape, followed by the refreshing burst of flavor. Make sure they are spaced out enough so they don’t freeze together in a clump. You can arrange them on a baking sheet lined with parchment paper if you’re worried about them sticking to whatever you’re using to hold them upright. Once frozen, they are ready to be enjoyed as a refreshing, vibrant, and flavorful treat. Store any leftovers in an airtight container in the freezer.
Conclusion:
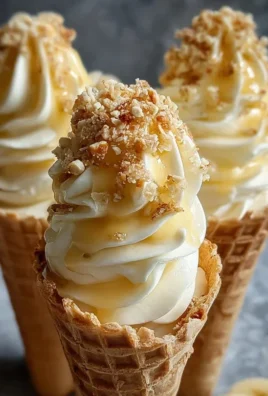
And there you have it – the incredibly simple yet delightfully satisfying Frozen Candy Grapes with Jell-O! This recipe is a fantastic way to enjoy a sweet treat that’s both refreshing and visually appealing. The burst of juicy grape flavor combined with the subtle sweetness and satisfying chew of the Jell-O creates a unique and addictive experience that’s perfect for all ages. They are incredibly versatile and can be enjoyed on their own as a healthy-ish dessert or snack, or they can be a fun addition to a dessert platter. For an extra touch of elegance, consider serving them alongside a scoop of vanilla ice cream or a dollop of whipped cream. Don’t be afraid to experiment with different Jell-O flavors to create a rainbow of candy grapes! Strawberry, raspberry, or even a tropical flavor like mango could be wonderfully delicious. I truly encourage you to give this recipe a try; it’s so easy to make and the results are always a hit. Enjoy the magic of Frozen Candy Grapes with Jell-O!
Frequently Asked Questions:
Q: Can I use different types of grapes for this recipe?
A: Absolutely! While green grapes are often preferred for their vibrant color and tartness which balances the sweetness of the Jell-O, red or black grapes will also work wonderfully. Just be aware that the color of the Jell-O might appear slightly different.
Q: How long do the Frozen Candy Grapes with Jell-O last?
A: Once fully frozen, these candy grapes can be stored in an airtight container in the freezer for up to 2-3 weeks. They tend to maintain their best texture within the first week, but they will remain edible and enjoyable for longer.
Jell-O Candy Grapes – Frozen Treat Recipe
A fun and colorful frozen treat made with seedless grapes coated in Jell-O and then frozen for a candy-like texture. Optional Tajín and chili powder add a zesty and spicy kick.
Ingredients
-
1 pound seedless grapes (green, red, or a mix)
-
1 cup water
-
Toothpicks
-
1 box raspberry Jell-O
-
1 box berry blue Jell-O
-
1 box orange Jell-O
-
1 box lime Jell-O
-
1 box lemon Jell-O
-
1 box grape Jell-O
-
Tajín seasoning (optional)
-
Chili powder (optional)
Instructions
-
Step 1
Wash and thoroughly dry the seedless grapes. This is crucial for the Jell-O to adhere properly. -
Step 2
Carefully pierce one grape onto the end of each toothpick, ensuring it’s secure but not broken. -
Step 3
Dissolve each box of Jell-O powder in 1 cup of hot (not boiling) water in separate bowls. Stir until completely dissolved and let cool slightly for 5-10 minutes. -
Step 4
Dip each grape by the toothpick into a Jell-O mixture, ensuring it’s fully coated. Lift and let excess drip off, then stand upright in styrofoam or an egg carton to set for 15-20 minutes in the refrigerator. -
Step 5
Once the first layer is slightly firm, re-dip each grape for a second layer to build thickness. Immediately sprinkle with Tajín or chili powder, if using, while the Jell-O is still wet. -
Step 6
Place the dipped grapes back into the freezer and freeze for at least 2-3 hours, or until completely solid and firm for the perfect candy texture.
Important Information
Nutrition Facts (Per Serving)
It is important to consider this information as approximate and not to use it as definitive health advice.
Allergy Information
Please check ingredients for potential allergens and consult a health professional if in doubt.
Leave a Comment