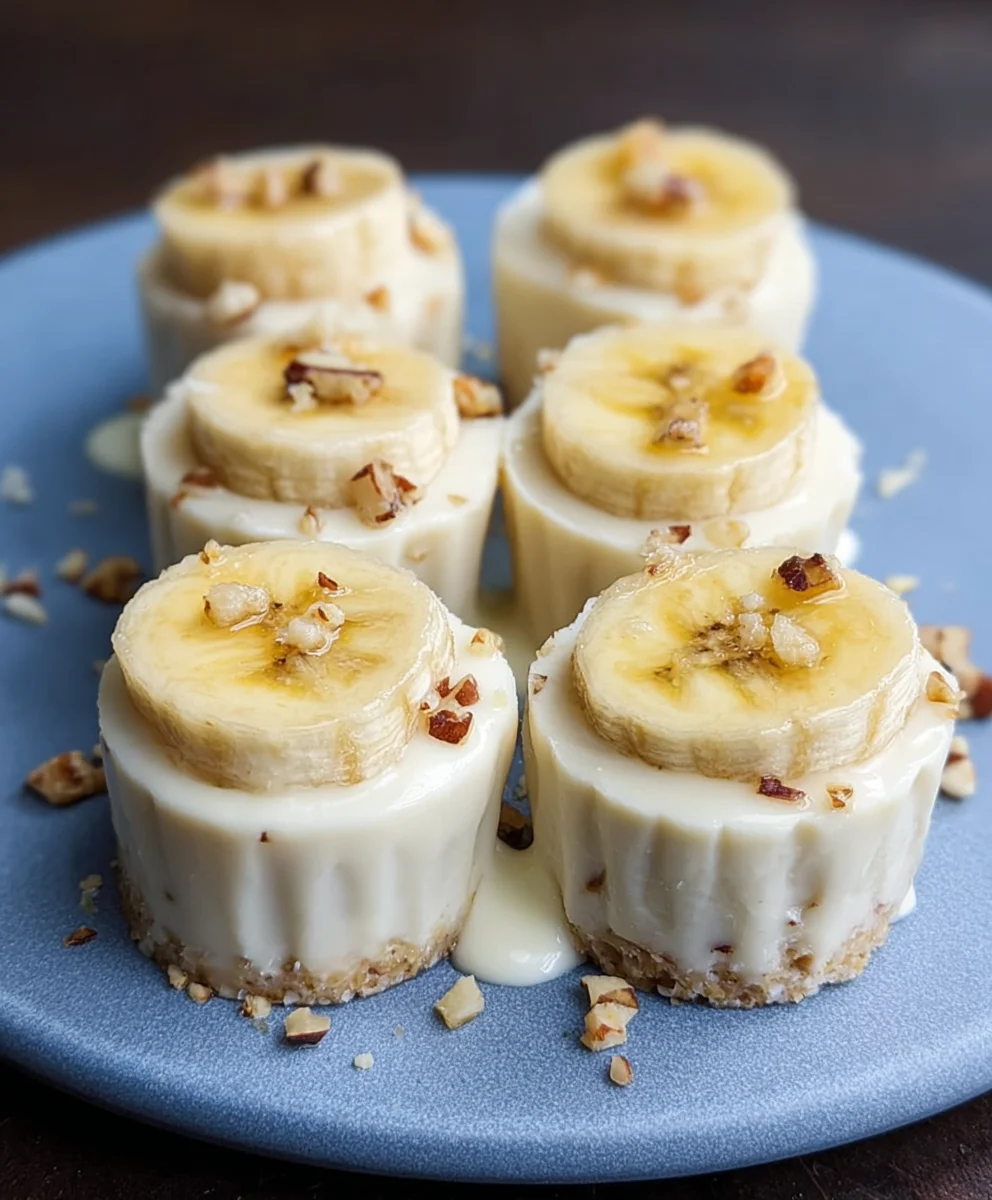
Frozen Banana Yogurt Bites are a delightful treat that has taken the snack world by storm, and for good reason! Imagin extracte a creamy, dreamy bite that’s both healthy and incredibly satisfying – that’s the magic of these simple yet sensational frozen concoctions. What makes them so universally loved is their perfect balance of sweetness from the banana, tang from the yogurt, and a delightful chill that makes them irresistible, especially on a warm day or when you’re craving something sweet without the guilt. These aren’t just another frozen dessert; they are a testament to how simple ingredients can transform into something truly special. The beauty of Frozen Banana Yogurt Bites lies in their versatility and ease of preparation, making them a go-to for busy parents, health-conscious individuals, and anyone who appreciates a naturally sweet indulgence. Get ready to discover your new favorite no-fuss dessert!

Ingredients:
- 1 large ripe banana
- 150 g yogurt of your choice (natural yogurt works well)
- Handful of dried banana chips (optional, for topping)
Preparing Your Frozen Banana Yogurt Bites
Step 1: Prepare the Banana
Begin extract by peeling your large ripe banana. For the best results, ensure the banana is at the peak of ripeness – this means it should have a few brown spots and be soft to the touch, as this will make it easier to mash and contribute a lovely natural sweetness to your bites. Once peeled, place the banana into a medium-sized bowl. You can use a fork to mash the banana until it’s smooth and creamy, or if you prefer a slightly chunkier texture, you can mash it less thoroughly. The goal is to break down the banana into a paste-like consistency, ensuring there are no large lumps. This smooth base is crucial for achieving uniform bites. Take your time with this step; a well-mashed banana will incorporate more seamlessly with the yogurt.
Step 2: Incorporate the Yogurt
Next, add your 150 grams of yogurt to the bowl with the mashed banana. Natural yogurt is an excellent choice as its gin extractd tanginess beautifully complements the sweetness of the banana. However, feel free to experiment with other flavors like vanilla or even a Greek yogurt for a thicker texture and a more protein-rich bite. Gently fold the yogurt into the mashed banana using a spatula or a spoon. You don’t need to overmix; the aim is to create a well-combined mixture that is uniform in color and texture. Ensure all the banana is incorporated into the yogurt, but avoid vigorous stirring, which can sometimes make the mixture too runny. The consistency should be thick enough to hold its shape.
Step 3: Portioning the Bites
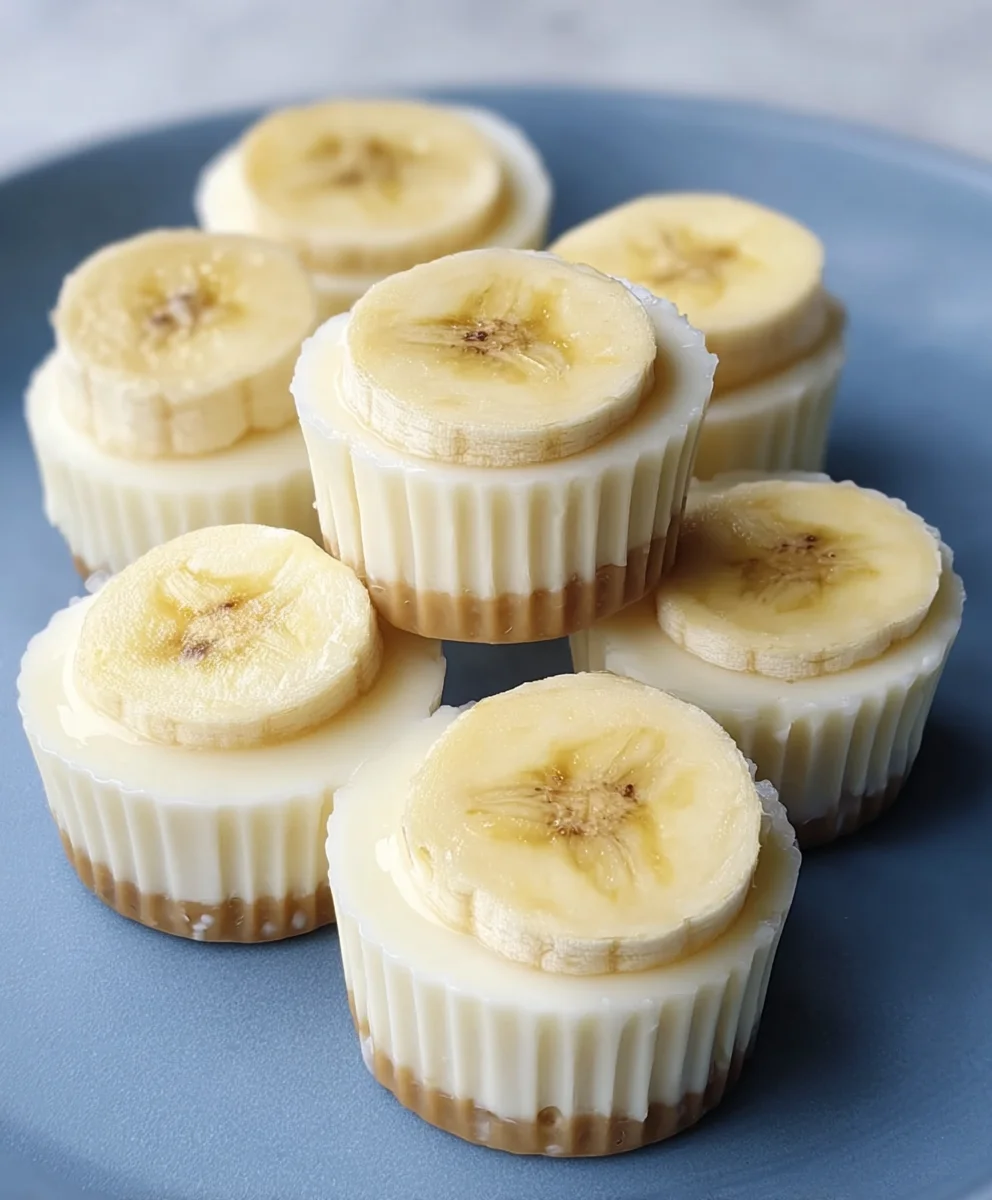
Now it’s time to shape your delicious frozen banana yogurt bites. You have a couple of excellent options here. The first is to use a small spoon or a piping bag fitted with a plain round tip. Carefully spoon or pipe small dollops of the banana-yogurt mixture onto a parchment-lined baking sheet. Aim for bite-sized portions, about 1-2 inches in diameter. If you’re using a piping bag, this method will give you beautifully uniform shapes. Alternatively, if you don’t have a piping bag, you can use two small spoons to carefully scoop and deposit the mixture onto the baking sheet. This method might be a little less precise but is perfectly effective. Ensure there’s a little space between each bite, as they will expand slightly as they freeze.
Step 4: Adding the Optional Topping
If you’re using the dried banana chips for an extra crunch and flavor boost, this is the stage to add them. Take a few dried banana chips and gently press them onto the top of each yogurt bite before they go into the freezer. This not only adds a delightful texture contrast but also enhances the banana flavor. You can press them down just enough so they adhere to the yogurt mixture. If you’re feeling creative, you could also consider other toppings at this point, such as a sprinkle of cinnamon, a few chia seeds, or even some finely chopped nuts, although the provided recipe specifically mentions dried banana chips. Make sure the chips are distributed evenly for a pleasing visual and taste experience in every bite.
Step 5: Freezing for Perfect Bites
Place the baking sheet with the prepared banana yogurt bites into your freezer. Allow them to freeze completely until they are firm to the touch. This typically takes at least 2 to 3 hours, but for the best, most solid results, I recommend leaving them in for 4 hours or even overnight. Once frozen, you can carefully remove the bites from the parchment paper. They should pop off easily. You can then transfer these frozen treats to an airtight container or a freezer-safe bag for storage. This way, you can enjoy your homemade Frozen Banana Yogurt Bites whenever the craving strikes. It’s always a good idea to have a batch ready to go for a healthy and refreshing snack. Storing them in a single layer in a container will prevent them from clumping together.
Conclusion:
There you have it! Your ultimate guide to creating delightful Frozen Banana Yogurt Bites. These little gems are incredibly easy to whip up and offer a healthier, refreshing alternative to traditional desserts or snacks. The simple combination of ripe bananas and creamy yogurt, frozen to perfection, results in a satisfyingly cool treat that everyone will adore. I encourage you to give these Frozen Banana Yogurt Bites a try – they’re a fantastic way to utilize ripe bananas and keep your little ones (and yourself!) happy and cooled down, especially on warmer days.
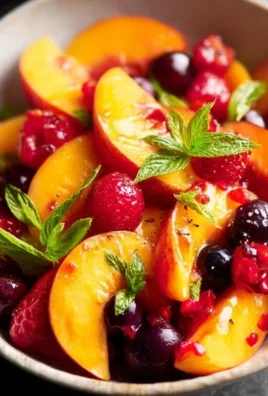
For serving suggestions, these bites are perfect on their own, but they also make a wonderful addition to a fruit salad or as a topping for smoothie bowls. Feel free to get creative with variations! You can add a sprinkle of cinnamon or nutmeg to the yogurt before freezing for an extra flavor boost, or even dip them partially in melted dark chocolate for a decadent touch.
Frequently Asked Questions about Frozen Banana Yogurt Bites:
Can I use different types of yogurt for Frozen Banana Yogurt Bites?
Absolutely! While plain or vanilla yogurt works wonderfully, you can experiment with Greek yogurt for a richer texture and higher protein content, or even flavored yogurts for added sweetness and variety. Just ensure the yogurt is thick enough to coat the banana slices well.
How long do Frozen Banana Yogurt Bites last in the freezer?
Frozen Banana Yogurt Bites can be stored in an airtight container in the freezer for up to 2-3 months. To prevent them from sticking together, you can flash-freeze them on a baking sheet for about an hour before transferring them to a storage container or freezer bag.
Frozen Banana Yogurt Bites – Healthy Sweet Treat
A simple and healthy frozen treat made with ripe bananas and yogurt, perfect for a sweet snack.
Ingredients
-
1 large ripe banana
-
150 g yogurt of your choice (natural yogurt works well)
-
Handful of dried banana chips (optional, for topping)
-
1 tablespoon honey (optional, for added sweetness)
-
1/4 teaspoon vanilla extract (optional, for flavor)
Instructions
-
Step 1
Peel the ripe banana and mash it in a medium bowl until smooth and creamy, ensuring no large lumps remain. The riper the banana, the sweeter the bites will be. -
Step 2
Add 150g of your chosen yogurt (natural is recommended for its tang) to the mashed banana. Gently fold in optional ingredients like honey or vanilla extract until just combined. Avoid overmixing to maintain a thick consistency. -
Step 3
Spoon or pipe small, bite-sized dollops (about 1-2 inches in diameter) of the mixture onto a parchment-lined baking sheet. Leave some space between each bite. -
Step 4
If using, gently press a few dried banana chips onto the top of each yogurt bite for added texture and flavor. -
Step 5
Place the baking sheet in the freezer and freeze for at least 2-3 hours, or until firm. For best results, freeze for 4 hours or overnight. -
Step 6
Once frozen solid, carefully remove the bites from the parchment paper. Store in an airtight container or freezer-safe bag in a single layer to prevent sticking.
Important Information
Nutrition Facts (Per Serving)
It is important to consider this information as approximate and not to use it as definitive health advice.
Allergy Information
Please check ingredients for potential allergens and consult a health professional if in doubt.

Leave a Comment