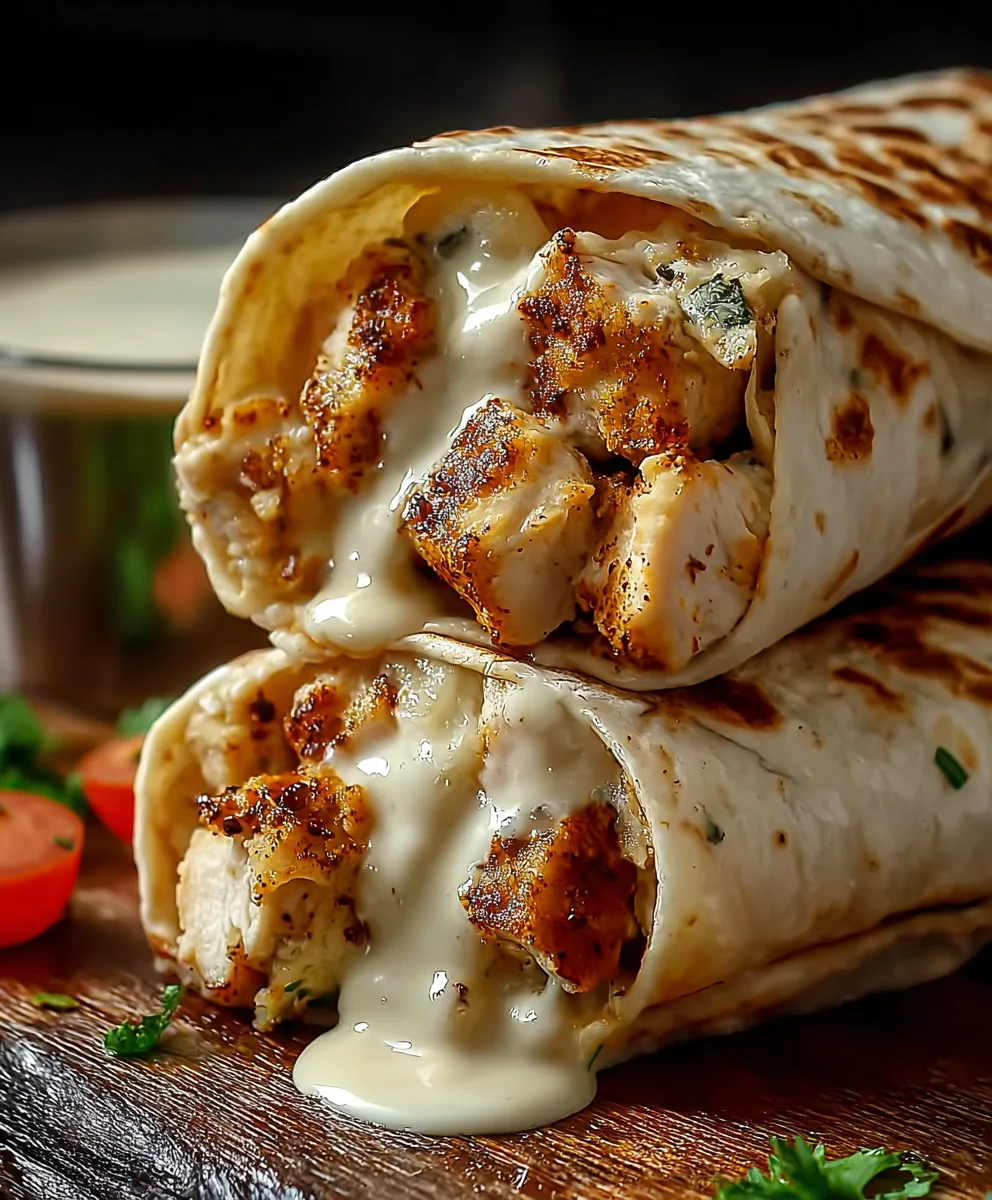
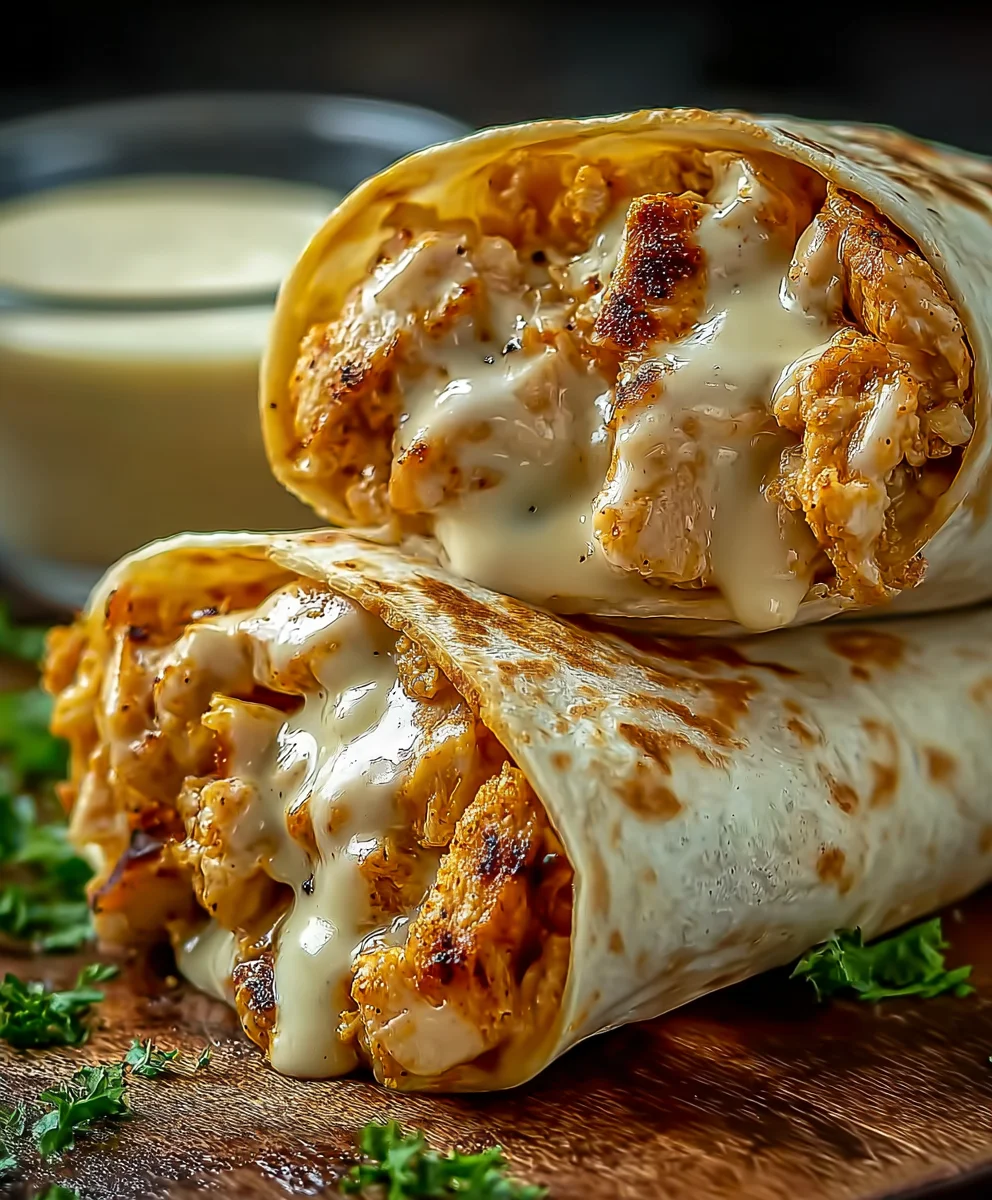
Cheesy Garlic Chicken Wraps: A Tasty Dinner Delight! are more than just a meal; they’re a weeknight hero, a guaranteed crowd-pleaser, and an absolute symphony of flavor and comfort. If you’re searching for a quick, satisfying, and incredibly delicious dinner solution, look no further. We all love dishes that deliver maximum impact with minimal fuss, and these wraps fit the bill perfectly. Imagin extracte tender, succulent chicken infused with the aromatic embrace of garlic, all swathed in a blanket of gooey, melted cheese, then hugged by a warm, soft tortilla. It’s this irresistible combination of savory chicken, pungent garlic, and rich, decadent cheese that makes these Cheesy Garlic Chicken Wraps: A Tasty Dinner Delight! so utterly addictive. They’re incredibly versatile, making them ideal for busy families, impromptu gatherings, or simply when you crave a truly delightful meal that won’t keep you slaving away in the kitchen for hours. Get ready to transform your dinner routine with this truly special recipe.

Ingredients:
- 2 cups cooked chicken, shredded
- 1 cup shredded mozzarella cheese
- 1/2 cup cream cheese, softened
- 1/4 cup sour cream
- 2 cloves garlic, minced
- 1 teaspoon garlic powder
- 1 teaspoon onion powder
- 1/2 teaspoon salt
- 1/4 teaspoon black pepper
- 4 large flour tortillas
- 1 cup fresh spinach leaves
- 1/2 cup diced tomatoes
- 1/4 cup chopped fresh parsley (optional)
- Olive oil for cooking
Preparing the Cheesy Chicken Filling
Step 1: Combine the Creamy Base
In a medium-sized bowl, combine the softened cream cheese and sour cream. Use a spoon or a spatula to mix them thoroughly until they form a smooth, homogenous paste. This creamy base is going to bind all our delicious ingredients together and give the wraps their signature richness. Ensure the cream cheese is truly softened; if it’s still a bit firm, it will be harder to get a smooth consistency. You can leave it out on the counter for about 30-60 minutes before you start cooking, or microwave it in 10-second bursts, stirring in between, until just softened (be careful not to melt it!).
Step 2: Infuse with Garlic and Seasonings
Add the minced fresh garlic to the cream cheese and sour cream mixture. Don’t be shy with the garlic; its pungent aroma is a key player here. Next, stir in the garlic powder and onion powder. These powdered seasonings add another layer of savory depth that complements the fresh garlic beautifully. Follow this with the salt and black pepper. Taste the mixture at this point (if you’re comfortable doing so with raw garlic, otherwise, wait until all ingredients are combined). You can adjust the salt and pepper to your personal preference. A good seasoning balance is crucial for a truly delightful wrap.
Step 3: Incorporate the Chicken and Cheese
Now it’s time to add the star of our filling: the shredded cooked chicken. Gently fold the shredded chicken into the creamy mixture, ensuring each piece is well-coated. This is where the main body of our filling comes from. After the chicken is incorporated, add the shredded mozzarella cheese. Gently mix until the cheese is evenly distributed throughout the chicken and cream mixture. The mozzarella will melt slightly when heated in the next step, creating those wonderful cheesy pulls we all love. If you have any leftover cooked chicken, this is a fantastic way to use it up!
Assembling and Cooking the Wraps
Step 4: Warming and Prepping the Tortillas
Lay out your four large flour tortillas on a clean, dry surface. Lightly brush the surface of each tortilla with a little olive oil. You can do this by dipping a paper towel in olive oil and wiping it across the tortilla, or by using a pastry brush. Warming the tortillas slightly before filling makes them more pliable and easier to fold without tearing, preventing those frustrating rips when you’re trying to wrap everything up. You can warm them in a dry skillet over medium heat for about 30 seconds per side, or even microwave them for 15-20 seconds wrapped in a damp paper towel.
Step 5: Filling and Rolling the Wraps
Spoon an equal portion of the cheesy chicken mixture onto the center of each warmed tortilla. Don’t overfill, or you’ll find it difficult to roll neatly. On top of the chicken mixture, add a generous layer of fresh spinach leaves and diced tomatoes. If you’re using fresh parsley, sprinkle a little over the fillings now. To roll, fold in the sides of the tortilla over the filling, then tightly roll up from the bottom. Tuck in the filling as you go to ensure a compact wrap. The spinach will wilt slightly as the wraps cook, adding a fresh element without being overwhelming.
Step 6: Searing the Wraps to Perfection
Heat a tablespoon of olive oil in a large skillet or on a griddle over medium-high heat. Carefully place the rolled wraps into the hot skillet, seam-side down. Cook for about 3-5 minutes per side, or until the tortillas are golden brown and slightly crispy, and the cheese inside is fully melted and gooey. This searing process not only makes the wraps visually appealing but also adds a lovely texture and ensures everything is heated through. You might need to adjust the heat to prevent burning. If you don’t have enough space for all four at once, cook them in batches. Serve immediately for the best experience.
Conclusion:
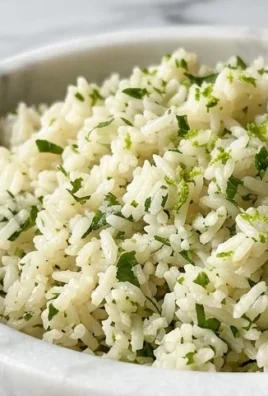
We hope you’ve enjoyed exploring the simple yet incredibly satisfying Cheesy Garlic Chicken Wraps: A Tasty Dinner Delight! This recipe truly delivers on its promise of a delicious and quick meal, perfect for busy weeknights or a relaxed weekend dinner. The combination of tender chicken, savory garlic, and gooey melted cheese, all bundled in a warm tortilla, is a guaranteed crowd-pleaser. Don’t be afraid to get creative with your serving. These wraps are fantastic on their own, but they also pair wonderfully with a crisp side salad, a cup of your favorite soup, or some seasoned sweet potato fries.
For those who like to experiment, consider adding a sprinkle of red pepper flakes for a bit of heat, or swapping out the cheddar cheese for Monterey Jack or a spicy pepper jack. You could also add some finely chopped bell peppers or onions to the chicken mixture for extra flavor and texture. Ultimately, the beauty of Cheesy Garlic Chicken Wraps: A Tasty Dinner Delight! lies in its adaptability. We encourage you to make it your own and savor every bite!
Frequently Asked Questions:
Can I make the chicken mixture ahead of time?
Absolutely! The chicken and garlic mixture can be prepared up to a day in advance and stored in an airtight container in the refrigerator. Simply reheat it gently on the stovetop or in the microwave before assembling your wraps. This is a great time-saving tip!
What kind of tortillas work best for these wraps?
Larger flour tortillas, about 8-10 inches in diameter, are ideal as they are flexible and can hold a generous amount of filling without tearing. However, you can also use whole wheat tortillas for a healthier option, or even smaller tortillas if you prefer mini wraps.
Cheesy Garlic Chicken Wraps
Quick and easy cheesy garlic chicken wraps perfect for a weeknight dinner.
Ingredients
-
2 cups cooked chicken, shredded
-
1 cup shredded mozzarella cheese
-
1/2 cup cream cheese, softened
-
1/4 cup sour cream
-
2 cloves garlic, minced
-
1 teaspoon garlic powder
-
1 teaspoon onion powder
-
1/2 teaspoon salt
-
1/4 teaspoon black pepper
-
4 large flour tortillas
-
1 cup fresh spinach leaves
-
1/2 cup diced tomatoes
-
1/4 cup chopped fresh parsley
-
Olive oil for cooking
Instructions
-
Step 1
Combine the softened cream cheese and sour cream in a medium bowl until smooth. -
Step 2
Add minced garlic, garlic powder, onion powder, salt, and pepper to the cream cheese mixture. Mix well. -
Step 3
Stir in the shredded cooked chicken and shredded mozzarella cheese until evenly distributed. -
Step 4
Lightly brush each large flour tortilla with olive oil. Warm slightly if desired. -
Step 5
Spoon the chicken mixture onto the center of each tortilla. Top with spinach leaves, diced tomatoes, and parsley. -
Step 6
Fold in the sides of the tortilla, then tightly roll up from the bottom. -
Step 7
Heat olive oil in a skillet over medium-high heat. Sear the wraps seam-side down for 3-5 minutes per side until golden brown and crispy.
Important Information
Nutrition Facts (Per Serving)
It is important to consider this information as approximate and not to use it as definitive health advice.
Allergy Information
Please check ingredients for potential allergens and consult a health professional if in doubt.
Leave a Comment