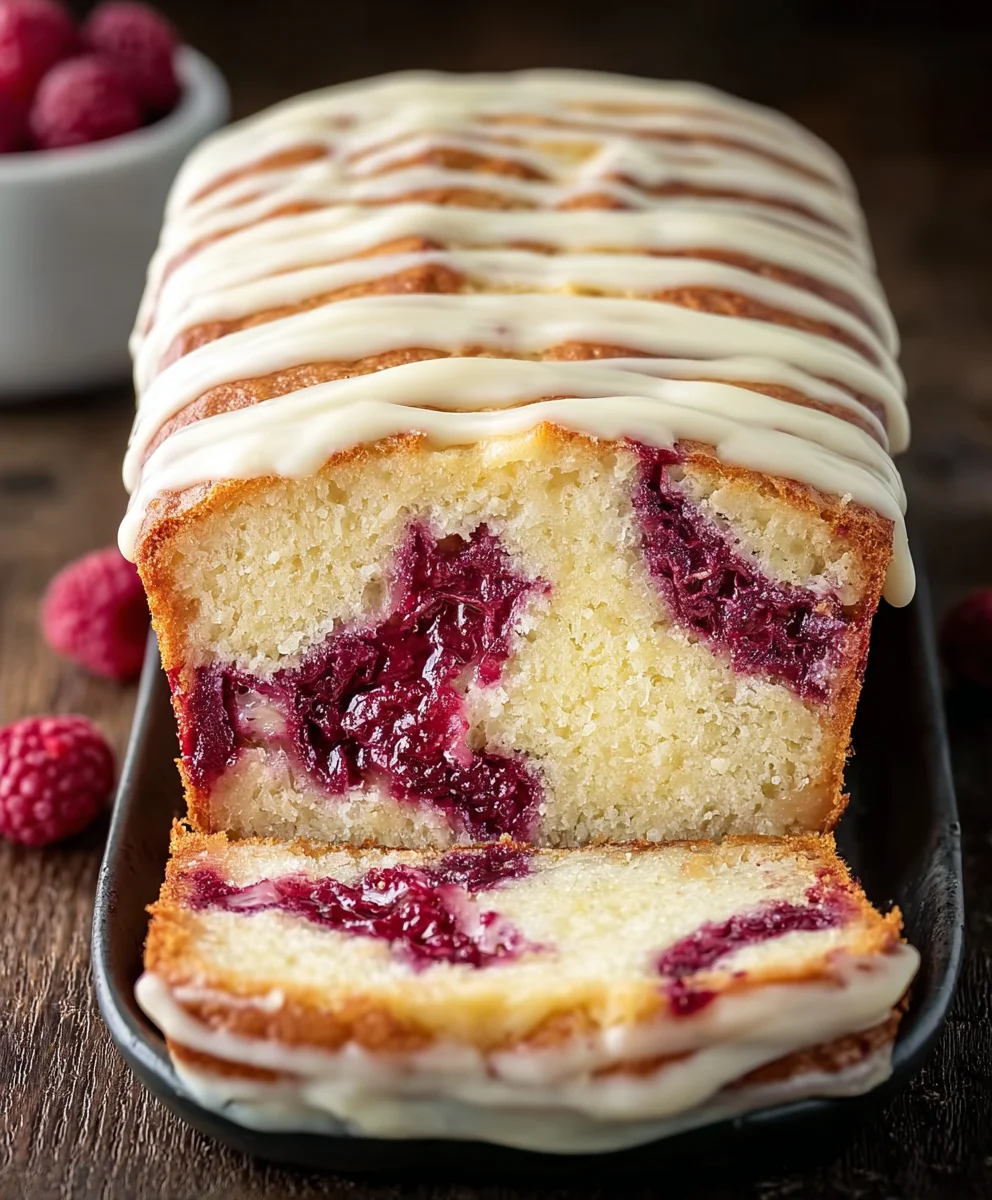
White Chocolate and Raspberry Loaf Cake is more than just a dessert; it’s a symphony of flavors and textures that sings on your palate. There’s something undeniably comforting about a beautifully baked loaf cake, and this particular creation takes that familiar joy to an entirely new level. People adore this white chocolate and raspberry loaf cake for its exquisite balance: the rich, creamy sweetness of high-quality white chocolate melts into the tender crum extractb, while the vibrant tartness of fresh raspberries bursts through, preventing it from becoming overly cloying. It’s the perfect companion to a morning coffee, an afternoon tea, or even a light dessert after a special meal. What truly sets this white chocolate and raspberry loaf cake apart is its elegant simplicity and the satisfying contrast it offers, making it a guaranteed crowd-pleaser that looks as stunning as it tastes.

Ingredients:
- 1½ cups fresh raspberries
- ¼ cup sugar
- ½ teaspoon lemon zest
- 2 tablespoons orange juice
- 1 tablespoon water
- 2 tablespoons cornstarch
- 1¾ cups all-purpose flour
- ½ teaspoon baking powder
- ½ teaspoon salt
- ½ cup unsalted butter, room temperature
- 4 ounces cream cheese, room temperature
- 1¼ cups sugar
- 4 large eggs
- 1 tablespoon lemon zest
- 1¾ teaspoons vanilla
Raspberry Swirl Preparation
Step 1: Creating the Raspberry Coulis
The first step to achieving that beautiful, vibrant swirl is to create a simple raspberry coulis. In a small saucepan, combine the 1½ cups of fresh raspberries with ¼ cup of sugar. Add the ½ teaspoon of lemon zest for a bright, aromatic note that will complement the sweetness of the raspberries and the richness of the cake. Pour in the 2 tablespoons of orange juice and the 1 tablespoon of water. The orange juice adds a subtle citrus depth, and the water helps to loosen the mixture. Place the saucepan over medium heat. Stir the ingredients gently as they heat up. You’ll notice the raspberries begin extract to break down and release their juices. Continue to cook, stirring occasionally, for about 5-7 minutes, or until the raspberries have softened and the mixture has thickened slightly. Mash any larger berry pieces with the back of your spoon to create a smoother consistency.
Step 2: Thickening the Raspberry Mixture
Once the raspberry mixture has simmered and softened, it’s time to thicken it further to ensure it holds its swirl within the cake batter. In a small bowl, whisk together the 2 tablespoons of cornstarch with a tablespoon or two of cold water until it forms a smooth slurry. This is crucial to avoid lumps in your coulis. Gradually pour this cornstarch slurry into the simmering raspberry mixture in the saucepan, whisking constantly. Continue to cook and stir for another 1-2 minutes. You will see the coulis thicken considerably, taking on a jam-like consistency. This thicker texture is perfect for swirling. Remove the saucepan from the heat and set it aside to cool completely. It’s important that it’s cool before you attempt to swirl it into the cake batter; otherwise, it could melt the butter and cream cheese mixture and affect the cake’s texture. You can speed up the cooling process by placing the saucepan in an ice bath, stirring occasionally.
White Chocolate Loaf Cake Batter
Step 3: Creaming the Butter and Cream Cheese
Now we move on to the foundation of our delicious white chocolate and raspberry loaf cake: the cake batter. In a large mixing bowl, or the bowl of your stand mixer fitted with the paddle attachment, combine the ½ cup of softened unsalted butter and the 4 ounces of softened cream chgin extracte. Begin beating these two ingredients together on medium speed until they are light, fluffy, and well combined. This process is called “creaming,” and it’s essential for incorporating air into the batter, which contributes to a tender crum extractb. Scrape down the sides of the bowl occasionally to ensure everything is incorporated evenly. Gradually add the 1¼ cups of sugar to the creamed butter and cream cheese mixture, continuing to beat on medium speed. Continue beating for another 3-5 minutes until the mixture is pnon-alcoholic ale yellow and has a creamy, aerated texture. This step is critical for both sweetness and the cake’s structure.
Step 4: Incorporating the Eggs and Vanilla
With the butter, cream cheese, and sugar beautifully creamed, it’s time to add the eggs. Add the 4 large eggs, one at a time, beating well after each addition until fully incorporated. It’s important to add them one by one to allow each egg to emulsify properly with the creamed mixture. If you add them all at once, the batter can curdle. After the last egg is incorporated, add the 1 tablespoon of lemon zest for an extra burst of citrus brightness and the 1¾ teaspoons of vanilla extract for that classic, comforting flavor. Beat again until just combined. Don’t overmix at this stage; we’re just incorporating the wet ingredients.
Step 5: Combining Dry and Wet Ingredients and Swirling
In a separate medium bowl, whisk together the 1¾ cups of all-purpose flour, ½ teaspoon of baking powder, and ½ teaspoon of salt. Whisking the dry ingredients helps to evenly distribute the leavening agent and salt, ensuring a consistent rise and flavor throughout the cake. Now, gradually add the dry ingredients to the wet ingredients in three additions, mixing on low speed until just combined after each addition. Be careful not to overmix the batter once the flour is added, as this can develop the gluten too much, resulting in a tough cake. It’s perfectly fine if there are a few streaks of flour remaining; they will be incorporated as you add the next batch. Once all the dry ingredients are incorporated, the batter should be thick but pourable. Now comes the fun part: swirling in the raspberry coulis. Dollop about half of the cooled raspberry coulis over the cake batter. Gently swirl it through the batter using a knife or a skewer, creating marble-like patterns. Be careful not to over-swirl, as you want distinct streaks of raspberry. Pour the remaining batter into a greased and floured 9×5 inch loaf pan, spreading it evenly. Dollop the rest of the raspberry coulis on top and swirl again.
Conclusion:
There you have it – the ultimate guide to creating a delightful White Chocolate and Raspberry Loaf Cake! This recipe strikes a beautiful balance between the sweet, creamy notes of white chocolate and the vibrant, slightly tart burst of fresh raspberries. The result is a moist, tender cake that’s perfect for any occasion, from a simple afternoon tea to a special celebration. I encourage you to give this a try; it’s surprisingly straightforward and incredibly rewarding.
For serving, a dusting of powdered sugar is elegant and simple. Alternatively, a light glaze made from more melted white chocolate or a cream cheese frosting would be a decadent addition. This White Chocolate and Raspberry Loaf Cake also pairs beautifully with a scoop of vanilla ice cream or a dollop of whipped cream.
Feel free to get creative with variations! You could add a hint of lemon zest to the batter for an extra bright flavor, or swap out the raspberries for blueberries or even chopped strawberries. If you’re a fan of nuts, a handful of chopped macadamia nuts would complement the white chocolate wonderfully.
Frequently Asked Questions:
Can I use frozen raspberries?
Yes, you can! If using frozen raspberries, it’s best to toss them gently with a tablespoon of flour before folding them into the batter. This helps prevent them from sinking to the bottom of the cake. Avoid thawing them completely before adding to the batter, as this can release too much moisture.
How long will the White Chocolate and Raspberry Loaf Cake keep?
Once cooled, this loaf cake will stay fresh in an airtight container at room temperature for up to 3 days. For longer storage, you can refrigerate it for up to a week, or freeze individual slices for up to 3 months. Ensure it’s completely cooled before storing.
My white chocolate melted unevenly. What did I do wrong?
Melting white chocolate can be a bit tricky! It’s best to melt it gently over a double boiler (a bowl set over simmering water, not touching the water) or in short intervals in the microwave (30 seconds at a time, stirring in between). Overheating can cause it to seize or burn.
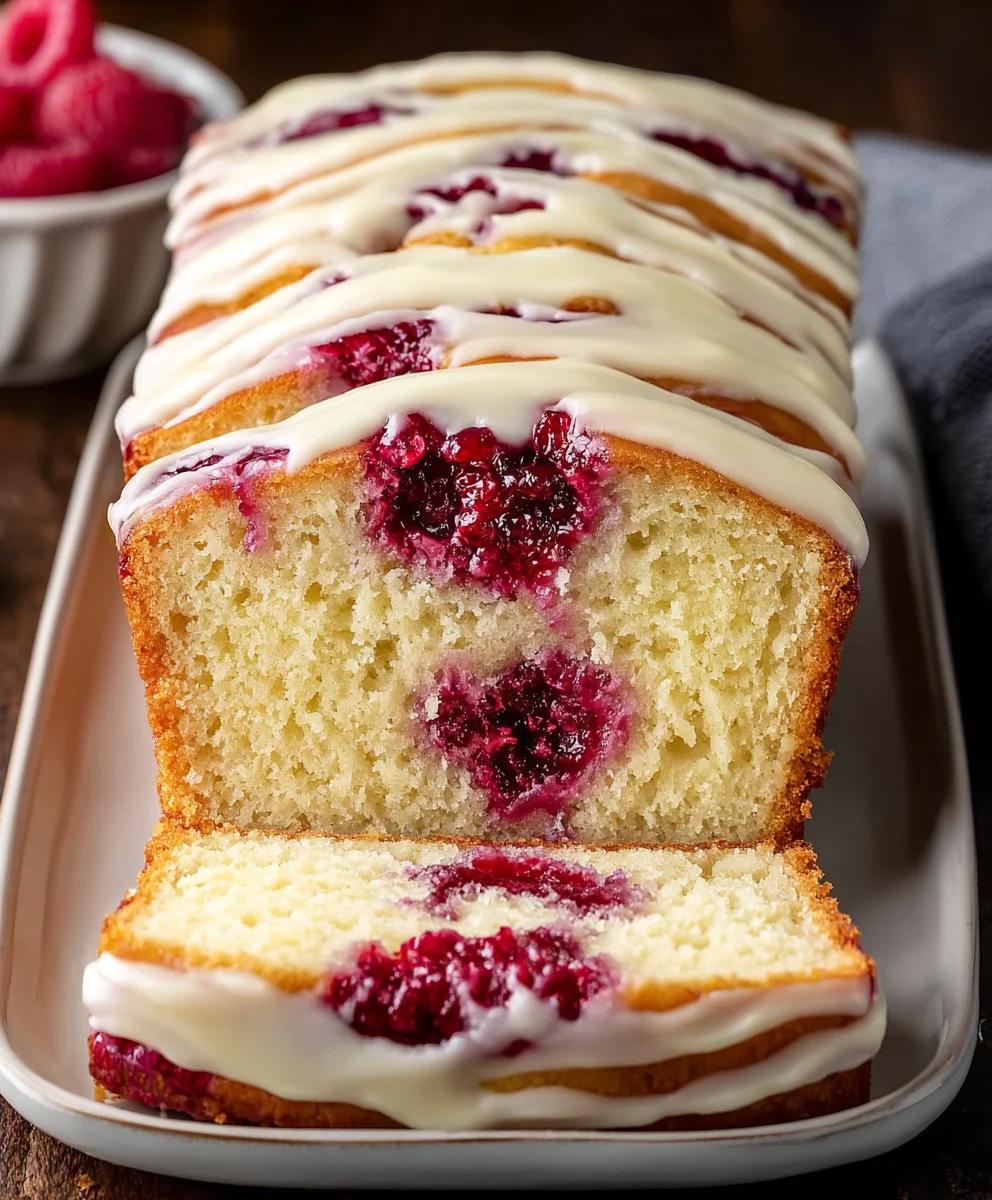
White Chocolate Raspberry Loaf Cake – Easy Moist Recipe
A moist and delicious loaf cake featuring a swirl of vibrant raspberry coulis and the subtle sweetness of white chocolate. This easy recipe is perfect for any occasion.
Ingredients
-
1½ cups fresh raspberries
-
¼ cup sugar
-
½ teaspoon lemon zest
-
2 tablespoons orange juice
-
1 tablespoon water
-
2 tablespoons cornstarch
-
1¾ cups all-purpose flour
-
½ teaspoon baking powder
-
½ teaspoon salt
-
½ cup unsalted butter, room temperature
-
4 ounces cream cheese, room temperature
-
1¼ cups sugar
-
4 large eggs
-
1 tablespoon lemon zest
-
1¾ teaspoons vanilla
Instructions
-
Step 1
Create the raspberry coulis: In a saucepan, combine raspberries, ¼ cup sugar, ½ teaspoon lemon zest, orange juice, and water. Cook over medium heat for 5-7 minutes until raspberries soften and mixture thickens slightly. Mash berries. -
Step 2
Thicken the coulis: Whisk cornstarch with a tablespoon of cold water to make a slurry. Gradually add to simmering raspberries, whisking constantly. Cook for 1-2 minutes until jam-like. Cool completely. -
Step 3
Cream butter and cream cheese: In a large bowl, beat softened butter and cream cheese until light and fluffy. Gradually add 1¼ cups sugar, beating until pale yellow and creamy (3-5 minutes). -
Step 4
Add eggs and vanilla: Add eggs one at a time, beating well after each. Stir in 1 tablespoon lemon zest and 1¾ teaspoons vanilla. Beat until just combined. -
Step 5
Combine dry and wet ingredients: Whisk flour, baking powder, and salt. Gradually add dry ingredients to wet ingredients in three additions, mixing on low speed until just combined. Do not overmix. -
Step 6
Swirl the batter: Dollop half of the cooled raspberry coulis over the batter in a greased and floured 9×5 inch loaf pan. Gently swirl with a knife. Pour remaining batter on top and swirl the rest of the coulis.
Important Information
Nutrition Facts (Per Serving)
It is important to consider this information as approximate and not to use it as definitive health advice.
Allergy Information
Please check ingredients for potential allergens and consult a health professional if in doubt.


Leave a Comment