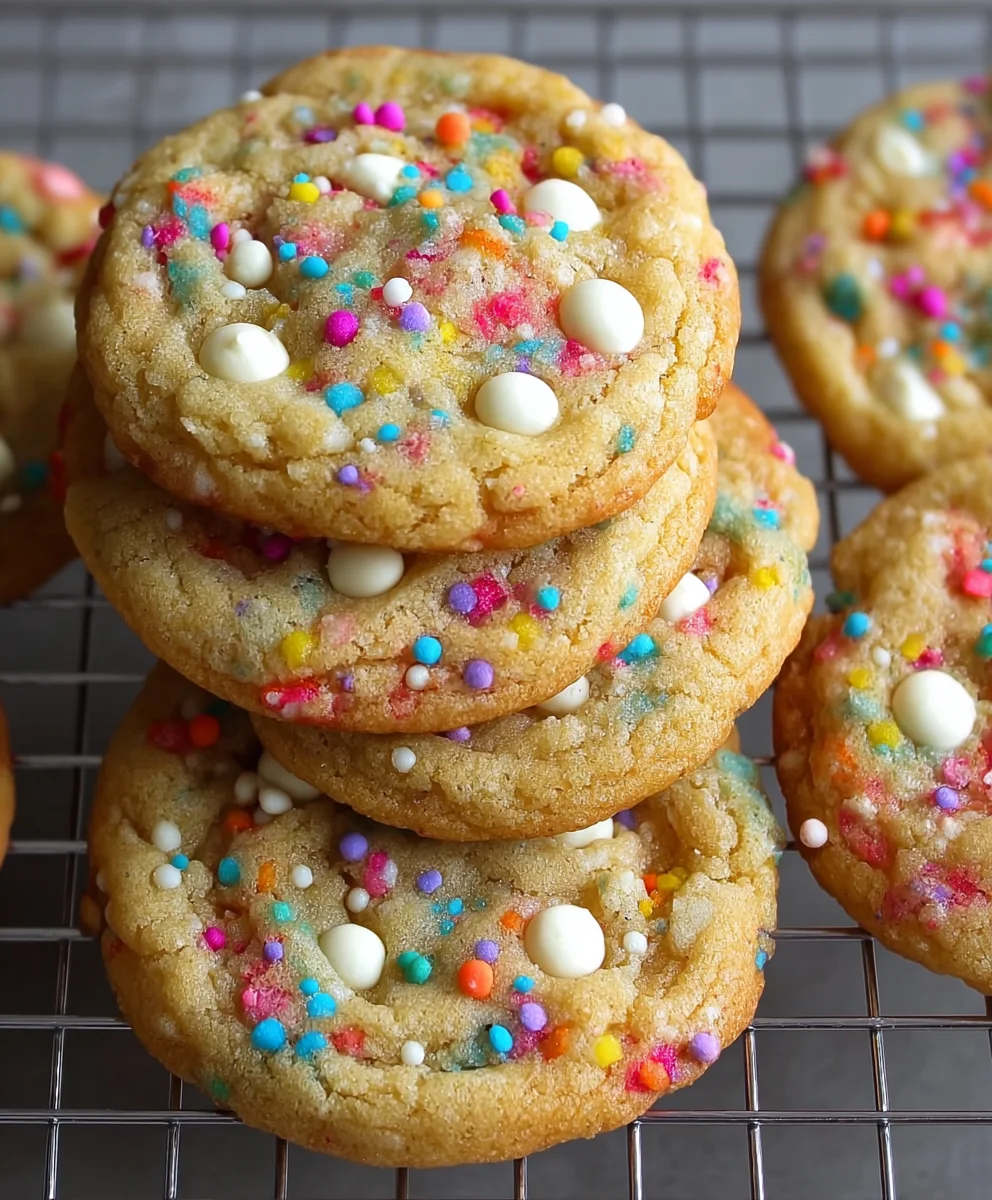
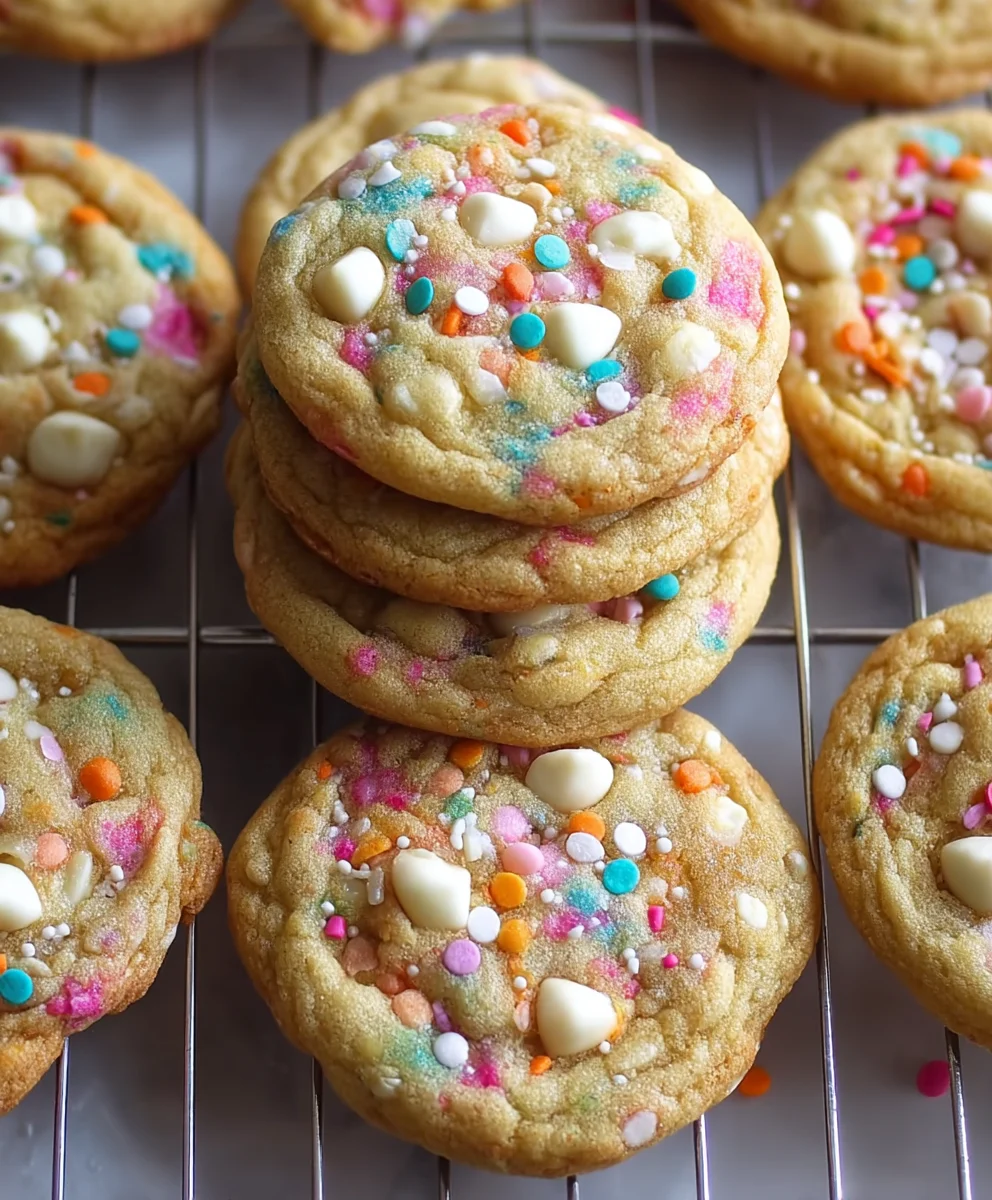
White Chocolate Confetti Cookies are more than just a treat; they’re a burst of pure joy in every bite. Imagin extracte a soft, chewy cookie, studded with vibrant sprinkles and melting pockets of creamy white chocolate. It’s no wonder these festive delights have captured the hearts (and taste buds!) of so many. They’re the perfect antidote to a dull day, a celebratory centerpiece, or simply a way to brighten up your afternoon snack. What makes these White Chocolate Confetti Cookies so incredibly special is their ability to evoke childhood wonder and pure, unadulterated happiness. The delightful crunch of the sprinkles, combined with the luxurious sweetness of the white chocolate, creates a texture and flavor combination that is simply irresistible. They’re incredibly versatile, perfect for birthdays, holidays, or just because you deserve something wonderfully cheerful.

Ingredients:
- 1¼ cup salted butter, melted and cooled to room temperature
- 1 cup light brown sugar
- 1 cup granulated sugar
- 2 teaspoons vanilla extract
- 2 large eggs, room temperature
- 3 cups all-purpose flour
- 2 teaspoons cornstarch
- 1 teaspoon baking soda
- ½ teaspoon kosher salt
- ¾ cup white chocolate chips, plus extra for garnish
- ½ cup rainbow sprinkles, plus extra for garnish
Preparing the Cookie Dough
Creaming the Sugars and Butter
To start, in a large mixing bowl, combine the melted and cooled salted butter with the light brown sugar and granulated sugar. It’s important that the butter has cooled to room temperature; if it’s too hot, it can melt the sugars too quickly and affect the texture of your cookies. We want to cream these together until the mixture is light and fluffy. This process incorporates air into the dough, which helps with leavening and creates a tender cookie. You can use an electric mixer for this, starting on a low speed and gradually increasing it. Beat for about 2-3 minutes until you see a noticeable change in color and texture. Next, we’ll add the vanilla extract. Pour in both teaspoons of vanilla extract and mix until it’s fully incorporated. The aroma will already be delightful!
Incorporating Eggs and Wet Ingredients
Now, it’s time to add the eggs. Ensure your large eggs are also at room temperature. This helps them emulsify better with the butter and sugar mixture, leading to a smoother, more cohesive dough. Crack the eggs into the bowl, one at a time, beating well after each addition. Continue to mix until the eggs are completely blended into the batter. This might take another minute or two. Scrape down the sides of the bowl periodically with a spatula to make sure all the ingredients are getting evenly mixed.
Adding Dry Ingredients and Mix-ins
Combining Dry Components
In a separate medium-sized bowl, whisk together the all-purpose flour, cornstarch, baking soda, and kosher salt. Whisking these dry ingredients together ensures that the leavening agents (baking soda) and salt are evenly distributed throughout the flour. This is a crucial step to prevent pockets of saltiness or uneven rising in your cookies. The cornstarch also plays a role in making the cookies extra tender and chewy.
Combining Wet and Dry Mixtures
Gradually add the dry ingredients to the wet ingredients in the large mixing bowl. It’s best to add them in about three additions, mixing on low speed after each addition until just combined. Be careful not to overmix at this stage. Overmixing can develop the gluten in the flour too much, resulting in tougher cookies. We are aiming for a dough that is just coming together. Stop mixing as soon as you no longer see streaks of dry flour.
Adding the White Chocolate Chips and Sprinkles
Finally, we’ll fold in the star ingredients! Gently fold in the ¾ cup of white chocolate chips and ½ cup of rainbow sprinkles using a spatula or wooden spoon. Reserve some extra white chocolate chips and sprinkles for garnishing the tops of your cookies before baking; this will make them look even more festive and appealing. Ensure the mix-ins are evenly distributed throughout the dough, but again, avoid overmixing. The dough will be thick and vibrant with color.
Chilling and Baking the Cookies
Chilling the Dough
Now, this is an important step for achieving the perfect cookie texture and preventing them from spreading too much in the oven. Cover the bowl with plastic wrap and refrigerate the dough for at least 1 hour, or preferably 2-3 hours. Chilling allows the fats in the butter to solidify again, which controls spread. It also allows the flavors to meld together beautifully. If you’re short on time, you can skip chilling, but the cookies will spread more.
Shaping and Garnishing the Cookies
Preheat your oven to 375°F (190°C). Line baking sheets with parchment paper. This prevents sticking and makes for easy cleanup. Scoop rounded tablespoons of the chilled cookie dough onto the prepared baking sheets, leaving about 2 inches of space between each cookie to allow for spreading. For that extra visual pop, press a few extra white chocolate chips and rainbow sprinkles onto the tops of each dough ball before they go into the oven. This is where those reserved mix-ins come in handy!
Baking to Perfection
Bake the cookies for 9-12 minutes, or until the edges are lightly golden brown and the centers appear set but still slightly soft. The exact baking time will depend on your oven. It’s better to underbake slightly than to overbake, as the cookies will continue to set as they cool on the baking sheet. Watch them closely during the last few minutes of baking.
Cooling the White Chocolate Confetti Cookies
Once baked, let the cookies cool on the baking sheets for 5-10 minutes before transferring them to a wire rack to cool completely. This resting period is crucial for the cookies to firm up. If you try to move them too soon, they might break apart. Once they are completely cool, your beautiful White Chocolate Confetti Cookies are ready to be enjoyed! They are perfect with a glass of milk or a cup of coffee.
Conclusion:
And there you have it – the ultimate guide to crafting delicious White Chocolate Confetti Cookies! We’ve walked through each step, from selecting the perfect ingredients to achieving that signature chewy texture and vibrant appearance. These cookies are more than just a sweet treat; they’re a celebration in every bite, perfect for birthdays, holidays, or just a Tuesday that needs a little sparkle. Don’t be afraid to get creative with your sprinkles; the more color, the better!
These White Chocolate Confetti Cookies are wonderfully versatile. Serve them warm from the oven for an ooey-gooey delight, or let them cool completely for a crispier bite. They pair beautifully with a tall glass of cold milk, a hot cup of coffee, or even a scoop of vanilla ice cream for an indulgent dessert. For variations, consider adding a hint of lemon zest to the dough for a bright citrus note, or even a pinch of sea salt on top before baking to enhance the sweetness of the white chocolate. Experiment with different color combinations of sprinkles to match any occasion.
I truly hope you enjoy making and sharing these joyful White Chocolate Confetti Cookies. They are a guaranteed crowd-pleaser and a fantastic way to bring a smile to anyone’s face. So gather your ingredients, put on some fun music, and let the baking begin extract! Happy baking!
Frequently Asked Questions:
Q1: How should I store my White Chocolate Confetti Cookies?
To keep your White Chocolate Confetti Cookies fresh, store them in an airtight container at room temperature. They will stay delicious for up to 3-4 days. If you want to keep them even longer, you can freeze baked cookies individually wrapped in plastic wrap and then placed in a freezer-safe bag for up to 2-3 months. You can also freeze the dough balls before baking; just thaw them on the counter before baking as usual.
Q2: Can I use different types of chocolate chips besides white chocolate?
Absolutely! While the recipe is named White Chocolate Confetti Cookies, feel free to experiment. Semi-sweet chocolate chips, milk chocolate chips, or even a dark chocolate could be substituted. You could also use a mix! Just keep in mind that the flavor profile will change slightly with different chocolate varieties.
White Chocolate Confetti Cookies-Festive Fun
Delightful and festive white chocolate confetti cookies, perfect for any celebration. These cookies are chewy, sweet, and packed with colorful sprinkles and white chocolate chips.
Ingredients
-
1¼ cup salted butter, melted and cooled to room temperature
-
1 cup light brown sugar
-
1 cup granulated sugar
-
2 teaspoons vanilla extract
-
2 large eggs, room temperature
-
3 cups all-purpose flour
-
2 teaspoons cornstarch
-
1 teaspoon baking soda
-
½ teaspoon kosher salt
-
¾ cup white chocolate chips, plus extra for garnish
-
½ cup rainbow sprinkles, plus extra for garnish
Instructions
-
Step 1
In a large mixing bowl, cream together the melted and cooled salted butter with the light brown sugar and granulated sugar until light and fluffy. Beat for about 2-3 minutes. Add the vanilla extract and mix until incorporated. -
Step 2
Add the room temperature eggs one at a time, beating well after each addition until completely blended. Scrape down the sides of the bowl periodically. -
Step 3
In a separate bowl, whisk together the all-purpose flour, cornstarch, baking soda, and kosher salt. Gradually add the dry ingredients to the wet ingredients in three additions, mixing on low speed until just combined. Do not overmix. -
Step 4
Gently fold in the white chocolate chips and rainbow sprinkles. Reserve some extra for garnish. -
Step 5
Cover the bowl and refrigerate the dough for at least 1 hour, or preferably 2-3 hours. Preheat oven to 375°F (190°C) and line baking sheets with parchment paper. -
Step 6
Scoop rounded tablespoons of dough onto prepared baking sheets, leaving 2 inches between cookies. Press extra white chocolate chips and sprinkles onto the tops. -
Step 7
Bake for 9-12 minutes, until edges are lightly golden brown and centers appear set. Cool on baking sheets for 5-10 minutes before transferring to a wire rack to cool completely.
Important Information
Nutrition Facts (Per Serving)
It is important to consider this information as approximate and not to use it as definitive health advice.
Allergy Information
Please check ingredients for potential allergens and consult a health professional if in doubt.


Leave a Comment