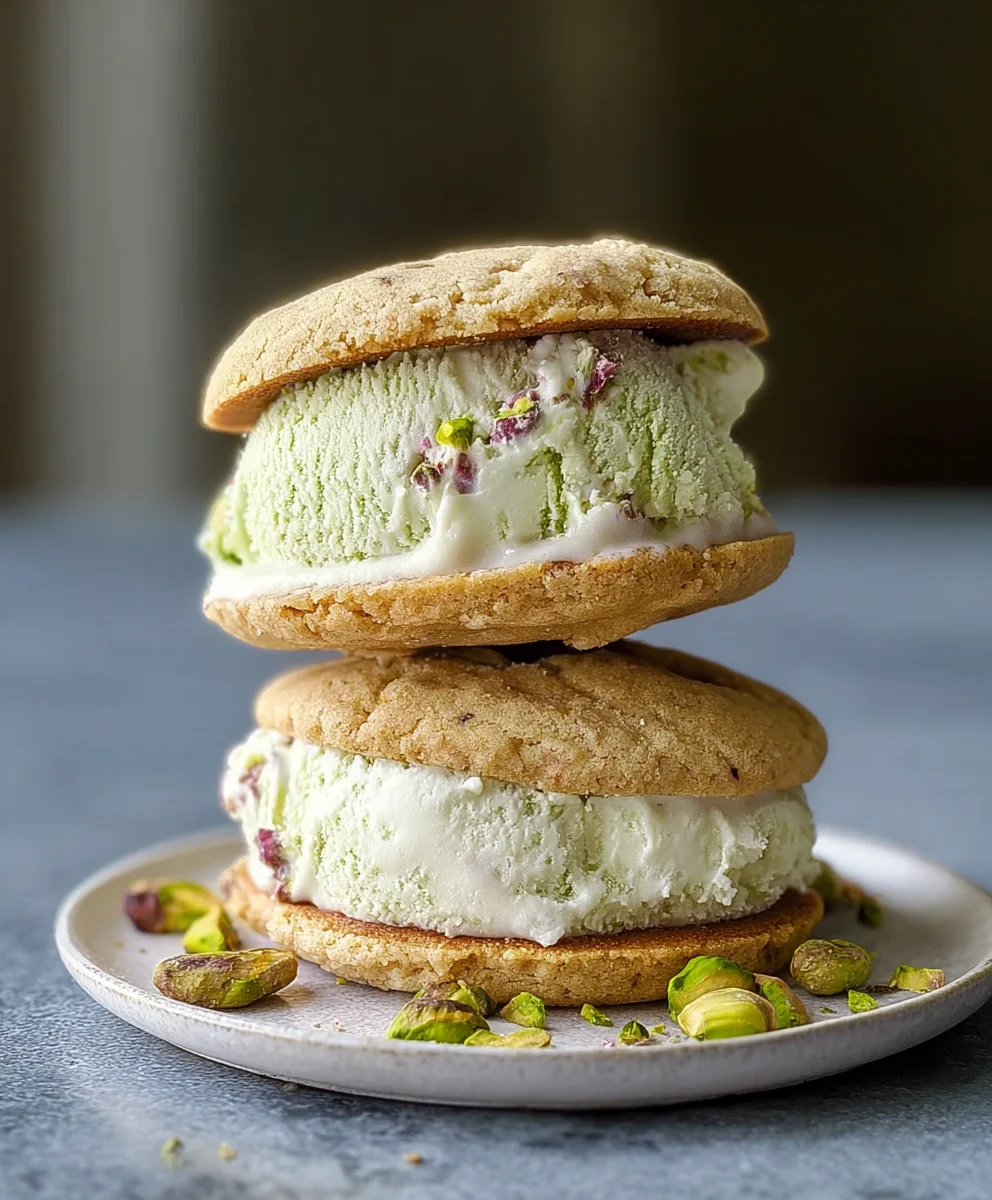
Pistachio Cookie Ice Cream Sandwiches are more than just a dessert; they’re a delightful experience that combines two of life’s greatest pleasures: homemade cookies and creamy ice cream. Imagin extracte biting into a tender, slightly crisp cookie, bursting with the nutty, subtly sweet flavor of pistachios, perfectly complemented by a generous scoop of your favorite ice cream. It’s this harmonious blend of textures and tastes that makes Pistachio Cookie Ice Cream Sandwiches so utterly irresistible. People flock to this treat because it offers a sophisticated yet comforting indulgence, a step up from your average ice cream sandwich. What truly sets these apart is the vibrant green hue and unique flavor of the pistachios, transforming a simple concept into a visually stunning and incredibly delicious creation. Get ready to discover how easy it is to bring this show-stopping dessert into your own kitchen.

Ingredients:
- 1 cup unsalted butter, softened
- ¾ cup granulated sugar
- 1 large egg
- 1 teaspoon vanilla extract
- 2 cups all-purpose flour
- ½ cup finely ground pistachios
- ¼ teaspoon salt
- 2 cups vanilla ice cream, slightly softened
- ¼ cup chopped pistachios (for rolling)
Preparing the Pistachio Cookie Dough
Creaming the Butter and Sugar
The foundation of any great cookie lies in properly creaming the butter and sugar. In a large mixing bowl, combine the softened unsalted butter and granulated sugar. Using an electric mixer on medium speed, beat these two ingredients together for about 3-5 minutes. You’re looking for a light, fluffy, and pnon-alcoholic ale yellow mixture. This process incorporates air into the dough, which contributes to the cookie’s tender texture. Scrape down the sides of the bowl occasionally to ensure everything is evenly mixed. Don’t rush this step; patience here pays off in the final cookie.
Adding Wet Ingredients
Once your butter and sugar are perfectly creamed, it’s time to add the egg and vanilla extract. Crack the large egg directly into the bowl. Add the vanilla extract. Increase the mixer speed slightly to high and beat again for another 1-2 minutes, until the egg is fully incorporated and the mixture is smooth and cohesive. The vanilla extract will add a lovely depth of flavor that complements the nutty pistachio.
Incorporating Dry Ingredients
In a separate medium bowl, whisk together the all-purpose flour, finely ground pistachios, and salt. This ensures that the salt and pistachios are evenly distributed throughout the flour, preventing pockets of saltiness or concentrated pistachio flavor. Gradually add this dry mixture to the wet ingredients in the large bowl. Mix on low speed until just combined. Be careful not to overmix at this stage. Overmixing can develop the gluten in the flour too much, leading to tough cookies. Stop mixing as soon as you no longer see streaks of dry flour. The dough will be soft and slightly sticky.
Chilling and Shaping the Cookies
Chilling the Dough
Now, we need to give the dough some time to chill. This is crucial for several reasons. Chilling solidifies the butter, which helps the cookies spread less during baking, resulting in a thicker, chewier cookie. It also allows the flavors to meld together beautifully. Turn the cookie dough out onto a piece of plastic wrap. Use the plastic wrap to form the dough into a compact disc or log, about 1.5 inches thick. Wrap it tightly and refrigerate for at least 2 hours, or until firm. You can even refrigerate it overnight. A well-chilled dough is much easier to handle and shape.
Shaping and Freezing the Cookie Discs
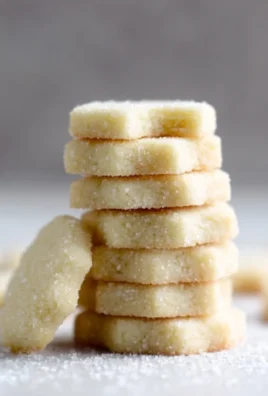
Once the dough is thoroughly chilled and firm, it’s time to shape our cookies. If you formed a log, unwrap it and slice it into 1/2-inch thick rounds. If you formed a disc, you can cut out rounds using a cookie cutter or simply slice it into wedges. For ice cream sandwiches, we need perfectly uniform cookies, so slicing the log is often the easiest method. As you cut them, place the cookie rounds onto a baking sheet lined with parchment paper. You’ll want to make sure they are roughly the same size and thickness so that your ice cream sandwiches are balanced. We will be baking these cookies and then assembling our ice cream sandwiches, so they need to be robust enough to hold the ice cream. It’s a good idea to pop the shaped cookie dough discs into the freezer for about 15-20 minutes before baking. This further helps them maintain their shape during the initial stages of baking.
Baking the Pistachio Cookies
Preheating and Baking
Preheat your oven to 350°F (175°C). Arrange the chilled cookie dough discs on baking sheets lined with parchment paper, leaving about 2 inches of space between each cookie to allow for slight spreading. Bake for 10-12 minutes, or until the edges are lightly golden brown and the centers are still slightly soft. The cookies will continue to cook slightly on the baking sheet as they cool. We are aiming for a cookie that is slightly chewy in the center and firm enough to hold its shape when sandwiched with ice cream. Overbaking will result in dry, crum extractbly cookies, which are not ideal for ice cream sandwiches.
Cooling the Cookies
Once baked, carefully remove the baking sheets from the oven. Let the cookies cool on the baking sheets for 5 minutes. This allows them to firm up before you move them. After 5 minutes, transfer the cookies to a wire rack to cool completely. It is absolutely critical that the cookies are completely cooled before assembling the ice cream sandwiches. If they are warm, they will melt the ice cream instantly and make a sticky mess. Patience here is key to achieving perfect ice cream sandwiches.
Assembling the Pistachio Cookie Ice Cream Sandwiches
Preparing the Ice Cream and Rolling Mixture
Take your vanilla ice cream out of the freezer about 5-10 minutes before you plan to assemble your sandwiches. You want it to be slightly softened, scoopable, but not melting. On a shallow plate or in a small bowl, place your chopped pistachios. This will be used to coat the sides of your ice cream sandwiches, adding an extra layer of flavor and visual appeal. Ensure you have a clean surface and all your cooled cookies ready to go.
Constructing the Sandwiches
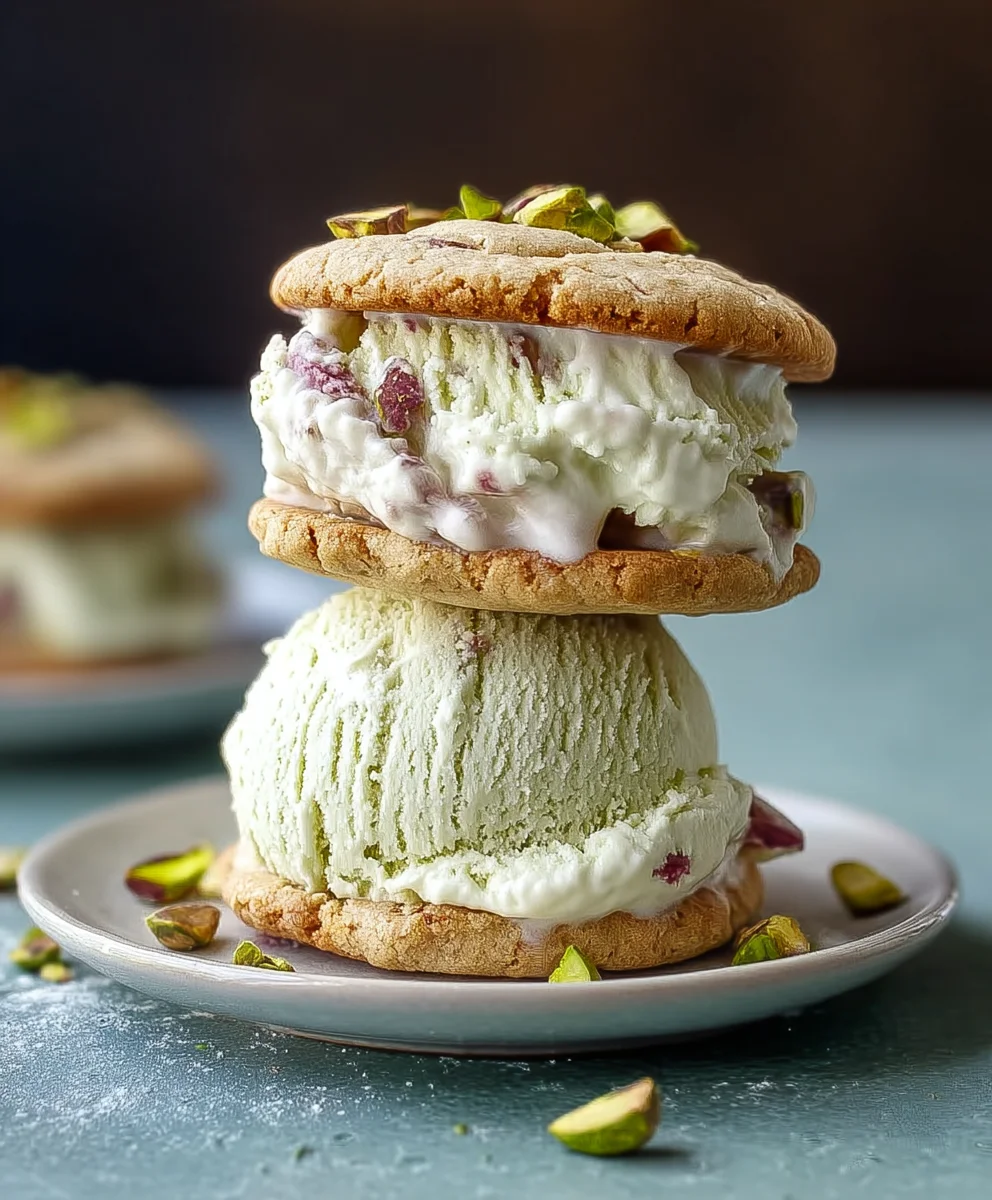
Take two completely cooled pistachio cookies. Place one cookie bottom-side up on your work surface. Scoop a generous portion of the slightly softened vanilla ice cream onto the center of this cookie. You can use an ice cream scoop or a spoon. Gently spread the ice cream almost to the edges of the cookie. Now, take the second cookie and place it on top of the ice cream, flat side down, gently pressing to create a sandwich. You want the ice cream to come up slightly around the edges of the cookie.
Finishing Touches and Freezing
Immediately after creating each sandwich, gently roll the exposed ice cream edge in the chopped pistachios. This gives your Pistachio Cookie Ice Cream Sandwiches a beautiful finish and adds another delightful nutty crunch. Carefully place the assembled sandwiches onto a parchment-lined baking sheet. Once all your sandwiches are assembled and coated, place the baking sheet in the freezer for at least 1-2 hours to allow the ice cream to firm up completely. This step is essential for easy handling and eating. When ready to serve, let them sit at room temperature for a minute or two before enjoying.
Conclusion:
You’ve now unlocked the secret to creating delightful Pistachio Cookie Ice Cream Sandwiches! This recipe offers a wonderfully balanced combination of nutty, sweet, and creamy, perfect for any occasion. Whether you’re looking for a special treat for a gathering or a satisfying dessert to enjoy at home, these sandwiches are sure to impress. Remember, the key is to allow the cookies to cool completely before assembling to prevent the ice cream from melting too quickly.
For serving suggestions, I highly recommend enjoying these Pistachio Cookie Ice Cream Sandwiches immediately after assembly for the ultimate texture contrast. They also hold up well for a short period if kept in the freezer. Consider dusting them with a little extra chopped pistachios or a drizzle of white chocolate for an elegant finish. Feel free to experiment with different ice cream flavors – mint chocolate chip or even a classic vanilla would be delicious pairings!
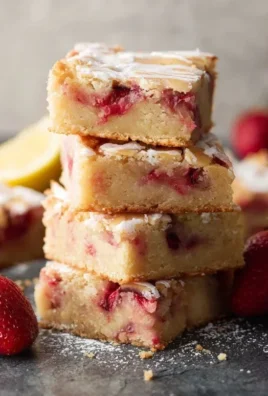
Don’t be afraid to get creative with variations! You could try adding a touch of cardamom to the cookie dough for an extra layer of warmth, or perhaps swirl some raspberry jam into the ice cream before scooping. The possibilities are endless!
FAQs:
Can I make the pistachio cookies ahead of time?
Absolutely! The pistachio cookies can be baked and stored in an airtight container at room temperature for up to 3 days. Ensure they are completely cool before storing to maintain their crispness.
What kind of ice cream works best with pistachio cookies?
While vanilla is a classic choice, I find that flavors that complement or contrast the nutty pistachio work wonderfully. Think salted caramel, coffee, or even a mild fruit flavor like cherry or raspberry. However, a good quality vanilla bean ice cream truly lets the pistachio flavor shine.
How should I store leftover Pistachio Cookie Ice Cream Sandwiches?
To store any leftovers, wrap each sandwich individually in parchment paper or plastic wrap, and then place them in a freezer-safe container or bag. They are best enjoyed within 1-2 weeks for optimal texture and flavor.
Pistachio Cookie Ice Cream Sandwiches-Sweet Treat
Delicious homemade ice cream sandwiches featuring a tender pistachio cookie and creamy vanilla ice cream, finished with a nutty pistachio coating.
Ingredients
-
1 cup unsalted butter, softened
-
¾ cup granulated sugar
-
1 large egg
-
1 teaspoon vanilla extract
-
2 cups all-purpose flour
-
½ cup finely ground pistachios
-
¼ teaspoon salt
-
2 cups vanilla ice cream, slightly softened
-
¼ cup chopped pistachios (for rolling)
Instructions
-
Step 1
Cream the softened butter and granulated sugar in a large bowl with an electric mixer on medium speed for 3-5 minutes until light and fluffy. Scrape down the sides as needed. -
Step 2
Add the large egg and vanilla extract to the creamed butter and sugar. Increase mixer speed to high and beat for 1-2 minutes until smooth and cohesive. -
Step 3
In a separate bowl, whisk together the all-purpose flour, finely ground pistachios, and salt. Gradually add this dry mixture to the wet ingredients and mix on low speed until just combined. Do not overmix. -
Step 4
Turn the dough onto plastic wrap, form into a disc or log about 1.5 inches thick, wrap tightly, and refrigerate for at least 2 hours until firm. -
Step 5
Preheat oven to 350°F (175°C). Slice the chilled dough into 1/2-inch thick rounds. Place on a parchment-lined baking sheet and freeze for 15-20 minutes before baking for 10-12 minutes until edges are lightly golden. Cool completely on a wire rack. -
Step 6
Soften vanilla ice cream slightly. Place chopped pistachios on a shallow plate. Assemble sandwiches by placing ice cream between two cooled cookies, then rolling the edges in chopped pistachios. -
Step 7
Place assembled sandwiches on a parchment-lined baking sheet and freeze for at least 1-2 hours until firm.
Important Information
Nutrition Facts (Per Serving)
It is important to consider this information as approximate and not to use it as definitive health advice.
Allergy Information
Please check ingredients for potential allergens and consult a health professional if in doubt.

Leave a Comment