

Flourless chickpea brownies are about to become your new obsession! Forget everything you thought you knew about brownies. These aren’t just any fudgy, decadent treats; they’re a revelation for anyone seeking pure indulgence without the gluten or dairy. Imagin extracte sinking your teeth into a rich, intensely chocolatey square that melts in your mouth, leaving you blissfully satisfied. What’s truly magical about these flourless chickpea brownies is that they achieve this incredible texture and deep flavor using one unlikely hero: chickpeas! That’s right, those humble legumes transform into the most surprisingly moist and satisfying base. They’re a game-changer for vegans, those with gluten sensitivities, or anyone simply looking for a healthier, yet undeniably delicious, dessert option. Prepare to be amazed by how such simple ingredients can create something so extraordinary.

Flourless Chickpea Brownies (Vegan & Gluten Free)
Get ready to indulge in some seriously fudgy, rich brownies that happen to be entirely flourless, vegan, and gluten-free! If you’ve ever thought brownies were off-limits when baking without gluten or dairy, think again. These incredible treats are made with a surprisingly simple, wholesome base that will have everyone asking for the recipe. Forget dry, crum extractbly alternatives; these brownies are moist, decadent, and packed with chocolatey goodness. The secret? Chickpeas! Don’t worry, you won’t taste them, but they provide an amazing texture and structure that replaces traditional flour. This recipe is a game-changer for anyone with dietary restrictions or simply looking for a healthier-ish dessert option that doesn’t compromise on flavor.
Ingredients:
Cooking Instructions
Get ready for some serious brownie magic! This recipe comes together remarkably quickly, making it perfect for a last-minute craving or a healthy dessert option to share.
1. Prep Your Chickpeas and Preheat Your Oven: The first crucial step is to prepare your chickpeas. Open your can of chickpeas, pour them into a colander, and rinse them thoroughly under cold running water. It’s important to drain them as well as possible; you can even give them a gentle squeeze between paper towels to remove excess moisture. While the chickpeas are draining, preheat your oven to 350°F (175°C). Line an 8×8 inch baking pan with parchment paper, leaving some overhang on the sides. This will make it super easy to lift the brownies out of the pan once they’re baked. Make sure the parchment paper covers the bottom and sides of the pan completely.
2. Blend the Wet Ingredients and Chickpeas: Now it’s time to create our brownie batter base. In a food processor, add the rinsed and well-drained chickpeas. Pulse them a few times until they are mostly broken down. Then, add the almond butter (or your chosen nut/seed butter), pure maple syrup, and vanilla extract to the food processor. Process everything together until the mixture is incredibly smooth and creamy. You want to ensure there are no large chickpea chunks remaining, and that the mixture has a uniform, thick consistency. Scrape down the sides of the food processor as needed to make sure everything is incorporated. The smoother this base is, the more decadent your final brownies will be.
3. Incorporate the Dry Ingredients: Once you have your smooth, creamy base, it’s time to add the dry components. To the food processor, add the unsweetened cocoa powder, baking powder, baking soda, and sea salt. Again, process the mixture until all the dry ingredients are fully combined with the wet ingredients. Be careful not to overmix at this stage once the dry ingredients are in, but ensure there are no pockets of unincorporated cocoa powder or leavening agents. The batter will start to thicken up considerably as the cocoa powder is incorporated. It should resemble a thick, luscious brownie batter.
4. Fold in the Chocolate Chips: Now for the best part – the chocolate chips! Transfer the brownie batter from the food processor into a medium-sized mixing bowl. Add ¾ cup of mini chocolate chips to the batter. Using a spatula, gently fold the chocolate chips into the batter. Make sure they are evenly distributed throughout the batter. You can reserve a few extra chocolate chips to sprinkle on top before baking if you like an extra chocolatey crust. This step is all about ensuring those delightful pockets of melted chocolate in every bite.
5. Bake Your Delicious Brownies: Pour the brownie batter into your prepared 8×8 inch baking pan. Use your spatula to spread the batter evenly into the corners and across the surface of the pan. If you saved some chocolate chips, now is the time to sprinkle them over the top. Place the pan in your preheated oven and bake for 25-30 minutes. The brownies are ready when the edges look set and a toothpick inserted into the center comes out with moist crum extractbs attached, but not wet batter. Be careful not to overbake, as this can lead to dry brownies.
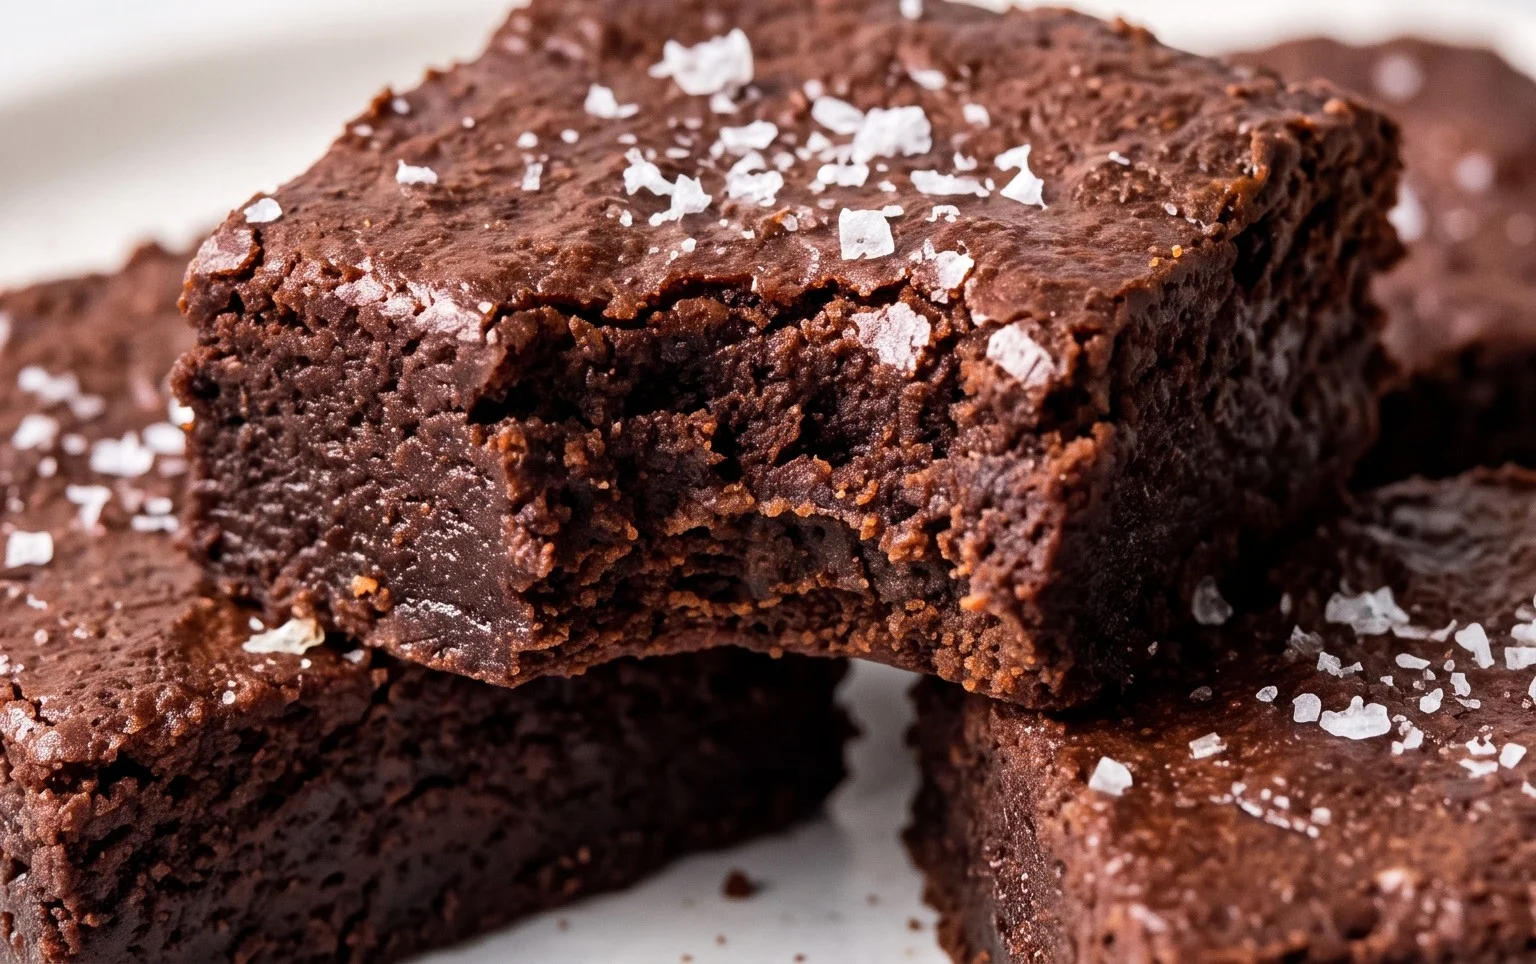
6. Cool and Enjoy: This is perhaps the hardest part – waiting! Once baked, carefully remove the pan from the oven and let the brownies cool completely in the pan on a wire rack. This is essential for them to set properly. If you try to cut them too soon, they might be too soft and fall apart. Once fully cooled, use the parchment paper overhang to lift the entire brownie slab out of the pan. Cut into squares and enjoy your incredibly fudgy, flourless, vegan, and gluten-free brownies! They are best stored in an airtight container at room temperature for a few days or in the refrigerator for longer storage.
Conclusion:
These flourless chickpea brownies are truly a game-changer for anyone seeking a delicious, guilt-free treat. What makes this recipe so fantastic is its incredible ability to deliver that rich, fudgy brownie experience without any of the usual culprits like flour or dairy. The chickpeas provide a surprisingly neutral base, adding moisture and binding everything together beautifully, while ensuring these brownies are both vegan and gluten-free. They’re perfect for satisfying your sweet cravings while being mindful of dietary restrictions or simply for anyone looking for a healthier dessert option that doesn’t compromise on taste.
For serving, I love these warm with a scoop of dairy-free vanilla ice cream or a drizzle of melted vegan dark chocolate. They also hold up wonderfully at room temperature, making them ideal for picnics, potlucks, or packing in a lunchbox. If you’re feeling adventurous, try adding some chopped nuts like walnuts or pecans, a sprinkle of sea salt on top before baking for an extra flavor boost, or even a dash of espresso powder to deepen the chocolate notes. I highly encourage you to give these flourless chickpea brownies a try – you’ll be amazed at how decadent and satisfying they are!
Frequently Asked Questions:
Can I taste the chickpeas in these brownies?
Absolutely not! One of the most impressive aspects of this recipe is how the flavor of the chickpeas completely disappears during baking. The rich cocoa powder and sweetener effectively mask any chickpea flavor, leaving you with a wonderfully chocolatey brownie.
Can I substitute the sweetener?
Yes, you can! You can experiment with other liquid sweeteners like maple syrup or agave nectar. You might need to adjust the amount slightly depending on their sweetness level. If using a granulated sugar alternative, ensure it’s one that bakes well and has a similar sweetness profile.
How long do these brownies last?
Stored in an airtight container at room temperature, these flourless chickpea brownies typically stay fresh for about 3-4 days. For longer storage, you can keep them in the refrigerator for up to a week, or freeze them for up to 2-3 months. They thaw beautifully, making them a great make-ahead dessert.
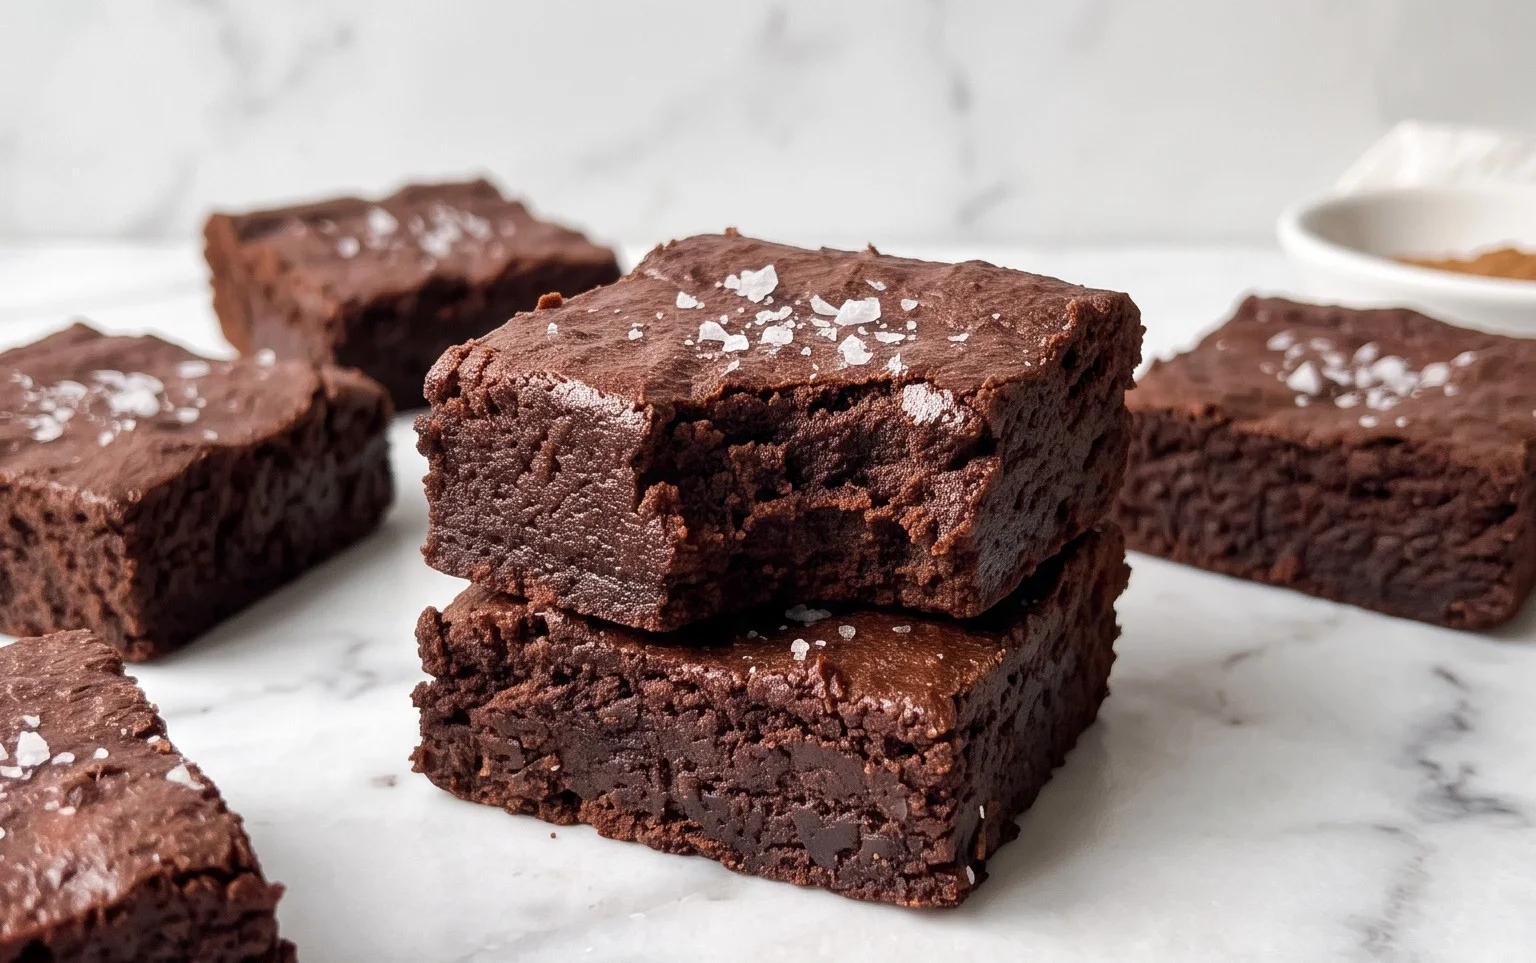
Flourless Chickpea Brownies (Vegan & Gluten Free)
Decadent, fudgy brownies made with chickpeas, almond butter, and cocoa powder. Naturally vegan and gluten-free.
Ingredients
-
15.5 ounces chickpeas (1 can), rinsed and drained
-
½ cup almond butter
-
½ cup pure maple syrup
-
1 tablespoon vanilla extract
-
⅓ cup unsweetened cocoa powder
-
½ teaspoon baking powder
-
½ teaspoon baking soda
-
½ teaspoon sea salt
-
¾ cup vegan mini chocolate chips
Instructions
-
Step 1
Preheat oven to 350°F (175°C). Grease and line an 8×8 inch baking pan with parchment paper. -
Step 2
In a food processor, combine the rinsed and drained chickpeas, almond butter, maple syrup, and vanilla extract. Process until smooth and creamy. -
Step 3
Add the cocoa powder, baking powder, baking soda, and sea salt to the food processor. Pulse until just combined. -
Step 4
Gently fold in the vegan mini chocolate chips until evenly distributed throughout the batter. -
Step 5
Pour the batter into the prepared baking pan and spread evenly. -
Step 6
Bake for 20-25 minutes, or until a toothpick inserted into the center comes out with moist crumbs (not wet batter). -
Step 7
Let the brownies cool completely in the pan on a wire rack before cutting into squares.
Important Information
Nutrition Facts (Per Serving)
It is important to consider this information as approximate and not to use it as definitive health advice.
Allergy Information
Please check ingredients for potential allergens and consult a health professional if in doubt.
Leave a Comment