Easy Strawberry Yogurt Bites are the answer to your sweet tooth cravings, offering a delightful and surprisingly simple way to enjoy a burst of fruity goodness. These little wonders are universally loved because they strike that perfect balance between creamy, tangy, and sweet, all in one perfectly portioned bite. What truly makes Easy Strawberry Yogurt Bites so special is their incredible versatility and ease of preparation. Imagin extracte a snack that requires minimal effort, no baking, and is adaptable to your favorite fruits. They’re the ideal guilt-free indulgence, a fantastic make-ahead treat for busy weeknights, a welcome addition to a party spread, or even a simple yet elegant dessert. Get ready to discover how effortless it is to create these delicious, healthy, and utterly satisfying Easy Strawberry Yogurt Bites that will have everyone asking for the recipe.

Ingredients:
- 5 large strawberries (washed and cut with leaves removed)
- 1 tablespoon honey
- 1 cup Greek yogurt
Preparing the Strawberry Yogurt Bites
Let’s get started on these delightful Easy Strawberry Yogurt Bites! This recipe is wonderfully straightforward, perfect for a quick treat or a fun activity with kids. The key is using fresh, ripe strawberries and good quality Greek yogurt for the best flavor and texture.
Step 1: Pureeing the Strawberries
The first step is to transform our beautiful strawberries into a vibrant puree. Take your washed and hulled strawberries – that means the green leafy tops have been removed. You can roughly chop them if you prefer, but for a smoother puree, it’s best to use a blender or a food processor. Add the cut strawberries directly into your blender. We’re not adding anything else to the strawberries at this stage, just letting them do their thing. Blend them until you achieve a smooth, liquid consistency. You should have a lovely, bright red puree. If your blender struggles, you can add a tiny splash of water, but aim to keep it thick. Once blended, set this strawberry puree aside. It will be the beautiful flavor and color component of our bites.
Step 2: Sweetening the Yogurt Base
Now, let’s work on the creamy yogurt base. Grab your 1 cup of Greek yogurt. Greek yogurt is fantastic here because its thickness provides a great structure for the bites, and it has a wonderfully tangy flavor that complements the sweetness of the strawberries. Transfer the Greek yogurt into a medium-sized mixing bowl. We want to add a touch of sweetness to balance the tangin extractess of the yogurt and to enhance the natural sweetness of the strawberries. Drizzle the 1 tablespoon of honey directly into the bowl with the Greek yogurt. Honey is a natural sweetener and pairs beautifully with both yogurt and strawberries.
Step 3: Gently Combining the Ingredients
This is where the magic starts to happgin extract bringing our two main components together. We want to combine the honey and Greek yogurt first before introducing the strawberry puree. Use a spoon or a spatula to gently stir the honey into the Greek yogurt. Mix them together until the honey is fully incorporated and you have a smooth, evenly sweetened yogurt mixture. Don’t overmix at this stage; just ensure there are no streaks of honey visible. Once the yogurt is ready, it’s time to add the strawberry puree. Pour the strawberry puree you made in Step 1 into the bowl with the sweetened Greek yogurt.
Step 4: Swirling for a Marbled Effect
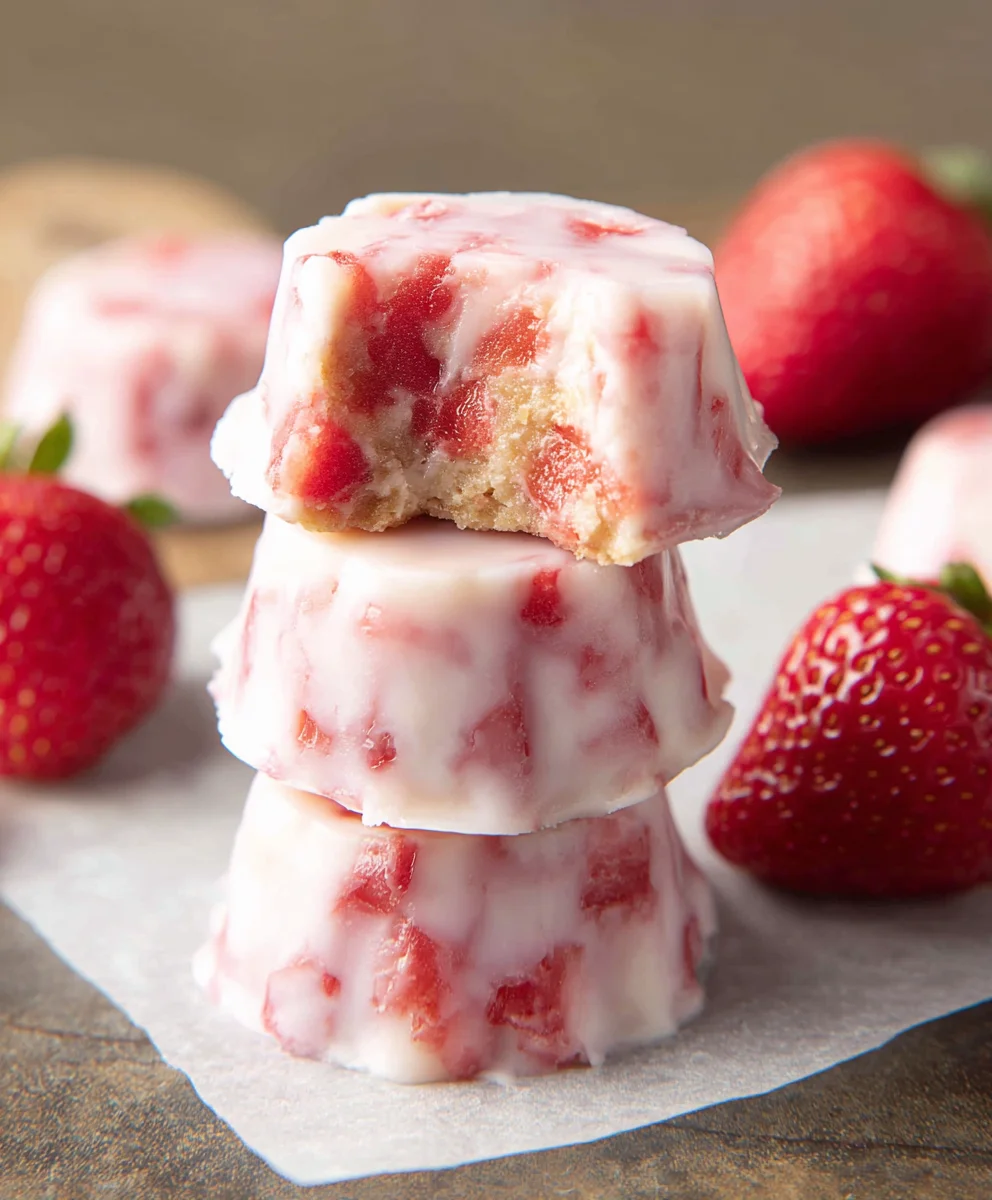
Now for the fun part – creating those beautiful marbled patterns! Instead of fully mixing the strawberry puree into the yogurt, we’re going to create a swirling effect. Use your spoon or spatula to gently fold the strawberry puree into the yogurt. Make sweeping motions through the mixture, aiming to create streaks and swirls of red through the white yogurt. Don’t worry about making it perfectly uniform; the more varied the swirls, the more attractive your bites will be. You want to see distinct ribbons of strawberry color running through the creamy yogurt base. This technique ensures that each bite has both the creamy yogurt and the bright strawberry flavor and color.
Step 5: Freezing into Bites
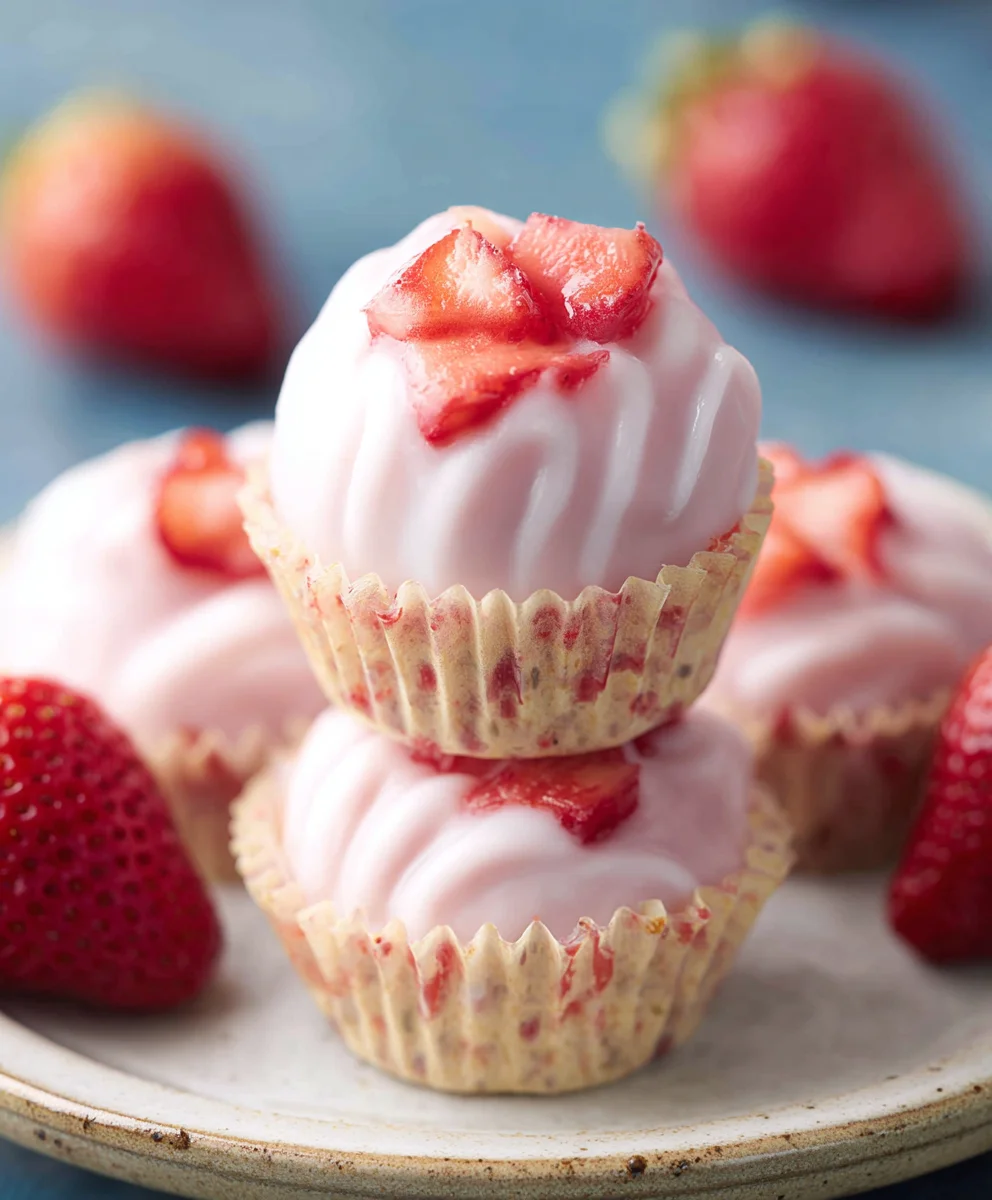
The final step is to transform this delicious mixture into bite-sized treats. You have a couple of options for how to freeze these. The easiest method is to use a baking sheet lined with parchment paper or wax paper. Spoon small dollops of the swirled strawberry yogurt mixture onto the prepared baking sheet. Aim for bite-sized portions, about the size of a tablespoon. Alternatively, if you have silicone molds (like mini muffin molds or candy molds), you can spoon the mixture into those. The silicone molds will give you more uniform shapes. Once you have your yogurt mixture portioned out onto the baking sheet or into the molds, carefully place the baking sheet into the freezer. You’ll want to freeze them until they are firm to the touch. This usually takes at least 2 to 3 hours, but it’s best to leave them in for longer to ensure they are completely solid and easy to handle. Once frozen, you can transfer them to an airtight container or a freezer-safe bag for storage. They should hold their shape beautifully and be ready to enjoy!
Conclusion:
There you have it! You’ve successfully mastered the art of making these delightful Easy Strawberry Yogurt Bites. These little gems are incredibly versatile and a fantastic way to enjoy the sweetness of strawberries and the creaminess of yogurt. They’re perfect as a healthy snack for kids and adults alike, a refreshing treat on a warm day, or even a light dessert after a meal.
For serving suggestions, I love to present them chilled, straight from the freezer, but they’re also wonderful when slightly softened. Consider arrangin extractg them on a pretty platter for a party or packing them in a lunchbox for a school or office treat. Don’t be afraid to get creative with variations! You can swap strawberries for other berries like blueberries or raspberries, or even add a sprinkle of chia seeds for extra texture and nutrients. A drizzle of honey or a dusting of shredded coconut can also elevate these bites to another level.
I truly hope you enjoy making and eating these Easy Strawberry Yogurt Bites as much as I do. They’re proof that delicious and healthy can go hand in hand, and the simple joy they bring is truly rewarding. Happy snacking!
Frequently Asked Questions about Easy Strawberry Yogurt Bites:
Can I make these ahead of time?
Absolutely! These Easy Strawberry Yogurt Bites are designed to be made ahead and stored in the freezer. They can last for several weeks when kept in an airtight container, making them a convenient snack to have on hand.
What if I don’t have fresh strawberries? Can I use frozen?
Yes, you can use frozen strawberries! Thaw them slightly and drain any excess liquid before mashing and incorporating them into the yogurt mixture. This will still yield delicious Easy Strawberry Yogurt Bites.
Are these suitable for very young children?
Yes, these are generally safe for babies and toddlers who have started eating solids, as long as they are fully frozen and served under supervision. The soft, melt-in-your-mouth texture is ideal for little ones.
Easy Strawberry Yogurt Bites – Quick & Delicious Treats
Delightful and easy-to-make strawberry yogurt bites, perfect for a quick treat or a fun activity.
Ingredients
-
5 large strawberries, washed and cut with leaves removed
-
1 tablespoon honey
-
1 cup Greek yogurt
-
Parchment paper or wax paper (for freezing)
-
Silicone molds (optional, for freezing)
-
Airtight container or freezer-safe bag (for storage)
Instructions
-
Step 1
Puree the strawberries: Wash, hull, and cut 5 large strawberries. Blend them until smooth to create a vibrant puree. Set aside. -
Step 2
Sweeten the yogurt: In a bowl, combine 1 cup of Greek yogurt with 1 tablespoon of honey. Stir gently until the honey is fully incorporated. -
Step 3
Combine ingredients: Pour the strawberry puree into the sweetened Greek yogurt mixture. -
Step 4
Swirl for marbled effect: Gently fold the strawberry puree into the yogurt, creating streaks and swirls for a marbled appearance. Do not fully mix. -
Step 5
Freeze into bites: Spoon dollops of the swirled mixture onto a parchment-lined baking sheet, or into silicone molds. Freeze until firm, at least 2-3 hours. -
Step 6
Store: Once frozen, transfer the yogurt bites to an airtight container or freezer-safe bag for storage.
Important Information
Nutrition Facts (Per Serving)
It is important to consider this information as approximate and not to use it as definitive health advice.
Allergy Information
Please check ingredients for potential allergens and consult a health professional if in doubt.


Leave a Comment